CO2 Laser Settings: Why the Same Settings Give Different Results
Looking for the right CO2 laser settings for a material?
A settings chart, manufacturer recommendation, or another laser user’s numbers can give you a useful place to start. What they cannot guarantee is that your machine will produce exactly the same result.
You might see someone cutting a material at:
20% power. 300 mm/s. One pass.
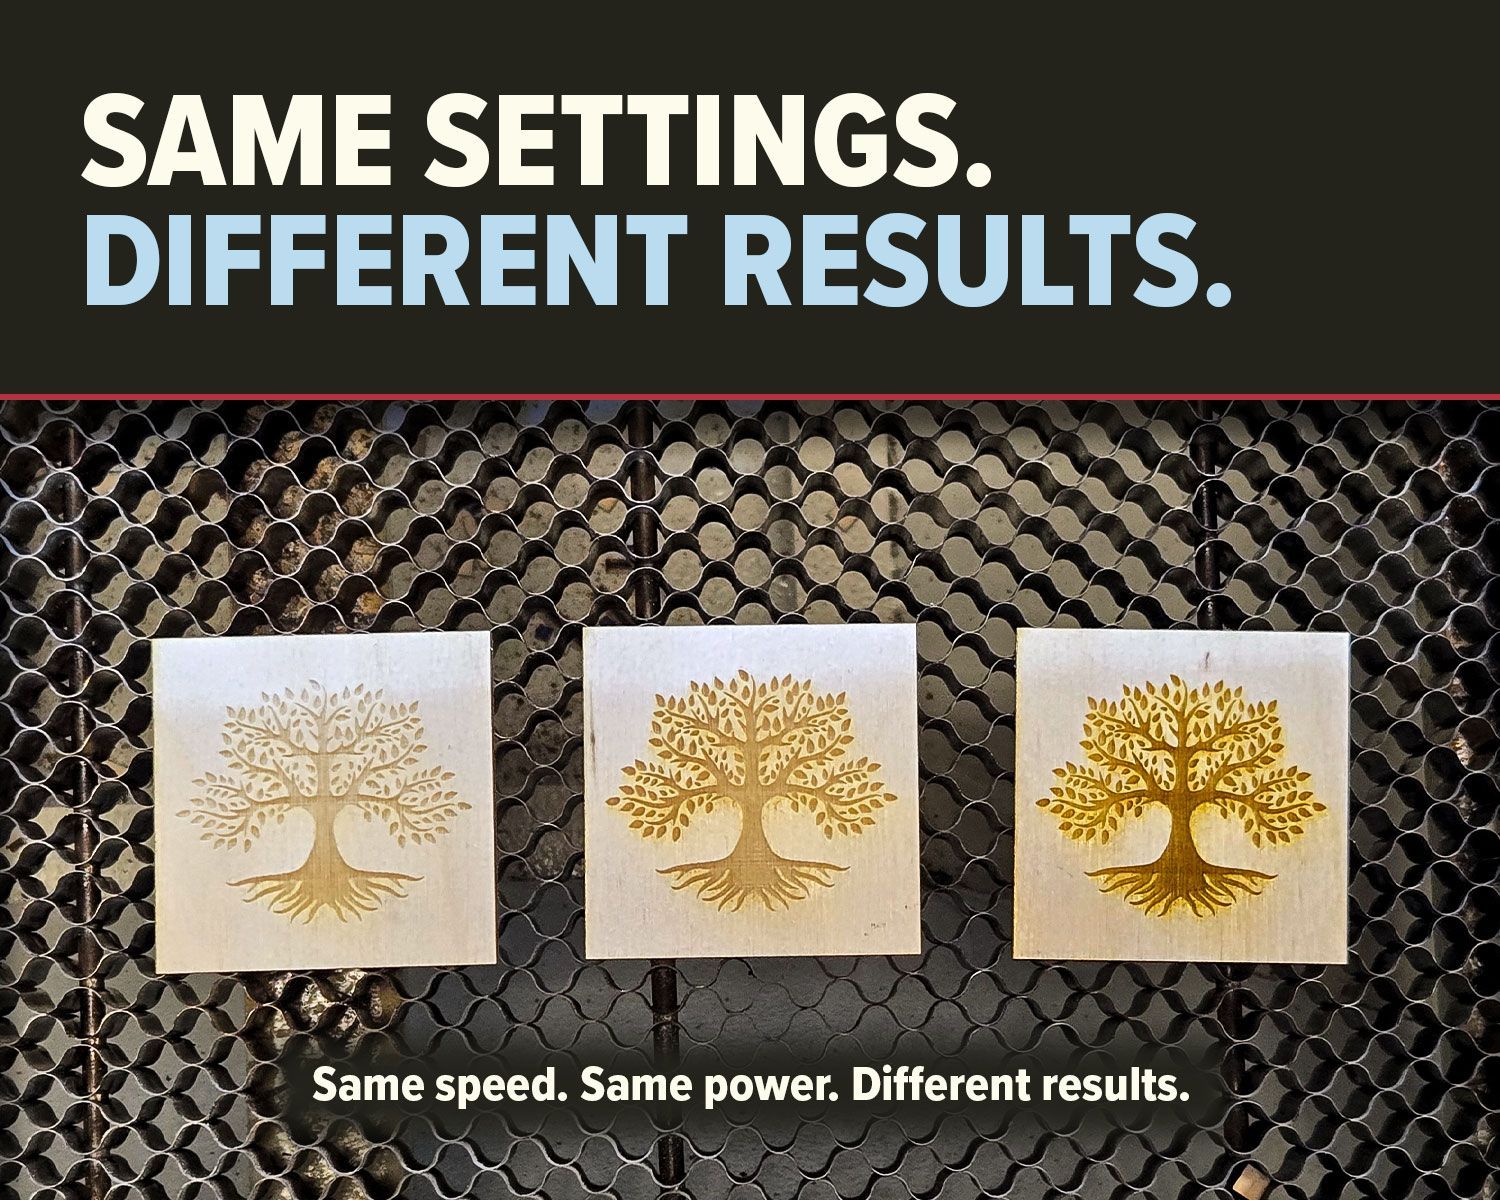
You enter those same settings and get a completely different result.
The engraving may be lighter. The material may not cut through. The edge may look different. Or the result may be much darker than expected.
That doesn’t automatically mean something is wrong with your laser.
CO2 laser settings are starting points, not universal recipes.
LightBurn itself recommends manufacturer settings as a starting point and provides its Material Test tool specifically because the best settings depend on the laser and the material being processed.
Once you understand why settings vary, dialing in a new material becomes much easier.
What Do CO2 Laser Settings Actually Control?
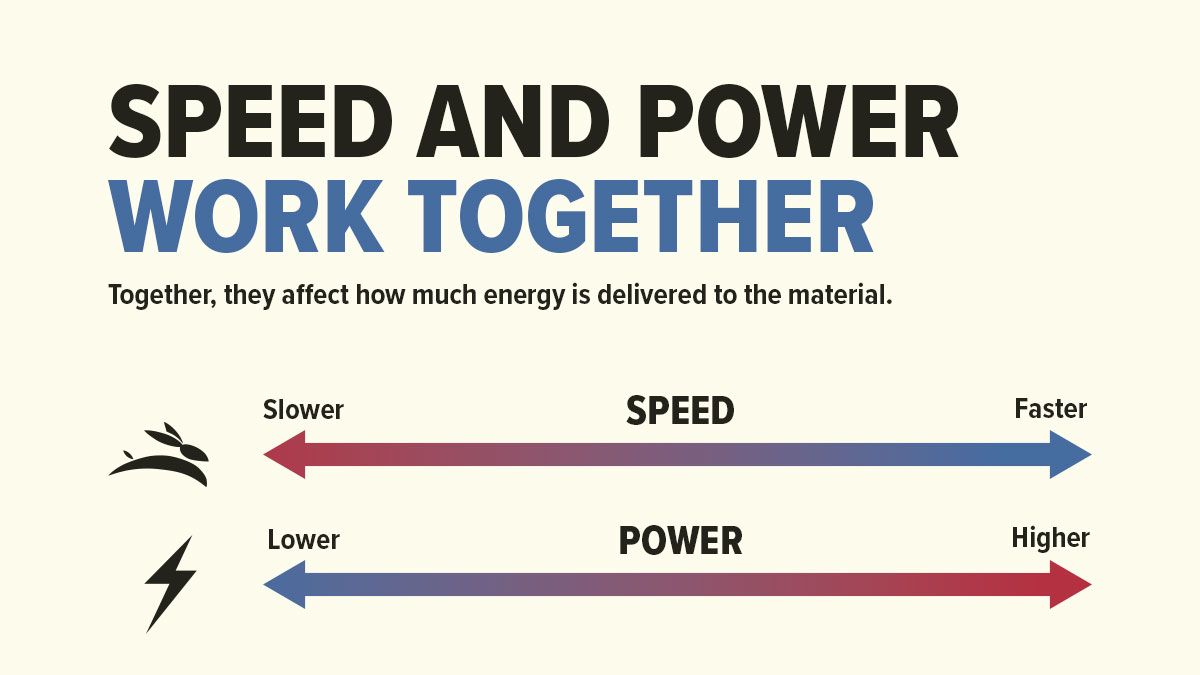
For most CO2 cutting and engraving jobs, two settings get most of the attention:
Speed controls how quickly the laser head moves across the material.
Power controls the commanded laser output during the job.
In general, slower movement delivers more energy to a given area of material, while higher power increases the energy being applied. That is why increasing power or reducing speed typically creates a darker engraving or deeper cut.
Depending on the job, other settings can matter too:
- Number of passes
- Line interval or LPI/DPI
- Air assist
- Focus
- Lens choice
- Material thickness
The mistake is treating speed and power as if they exist separately from everything else.
They don’t.
First: Make Sure You’re Comparing the Same Units
Before changing anything, check the speed units.
This is one of those simple mistakes that can create a very large difference.
300 mm/s is not the same as 300 mm/min.
LightBurn specifically warns that confusing these units can dramatically change how much energy reaches the material. A machine moving much slower than expected can apply excessive heat and even create a fire risk.
So when someone shares laser settings online, don’t copy only the number.
Check whether the speed is:
mm/s
or
mm/min
That one detail can save you a lot of wasted material.
Power Percentage Is Not Universal
A setting of 20% power sounds specific.
It really isn’t.
That percentage belongs to the machine and setup where it was tested. Machine wattage matters, and manufacturers commonly publish different recommended settings for different models and laser powers.
Manufacturer-recommended settings are typically meant as starting points and may vary by machine wattage and configuration.
So if somebody tells you:
“I cut it at 60%.”
There’s an important follow-up question:
On what machine?
A useful shared setting includes more than just speed and power. Knowing the machine type, wattage, material, and thickness makes the numbers much more meaningful.
The Material May Not Actually Be the Same
This may be the biggest reason copied settings produce different results.
Take plywood.
Two sheets labeled the same thickness can have different wood species, cores, adhesives, and construction. Plywood can vary by wood species, core construction, adhesive, and density, all of which can affect cutting performance.
Acrylic varies too.
Cast and extruded acrylic are both acrylic, but they process differently. Extruded acrylic often requires less power to cut, while cast acrylic is typically preferred when you want a stronger white engraving.
So:
“3 mm acrylic”
or
“¼-inch plywood”
doesn’t tell you everything you need to know.
Material type, construction, actual thickness, and even a different batch can affect the settings that work best.
Focus Matters
Correct focus affects how concentrated the laser beam is when it reaches the material.
LightBurn explains that focal height changes both the size and strength of the laser spot at the workpiece.
If one person's machine is properly focused and yours isn't, copying the same speed and power settings may still produce different results.
That becomes especially noticeable when you’re trying to make a clean cut or produce fine engraving detail.
Before making a major change to speed or power, verify the focus.
Lens Choice Can Change the Result
The lens is another variable that often disappears when settings get shared online.
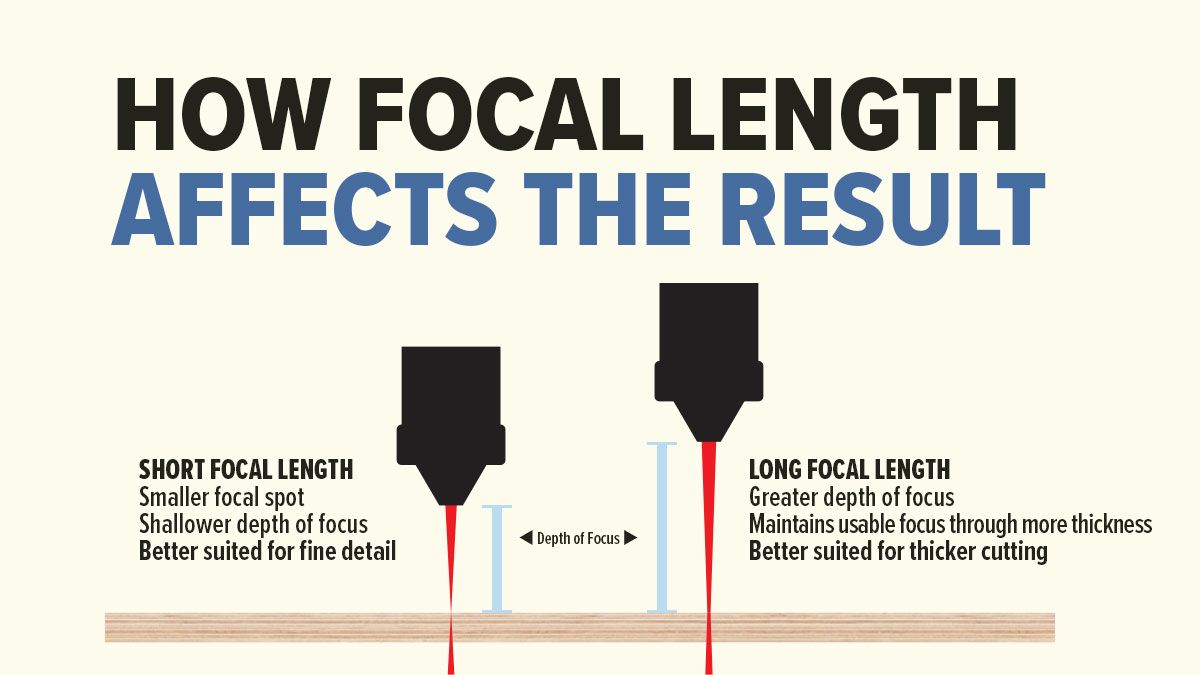
Different focal-length lenses are suited to different types of work.
In general, shorter focal lengths are useful for detailed engraving, while longer focal lengths provide greater depth of focus and are commonly used for thicker materials.
That means two people could have similar machines, similar materials, and identical speed and power settings while still getting different results because they're using different optics.
Again, the settings are only part of the setup.
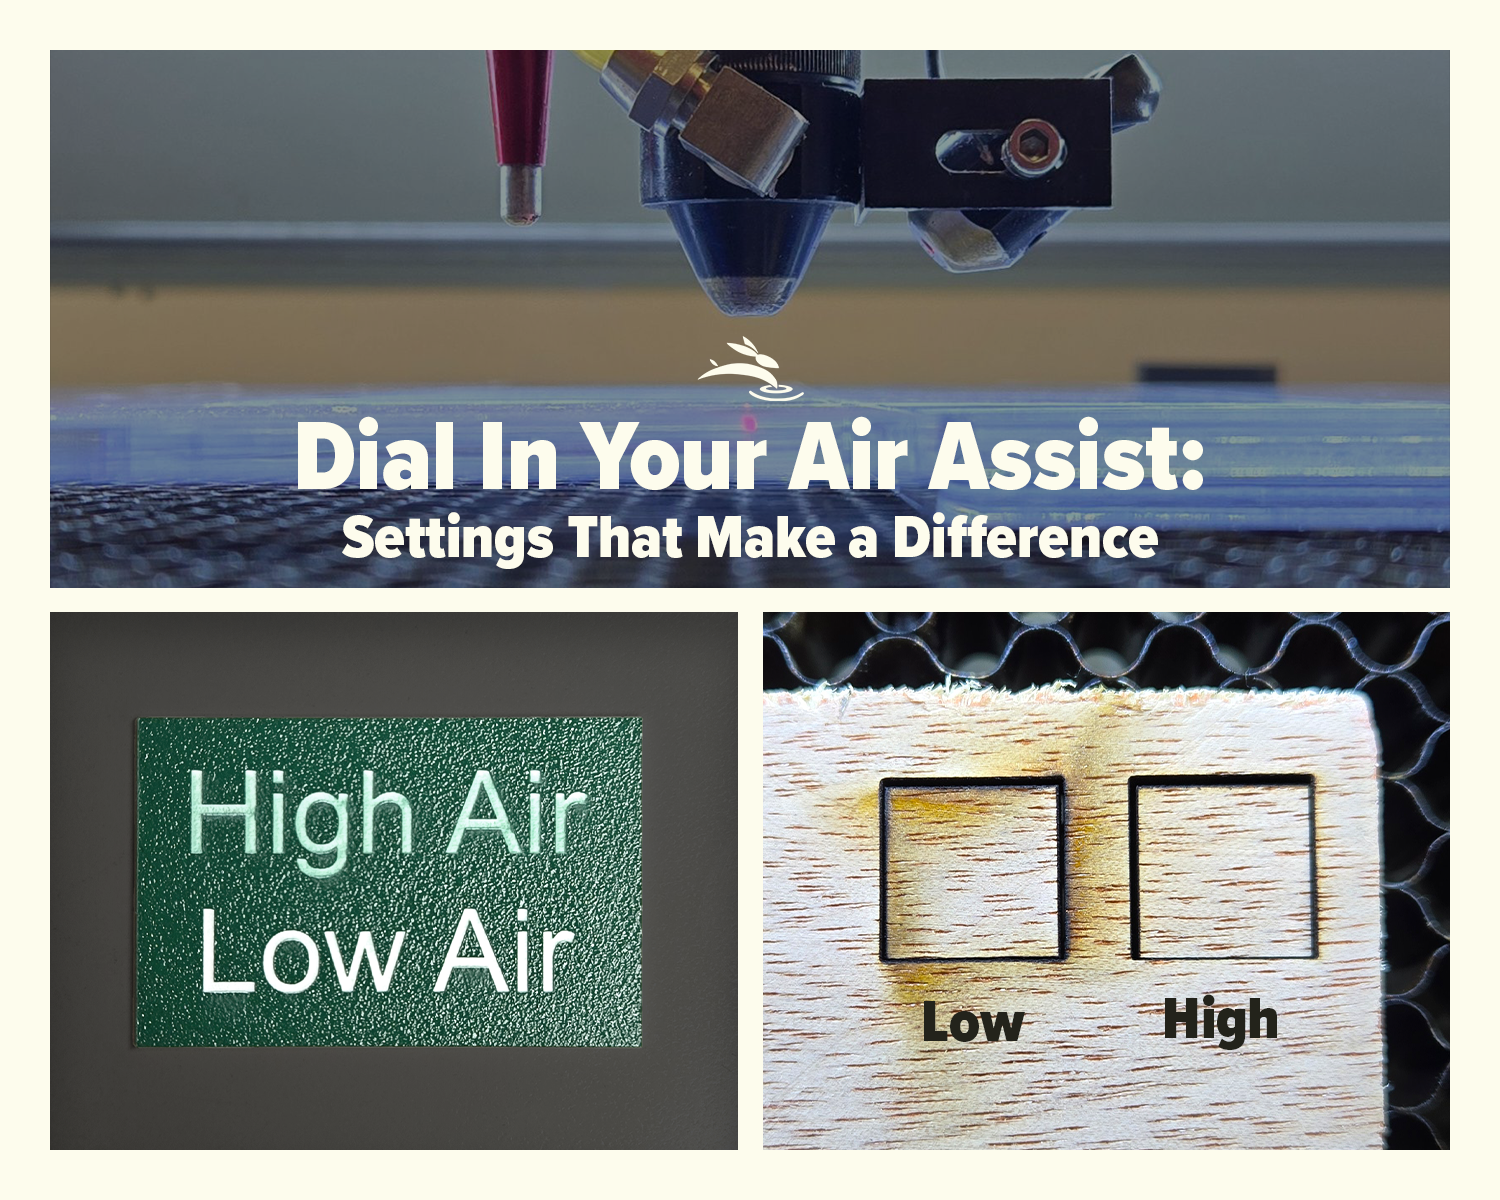
Air Assist Can Change the Cut
Air assist matters too, especially when cutting.
It can help clear material and gases from the cut area, but the amount of airflow that works best depends on the material.
More air isn't automatically better in every situation. More air isn't automatically better in every situation. When cutting acrylic, excessive airflow can affect the appearance of the cut edge, so airflow should be matched to the material and the finish you want.
So when someone shares a cutting recipe, their air-assist setup may be another reason the same numbers behave differently on your machine.
Line Interval Matters for Engraving
Speed and power get most of the attention, but engraving has another important variable: line interval.
Line interval controls the distance between engraving passes. DPI or LPI is another way of describing that relationship.
LightBurn notes that changing line interval affects engraving depth, darkness, and how much overlap occurs between passes.
So two people engraving at the same speed and power can still get noticeably different results if they're using different intervals.
That is why engraving settings should include more than:
Speed: ___
Power: ___
Line interval matters too.
Use Shared Settings as a Starting Point
None of this means settings charts or settings shared by other laser users are useless.
Quite the opposite.
A good starting point can save a lot of trial and error.
The difference is in how you use it.
Instead of thinking:
“These are the correct settings.”
Think:
“This is where I should begin testing.”
Then test on your actual material.
The Better Way to Find CO2 Laser Settings
A simple process works better than randomly changing numbers until something looks right.
Start by identifying exactly what you’re processing: material type, thickness, and any other important characteristics.
Then:
- Start with a manufacturer recommendation or a known setting from a similar machine.
- Verify the speed units.
- Check the focus.
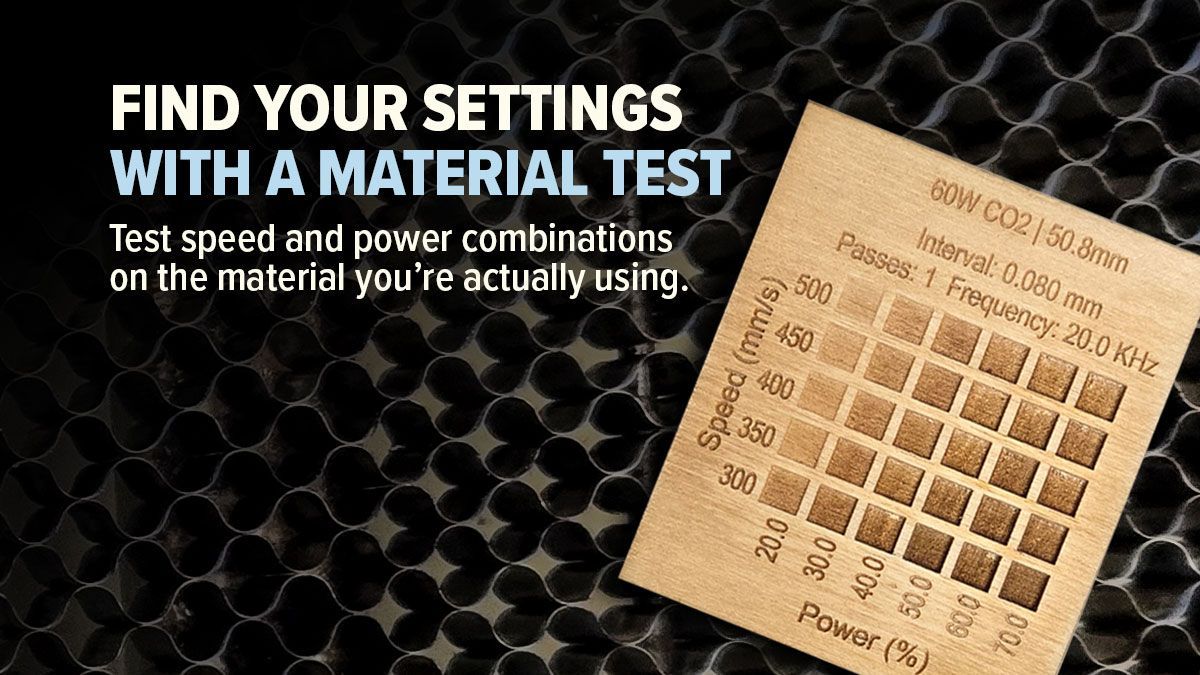
- Run a small test on the actual material.
- Adjust one variable at a time.
- Save the final setting once you get the result you want.
LightBurn makes this easier with its built-in Material Test tool. It can automatically create a grid that varies settings such as speed, power, passes, or interval so you can compare multiple combinations on the same piece of material.
That’s far more useful than burning through a stack of material making random guesses.
Change One Thing at a Time
This is worth emphasizing.
If a test doesn’t look right and you simultaneously change:
speed,
power,
focus,
air assist,
and line interval,
you might eventually get a better result.
You just won’t know why it improved.
Change one meaningful variable, run another test, and compare the results.
It takes a little longer upfront, but you learn much more about how your machine and material behave.
Save the Settings That Work
Once you find a combination that produces the result you want, save it.
LightBurn's Material Library can store reusable cut settings for different materials and operations.
I’d also keep track of useful details such as:
- Material
- Thickness
- Machine
- Lens
- Cut or engrave
- Speed
- Power
- Passes
- Line interval when applicable
- Any useful notes about the result
Over time, that becomes much more valuable than a generic settings chart.
You're building a settings library around your machine and your materials.
What If Settings That Used to Work Suddenly Stop Working?
This is where I would not immediately start changing numbers.
There’s an important difference between:
“I'm testing a new material and need to find the right settings.”
and
“These settings worked last week and suddenly don't.”
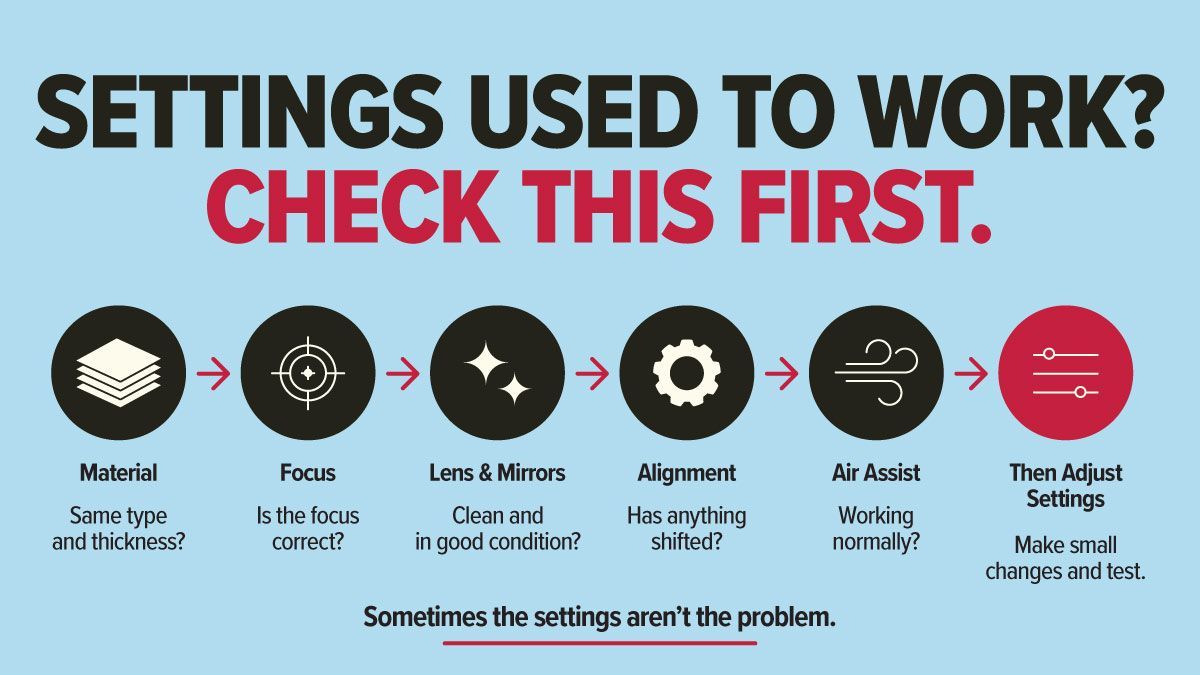
If a known-good setting suddenly produces a different result, first look for what changed.
Check things like:
- Is this the same material and thickness?
- Is the focus correct?
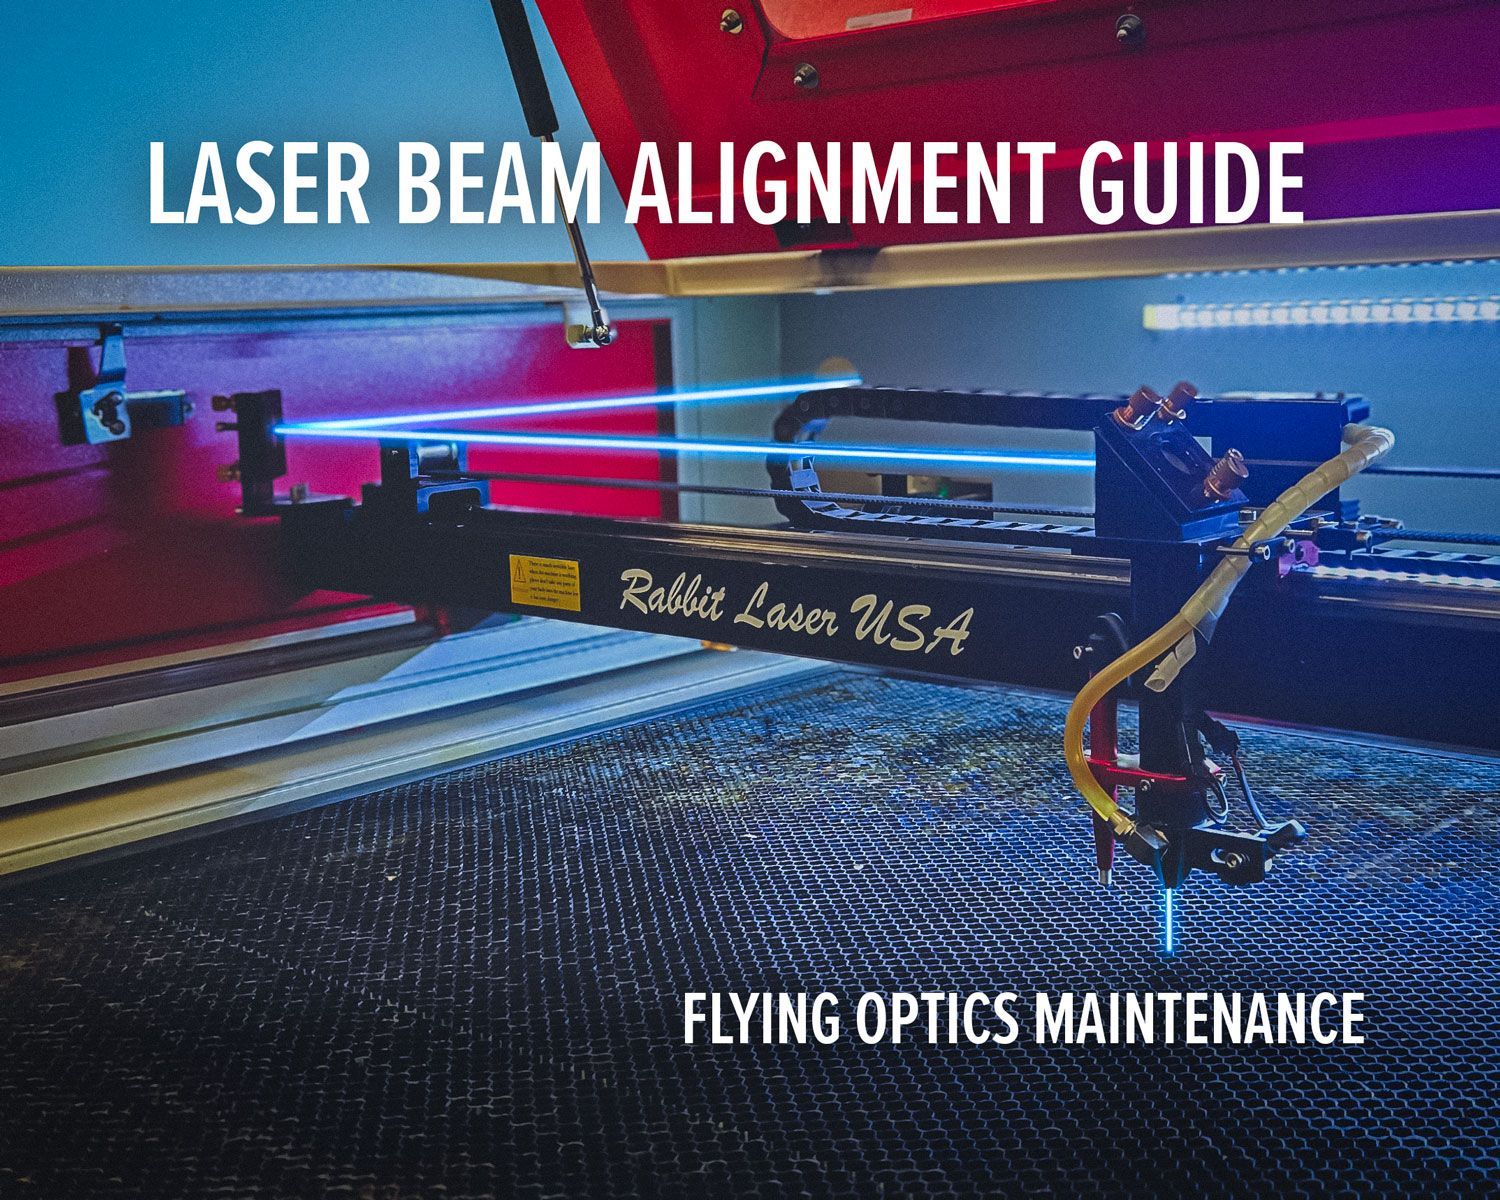
- Are the lens and mirrors clean?
- Has anything changed with alignment?
- Is air assist working normally?
A dirty lens can reduce the amount and quality of laser energy reaching the workpiece, which can hurt cutting performance and consistency.
Increasing power may make the job work again, but it can also hide the actual problem.
Sometimes the settings aren't what changed.
There Is No Universal CO2 Laser Settings Chart
This is the part nobody loves hearing.
There isn't one perfect chart where every CO2 laser owner can look up:
Material → Speed → Power → Done.
There are too many variables.
That doesn't make settings charts worthless. It just changes what they are good for.
Use them to get close.
Then let your own machine, material, and test results determine the final settings.
Once you start approaching settings that way, the better question becomes less:
“What settings should I use?”
and more:
“What should I test first?”
That shift makes troubleshooting much easier.
CO2 Laser Settings FAQ
Can I use someone else's CO2 laser settings?
Yes. They can be an excellent starting point, especially when the laser wattage, material, thickness, and setup are similar. Test the settings on scrap material before running the finished job.
Why won't my CO2 laser cut at someone else's settings?
Differences in laser power, material composition, thickness, focus, lens choice, air assist, and other machine conditions can all affect the result.
Should I increase laser power if my material won't cut through?
Not automatically. If you're testing a new material, a power or speed adjustment may be appropriate. If the same settings worked previously, check the material, focus, optics, air assist, and machine condition before simply increasing power.
What's the easiest way to find good CO2 laser settings?
Start with a reasonable recommended setting and run a material test. Testing multiple combinations of speed and power on a small piece of the actual material gives you information specific to your machine instead of relying entirely on someone else's numbers. LightBurn includes a Material Test tool specifically for this purpose.
When the Settings Aren't the Problem
Sometimes changing speed or power is exactly what a job needs.
Other times, inconsistent results are telling you to look somewhere else.
Knowing the difference can save material, troubleshooting time, and a lot of unnecessary adjustments.
Rabbit Laser USA provides technical support, maintenance, alignment, parts, and service for laser systems. When a machine stops producing the results it normally does, figuring out what changed is often more useful than simply adding more power.
Cut. Create. Conquer.