Restarting Your CO₂ Laser: What to Check First
Your CO₂ laser machine worked fine the last time you used it. Then it sat.
Maybe it was unused for a few weeks. Maybe a school closed for summer break. Maybe business slowed down, a seasonal project ended, or the laser simply did not have much work for several months.
Before loading your first file and pressing Start, take a few minutes to check the machine.
A CO₂ laser that has been sitting does not automatically need repairs, new parts, or a complete alignment. The goal is much simpler: make sure nothing changed during the downtime and catch small problems before they affect your first job.
Here is what to check when restarting a CO₂ laser after it has been sitting unused.
1. Start With a Visual Inspection
Before turning anything on, look over the machine and surrounding area.
Open the lid and inspect the work area. Check around the cabinet for dust buildup, scraps or material left on the workbed, debris underneath the bed, loose items near moving components, damaged or disconnected hoses, and exhaust ducting that may have been moved.
Material left on the bed is particularly easy to overlook when a laser has not been used for several weeks or months. Remove old scraps and start with a clean work area.
Dust is another common problem after downtime. A laser does not need to be running to collect it. Apparently dust has an excellent attendance record.
Clean obvious buildup before turning on the exhaust and putting the machine back into regular operation.
2. Check the Chiller and Cooling System
The cooling system should be one of your first checks before firing the laser tube.
Check the water level and condition, then inspect the hoses for kinks, leaks, or anything that could restrict circulation.
Turn on the chiller and confirm that water is actually circulating through the laser tube before attempting to fire the laser.
Cooling water also needs periodic replacement. Under normal use, a three-to-six-month interval may be appropriate for many systems, but always follow the requirements for your particular chiller and laser machine.
If the laser has been sitting long enough that you cannot remember when the water was last changed, this is a good time to check your maintenance records and take care of it if needed.
Also confirm that the chiller is operating at the proper temperature before beginning a long job. Proper cooling protects the CO₂ laser tube during operation.
3. Inspect the Lens and Mirrors
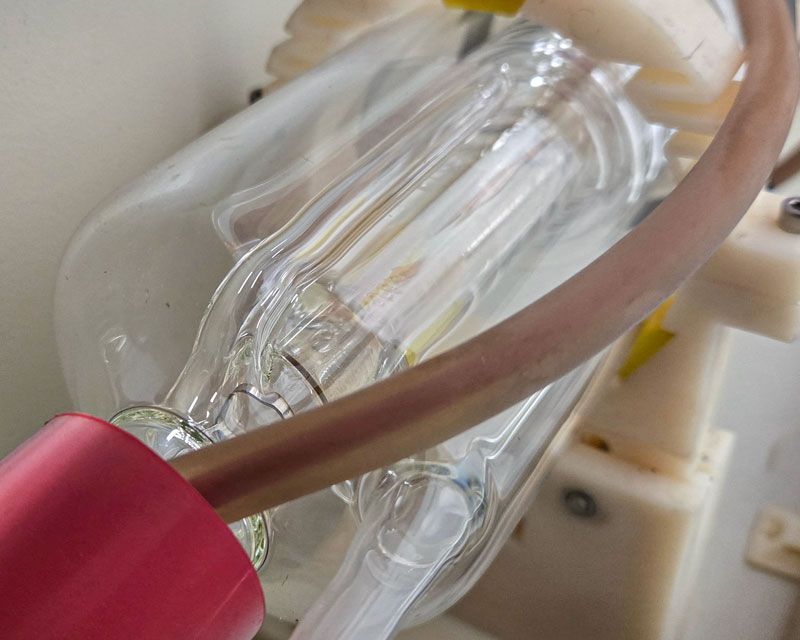
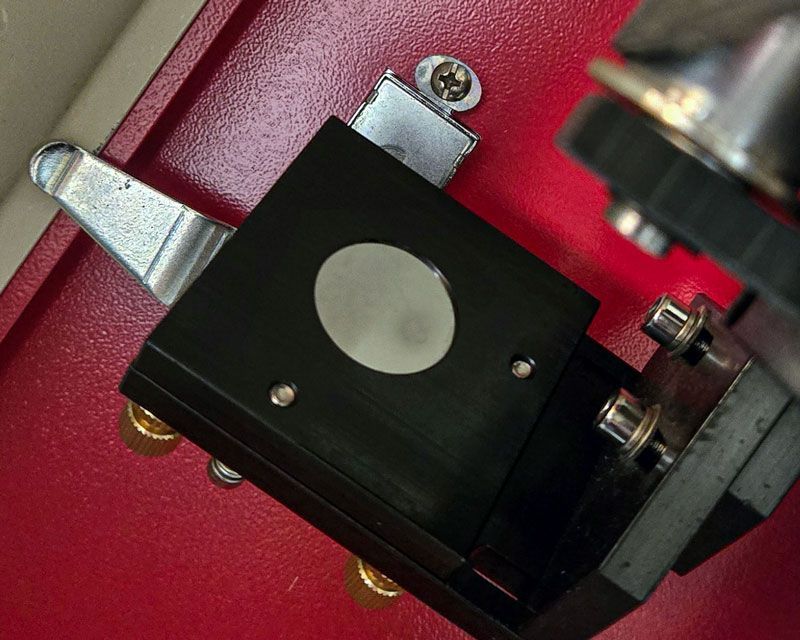
Do not assume the optics need adjustment simply because the machine has been sitting.
Inspect them first.
Look for dust, smoke residue, spots, or buildup on the lens and mirrors. If the optics are dirty or your normal cleaning interval is due, clean them using the proper method for your machine.
Avoid handling optics unnecessarily. Regular cleaning is important, but repeatedly removing or touching clean optics can create problems instead of preventing them.
If you find a cracked, damaged, heavily stained, or permanently marked optic, do not compensate by simply increasing laser power. The optic may need to be replaced.
4. Check the Exhaust System
Before engraving or cutting, make sure the exhaust system is ready to work.
Inspect the ducting from the laser to the exhaust outlet. Make sure nothing has become loose, collapsed, disconnected, or blocked.
If the system uses a filter, inspect it according to its recommended maintenance schedule.
Then turn on the exhaust and confirm that you have good airflow.
This deserves extra attention after extended downtime because ductwork can get bumped, storage can be moved around it, and dust can accumulate without anyone noticing.
Proper exhaust removes smoke and fumes while helping keep contaminants away from the optics and other parts of the machine.
5. Confirm Air Assist
Turn on the air assist and make sure air is reaching the nozzle.
Check for loose tubing, disconnected fittings, or anything else that may have changed while the laser was idle.
Weak or missing air assist can contribute to additional smoke, burning, residue, and poor cutting performance.
This check takes only a few seconds and can save you from wondering why a familiar job suddenly produces very different results.
6. Check Belts, Rails, and Machine Movement
Before starting a production job, make sure the motion system looks and sounds normal.
Inspect the rails and belts for obvious problems, and remove dust or debris that has collected around moving components.
Follow the manufacturer's recommendations for cleaning and lubrication. Do not add lubricant simply because the machine has been sitting if that component does not require it.
After powering up the machine, move the laser head around the work area using the controller.
Pay attention to what you hear and see.
Movement should be smooth and familiar. Grinding, binding, unexpected vibration, or other unusual sounds deserve attention before you start a job.
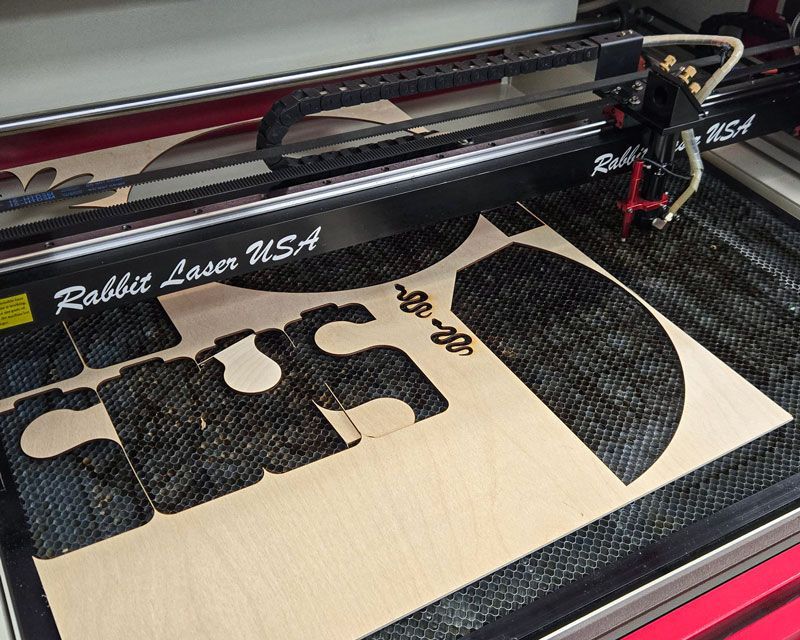
7. Clear the Workbed
Take a closer look at the workbed before loading fresh material.
Remove scraps, small cut pieces, masking material, dust, and other debris.
If your CO₂ laser cutter uses a honeycomb bed, check underneath it as well. Small pieces can fall through the openings and remain there long after the original project is finished.
A dirty work area can contribute to smoke, flare-ups, staining, and unwanted marks on your material.
Starting clean also makes it easier to notice anything unusual during the first job.
8. Power Up the Supporting Systems First
Once the visual inspection is complete, start the supporting equipment and machine normally.
Before beginning a job, confirm that the chiller is operating, water is circulating, exhaust is running, air assist is working, the laser head moves normally, the controller starts properly, and no unexpected alarms or error messages appear.
Do this before loading an important customer project.
Finding a problem during startup is much better than finding it halfway through an expensive piece of material.
9. Run a Simple CO₂ Laser Test
Your first project after downtime should not be the most complicated file in your job folder.
Use familiar material and run a simple engraving or cutting test.
Ideally, choose a material and setting combination that you have successfully used before. That gives you a known result for comparison.
Pay attention to engraving quality, cutting performance, edge quality, positioning, machine movement, smoke removal, unusual sounds, and consistency across the work area.
If everything looks normal, move on to regular work.
If something does not look right, troubleshoot the result before changing several settings at once.
10. Don't Immediately Increase Laser Power
A common reaction to a weak cut is to increase power.
That should not automatically be your first move.
If the machine cut the same material properly before the downtime, check the basics first: lens and mirror cleanliness, focus, air assist, exhaust, cooling, material differences, and beam alignment.
Beam alignment is worth checking when the results point toward an alignment problem, particularly if the laser machine was moved or bumped during downtime.
A machine that simply sat in the same location does not automatically need to be realigned.
Unnecessary alignment changes can turn a simple restart into a much larger troubleshooting project.
Don't Fix What Isn't Broken
A CO₂ laser engraver that has been sitting for a few weeks or several months does not automatically need a major tune-up.
Start simple.
Inspect the machine, clean what actually needs cleaning, check the cooling system, confirm exhaust and air assist, make sure the machine moves normally, and run a familiar test.
If the laser produces the same quality it did before the downtime, there is usually no reason to immediately adjust mirrors, replace parts, change settings, or increase power.
Maintenance should prevent problems, not create new ones.
When Should You Stop and Get Help?
Stop using the laser and investigate further if water is not circulating through the tube, the chiller shows an alarm or unusual temperature, movement is grinding or binding, optics appear cracked or damaged, cutting power has dropped significantly, results vary noticeably across the work area, you notice an unusual electrical smell or sound, an unfamiliar error appears, or you find a leak or damaged wiring.
Continuing to operate a CO₂ laser machine when something is clearly wrong can turn a manageable problem into a larger repair.
A Few Minutes Now Can Save a Project Later
Restarting a CO₂ laser after downtime should not be complicated.
Most of the process comes down to checking the systems the machine already depends on: cooling, optics, airflow, movement, and a clean work area.
Spend a few minutes looking everything over before the first job. Then run a simple test and let the results tell you whether anything needs attention.
If everything looks normal, get back to work.
If it does not, troubleshoot the problem before making several adjustments at once.
A simple CO₂ laser restart routine can prevent wasted material, failed jobs, and an unnecessarily frustrating first day back at the machine.
Frequently Asked Questions
How long can a CO₂ laser sit without being used?
There is no single amount of downtime that automatically causes a problem. A CO₂ laser may sit unused for a few weeks or several months and start normally. The longer it has been idle, however, the more important it becomes to inspect the cooling system, optics, exhaust, air assist, movement, and work area before running a job.
Should I realign the mirrors after my CO₂ laser has been sitting?
Not automatically. If the laser stayed in the same location and was aligned properly before the downtime, test its performance first. Check beam alignment if cutting or engraving results suggest a problem or if the machine was moved or bumped.
Should I replace the chiller water before restarting my laser?
Check the age and condition of the cooling water and follow the maintenance requirements for your chiller. If the water is already due for replacement or its condition is questionable, change it before returning the laser to regular use.
Should I clean the mirrors and lens before restarting?
Inspect them first. Clean the optics if they are dirty or their regular maintenance is due. There is no benefit to unnecessarily handling clean optics simply because the laser machine has been sitting.
Why is my CO₂ laser cutting weaker after sitting unused?
Start with the simple causes before increasing laser power. Check the lens and mirrors, focus, air assist, exhaust, cooling system, and material. If those checks do not explain the problem, beam alignment and other troubleshooting may be appropriate.