Save Material With Free Online Nesting Software: 11 Smart Ways SVGnest Improves Laser Cutting Efficiency
When it comes to laser cutting, creating the design is only half the job. The other half is figuring out how to fit your parts onto the material without wasting space, time, or money.
If your cut pieces are scattered too far apart, you lose valuable material. If they are packed too tightly, you can run into heat buildup, poor edge quality, or shifting parts during the cut. And when you are manually arranging dozens of pieces, it can start to feel like a frustrating game of high-stakes Tetris.
That is where nesting software becomes incredibly useful.
We recently tested SVGnest, a free browser-based nesting tool, and found it surprisingly effective for organizing laser cutting layouts more efficiently. While it is not a replacement for proper file preparation and final inspection, it can significantly reduce setup time and improve material usage.
Whether you are a hobbyist, teacher, maker, or production shop owner, learning how to save material with free online nesting software can improve both your workflow and your bottom line.
What Is Nesting in Laser Cutting?
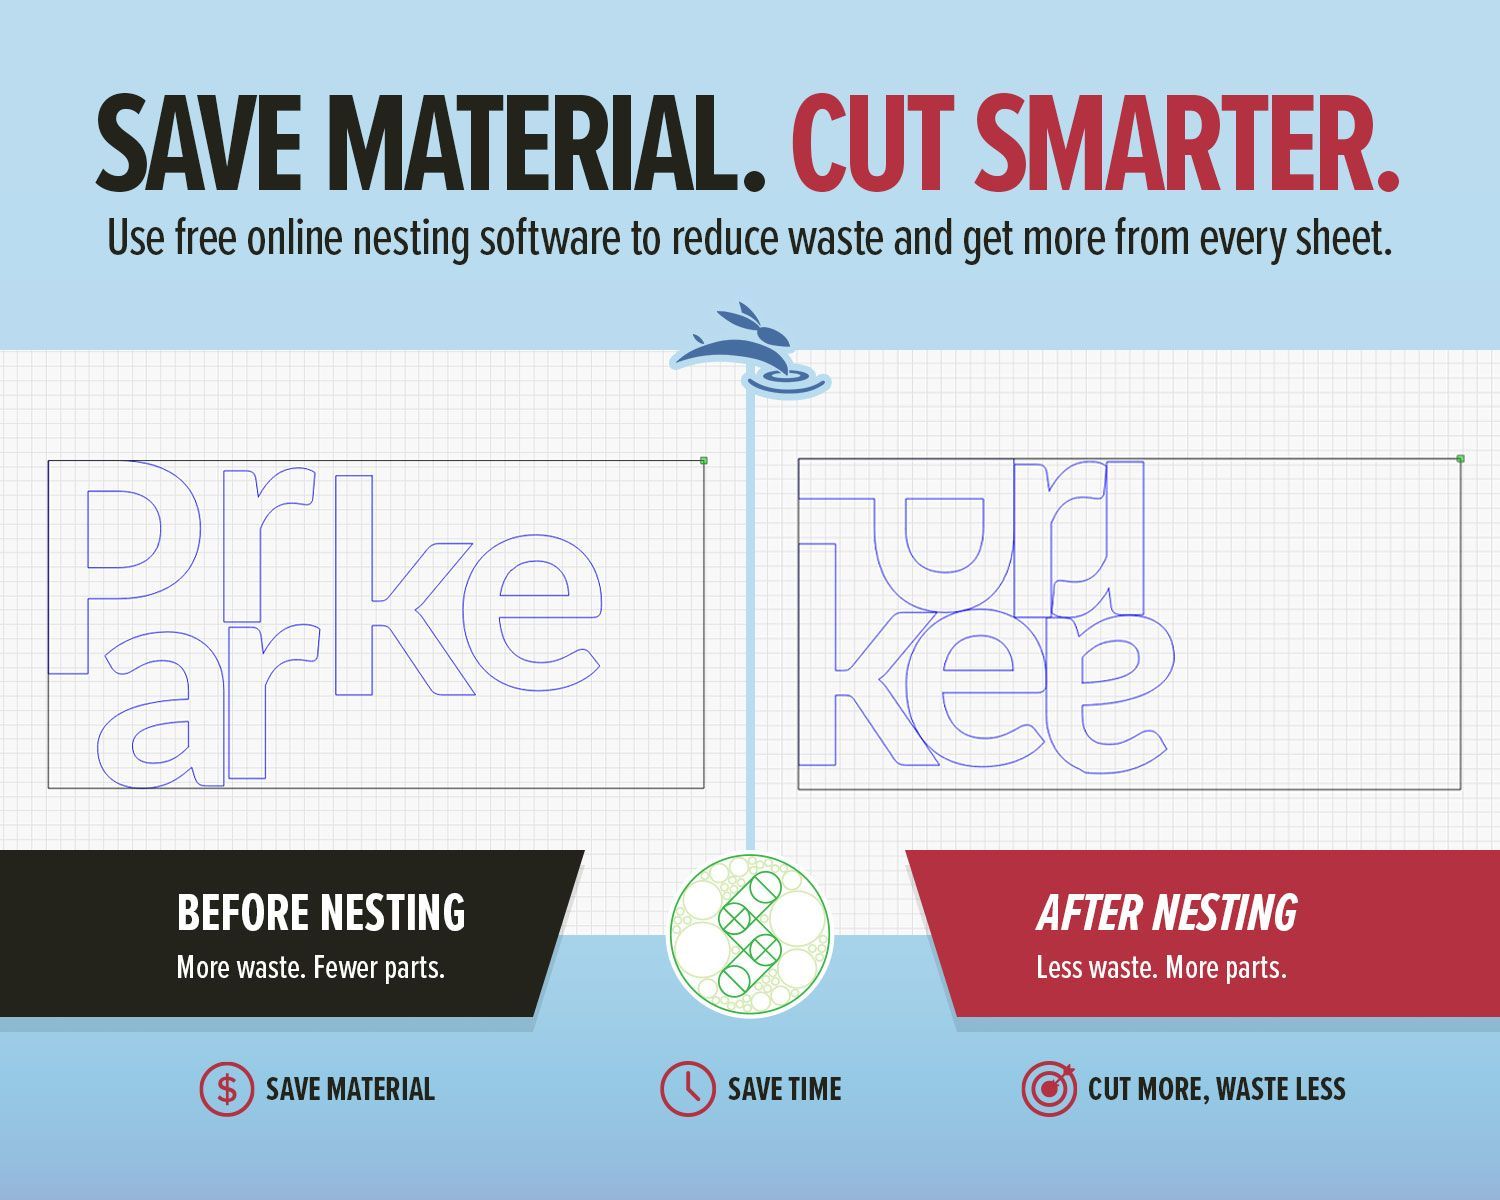
Nesting is the process of arranging multiple parts inside a sheet of material to maximize usable space while minimizing waste.
In laser cutting, nesting usually involves:
- Rotating parts
- Positioning shapes closer together
- Filling awkward gaps
- Reducing unused material areas
The goal is simple: fit more usable parts onto the same sheet.
Think of it like arranging cookies on a baking tray. You want to fit as many as possible, but you still need enough room so everything bakes properly. Otherwise, you end up with one giant cookie blob nobody asked for.
The same principle applies to:
- Acrylic
- Plywood
- MDF
- Cardboard
- Foam
- Leather
- Fabric
- Thin metals
Efficient nesting helps reduce scrap while improving productivity.
Why Nesting Software Matters
Manual layout works fine for simple jobs. But once you start cutting multiple pieces, repeated shapes, or irregular designs, arranging everything by hand becomes time-consuming.
Worse, manual layouts often leave wasted pockets of unused material.
Nesting software solves this by automatically repositioning and rotating parts inside your sheet boundary to find a tighter layout.
Benefits of Nesting Software
1. Reduce Material Waste
Less empty space means more usable parts per sheet.
2. Save Setup Time
Instead of dragging shapes around manually, the software does the heavy lifting.
3. Improve Production Workflow
Faster layouts mean faster production cycles.
4. Increase Profit Margins
Saving material adds up quickly, especially with expensive acrylics or specialty woods.
5. Improve Small-Batch Manufacturing
Nesting is especially valuable for repeated production runs and custom orders.
For schools, makerspaces, Etsy sellers, and small businesses, these savings can become significant over time.
What Is SVGnest?
SVGnest is a free, open-source nesting application designed for vector cutting workflows like:
- Laser cutting
- CNC routing
- Plasma cutting
- Vinyl cutting
Because it runs entirely in your browser, there is no software installation required.
You simply:
- Upload your SVG file
- Define your material boundary
- Adjust spacing settings
- Start nesting
- Export the optimized layout
The project is also open-source and available on GitHub, which makes it appealing for users who prefer transparent, community-supported tools.
Our Experience Testing SVGnest
We tested SVGnest using a laser cutting project that included multiple irregular parts needing tighter placement on a sheet.
Instead of manually repositioning every object, we uploaded the SVG file and allowed the software to optimize the arrangement automatically.
The result?
- Cleaner spacing
- Better material utilization
- Faster setup
- Less wasted sheet area
Was the layout perfect instantly? No.
But that is normal with any automated tool. Final inspection is still essential before cutting.
SVGnest handled the repetitive positioning work well while still allowing us to make final adjustments manually where needed.
That balance is where the tool shines.
When SVGnest Works Best
SVGnest performs especially well with projects that include many repeated or oddly shaped vector parts.
Ideal Projects for SVGnest
- Acrylic ornaments
- Wooden earrings
- Product tags
- Keychains
- Layered signs
- Classroom kits
- Craft blanks
- Repeated production parts
- Small-batch manufacturing
- Odd-shaped components
If your file contains dozens of cut pieces, nesting software can dramatically improve efficiency.
If you only have two rectangles to cut, you probably do not need it.
How to Prepare Your File Before Uploading
Good nesting starts with a clean file.
SVGnest works best with properly prepared vector paths and closed shapes.
Convert Text to Outlines
Editable font text may not import correctly.
Convert all text into outlines or paths before exporting the SVG.
This ensures letters are treated as cuttable shapes.
Remove Unnecessary Elements
Keep the nesting file clean.
Delete anything that does not need nesting, including:
- Notes
- Guides
- Engraving artwork
- Logos
- Reference marks
You can always add engraving details back later.
Add a Material Boundary
SVGnest needs a defined sheet boundary.
Typically, this is a rectangle matching your material dimensions.
Examples:
- 12" × 20" acrylic sheet
- 18" × 24" plywood panel
- 300mm × 500mm MDF board
This boundary tells the software where the parts must remain.
Check Your Units Carefully
SVG files can sometimes scale incorrectly depending on export settings.
Always verify measurements after importing the nested SVG back into your laser software.
Your laser cutter will not warn you if your ornament suddenly imports at dinner-plate size.
Basic SVGnest Workflow
Here is a simple step-by-step workflow for laser cutting projects.
| Step | Action |
|---|---|
| 1 | Create your vector cut file |
| 2 | Add your material boundary |
| 3 | Export as SVG |
| 4 | Upload into SVGnest |
| 5 | Configure spacing and settings |
| 6 | Start nesting |
| 7 | Download the optimized SVG |
| 8 | Import into LightBurn |
| 9 | Verify scale and spacing |
| 10 | Frame and test before cutting |
Important SVGnest Settings to Understand
SVGnest includes several adjustable settings that impact layout quality.
Spacing Between Parts
This is the most important setting for laser users.
Too little spacing can cause:
- Heat buildup
- Burn marks
- Part shifting
- Weak material bridges
A little breathing room goes a long way.
Curve Tolerance
SVGnest approximates curves using line segments.
If tolerance is too high, curved objects may appear to overlap slightly.
Lower tolerance improves accuracy but may increase processing time.
Part Rotation
Allowing rotation often improves material usage dramatically.
However, remember that grain direction matters for some materials like wood veneer.
Part-in-Part Nesting
This feature allows smaller parts to fit inside larger empty spaces.
It can significantly improve efficiency for complex projects.
Critical Checks Before Cutting
Never send a nested file directly to the laser without inspection.
Check the Scale
Measure known dimensions inside LightBurn or your laser software.
Inspect Spacing Carefully
Zoom into tight areas and verify safe spacing.
Check for Overlaps
Especially around curves and detailed geometry.
Verify Cut Order
Cut inner details before outer shapes whenever possible.
This prevents parts from shifting too early.
Frame the Job
Always frame before cutting.
This confirms:
- Material alignment
- Bed placement
- Workspace boundaries
Skipping this step can turn an expensive sheet into modern art very quickly.
SVGnest vs Manual Layout
Both methods have advantages.
Manual Layout Is Best When:
- You only have a few parts
- Shapes are simple
- Exact positioning matters
- It is a one-off project
SVGnest Is Best When:
- You have many pieces
- Shapes are irregular
- Material cost matters
- You are doing repeated jobs
- You want faster setup
The best workflow often combines both methods.
Let SVGnest handle the initial arrangement, then manually fine-tune the layout afterward.
Common Mistakes to Avoid
Uploading Open Shapes
Open vectors may not nest correctly.
Always use closed paths.
Forgetting to Convert Text
Editable fonts can cause import issues.
Ignoring Scale Verification
Always double-check dimensions after import.
Placing Parts Too Close Together
Material savings are great.
Overheated chaos is not.
Skipping Test Cuts
When using expensive material, run a small test first.
A five-minute test can save a full sheet from becoming a very expensive lesson.
How SVGnest Fits Into a Complete Laser Workflow
Nesting is just one step in a larger process.
A strong laser workflow typically looks like this:
- Create the design
- Clean vector paths
- Convert text to outlines
- Add material boundaries
- Export SVG
- Nest with SVGnest
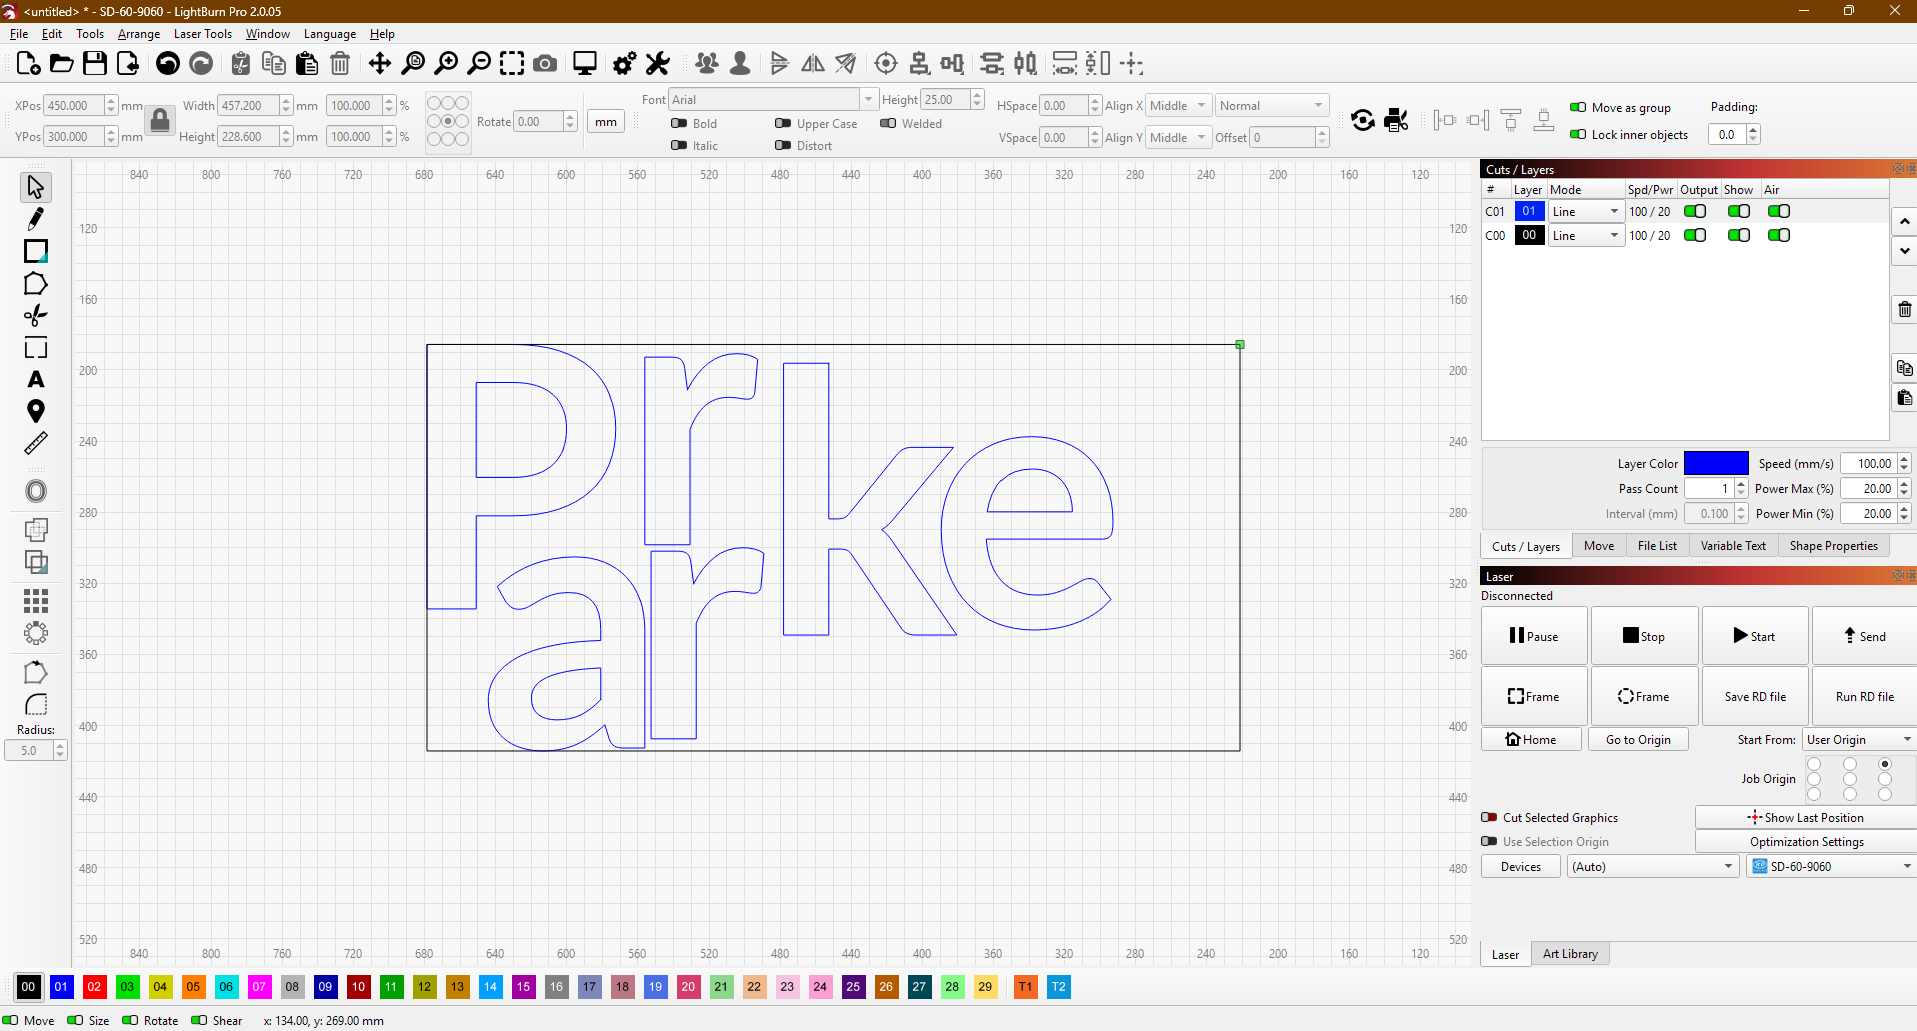
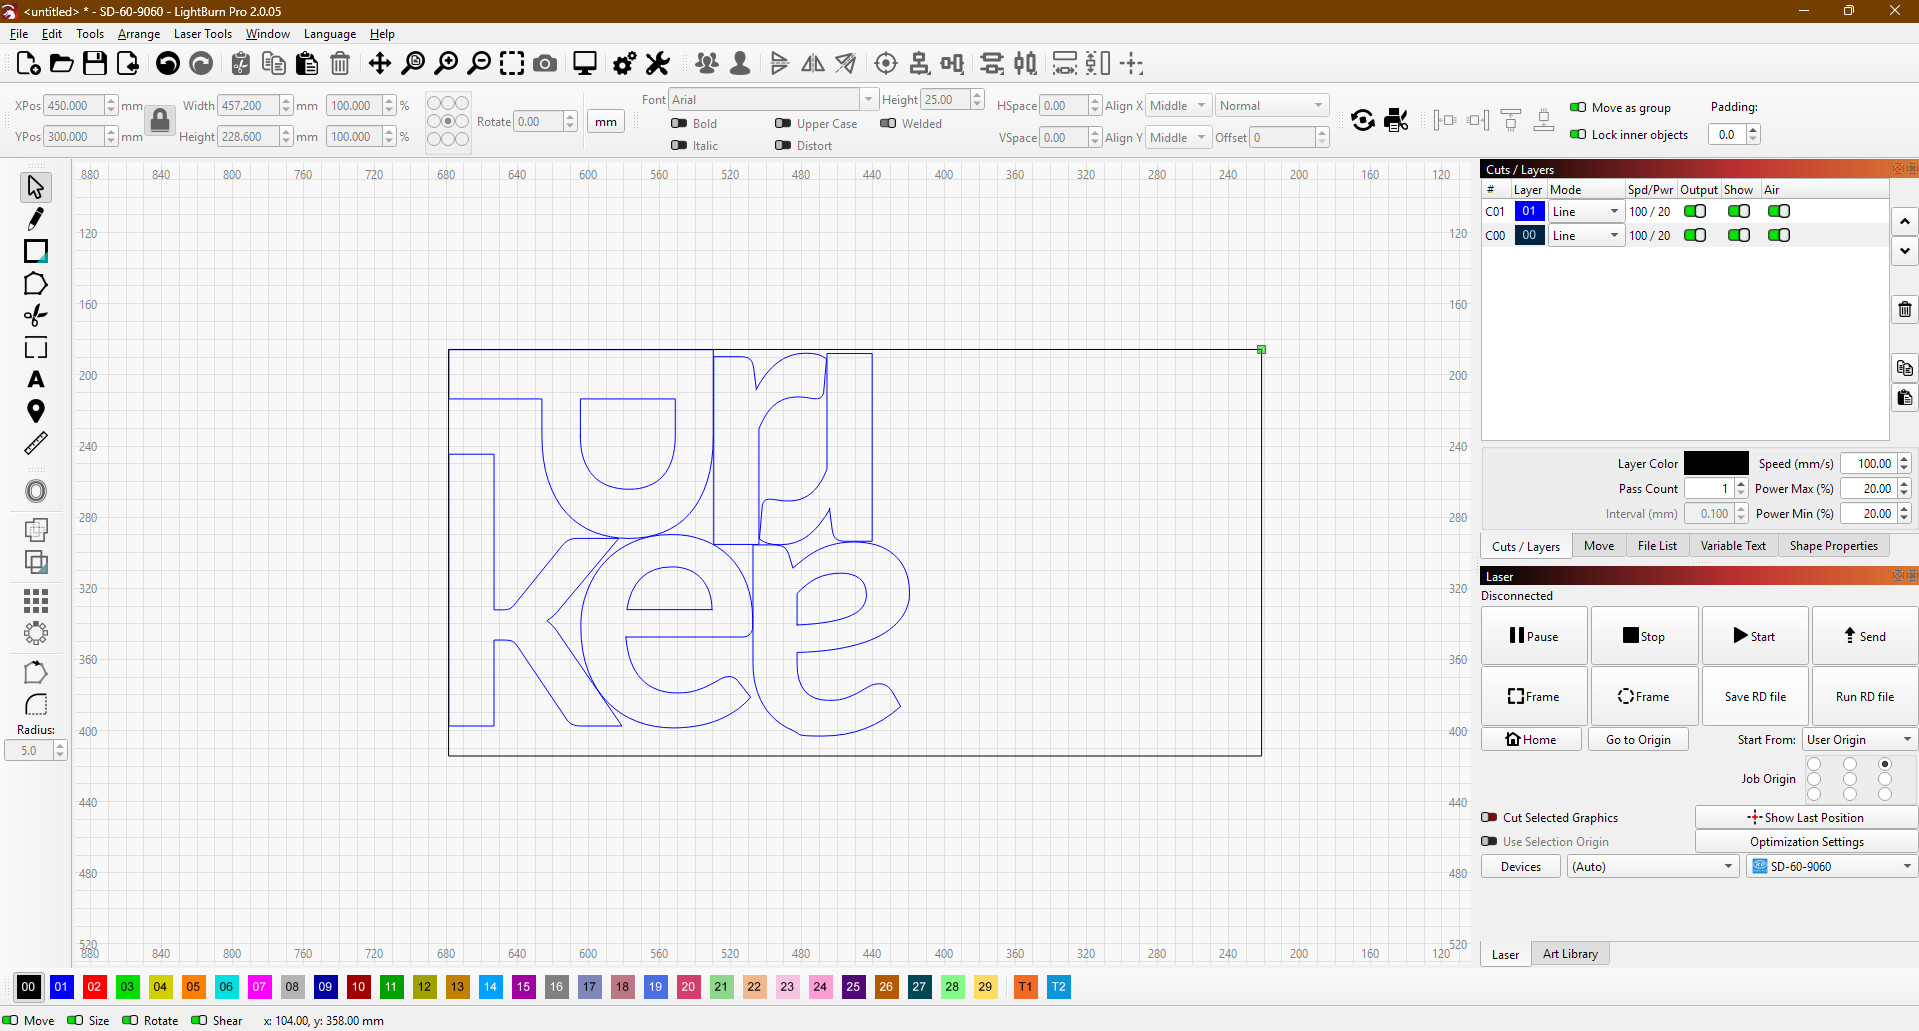
- Import into LightBurn
- Assign cut settings
- Check spacing and scale
- Frame the job
- Test cut if needed
- Run production
Good software helps.
Good habits save materials.
Frequently Asked Questions
Is SVGnest completely free?
Yes. SVGnest is free and open source.
Does SVGnest work with LightBurn?
Yes. You can export nested SVG files and import them into LightBurn.
Can SVGnest rotate parts automatically?
Yes. It can rotate parts to improve material efficiency.
Does SVGnest support engraving layouts?
It is mainly designed for cut shapes. Engraving artwork should usually be added back afterward.
Can SVGnest improve laser cutting profits?
Absolutely. Better material utilization reduces waste and increases output per sheet.
Is nesting useful for hobby laser users?
Yes. Even hobbyists benefit from reducing waste, especially with costly materials like acrylic or hardwood plywood.
Final Thoughts
SVGnest is a surprisingly useful free tool for improving laser cutting layouts and reducing material waste.
While it still requires proper file preparation and final inspection, it can dramatically speed up layout work for repeated projects and complex cut files.
For makers, schools, small businesses, and production shops, learning how to save material with free online nesting software can lead to:
- Lower material costs
- Faster setup times
- Cleaner workflows
- Better production efficiency
Most importantly, it helps you get more usable parts from every sheet you cut.
And in laser cutting, that matters.
Need Help Improving Your Laser Workflow?
Rabbit Laser USA provides CO2 laser systems, fiber lasers, setup assistance, training, and lifetime support for makers, schools, and businesses.
Whether you are cutting acrylic, wood, signs, craft blanks, or production parts, the right workflow can help you get more from both your machine and your materials.