
- Go to Window
- Click Material Library to activate
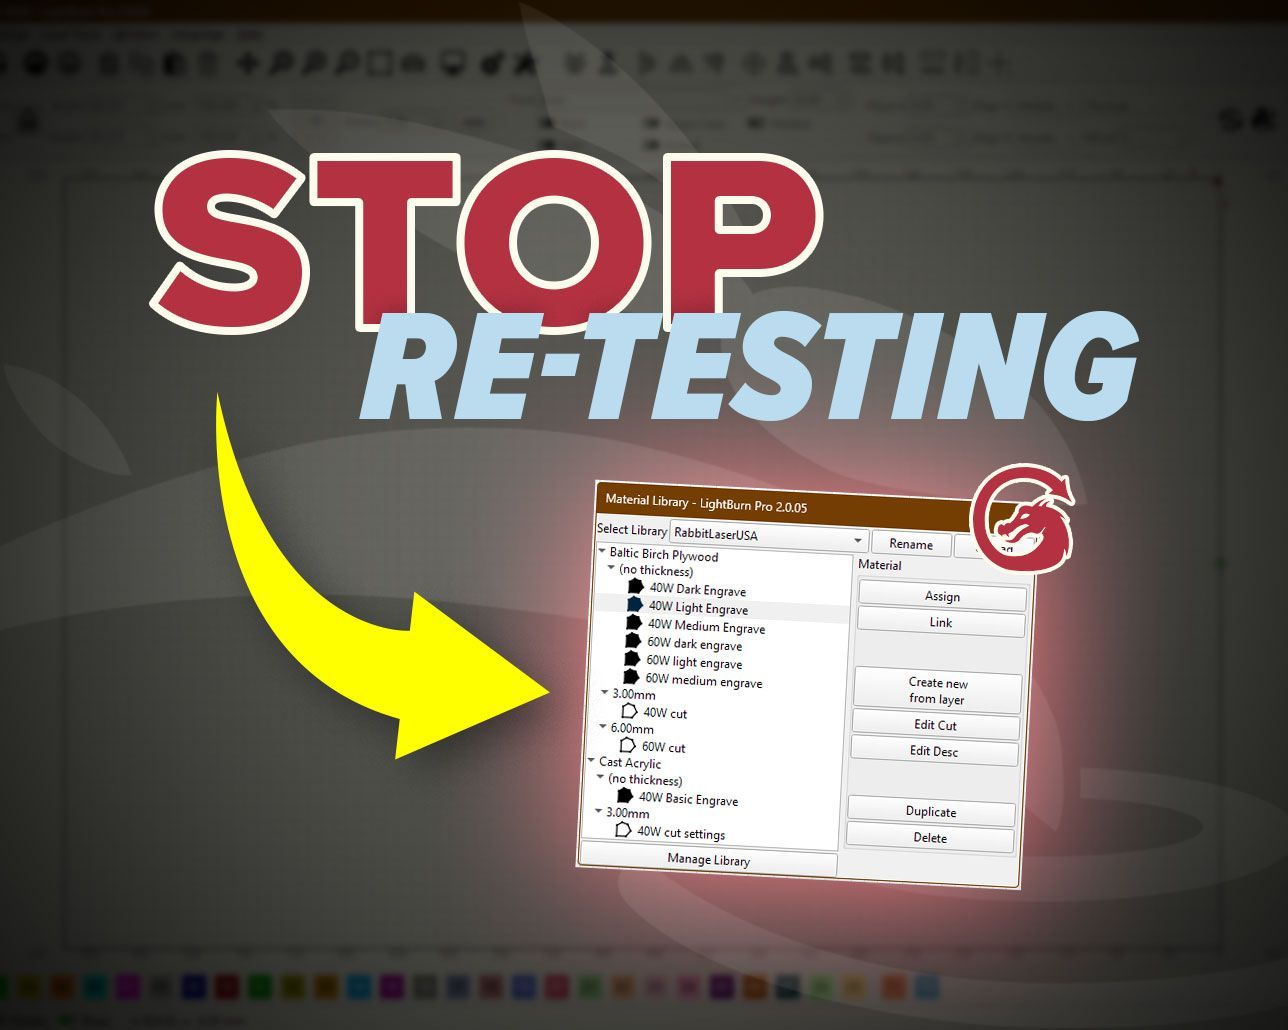
LightBurn Material Library:
Simple Tips for Faster Results
You dial in settings, the job comes out perfect… then two weeks later you’re staring at the Layers panel thinking, “Wait—what speed did I use again?”
You already did the hard part—testing. Now save it with LightBurn’s Material Library, so your best settings are always ready for the next engrave or cut.
If you cut and engrave the same materials often—or you’re tired of re-testing settings you already solved—this will save you a ton of time.
What the Material Library is (and why it speeds everything up)
Think of the Material Library like a recipe box for your laser settings.
Instead of re-testing the same plywood or acrylic every time you start a new project, you store proven settings once—then apply them to any layer whenever you need them. That means less “guess and check” and more “open file → apply settings → run job.”
Where to find the Material Library in LightBurn
In many LightBurn layouts, the Material Library shows up as a tab near the bottom-right (often close to the Laser panel).
If you don’t see it:
Tip #1: Set it up right the first time
Choose the correct device first
Material Libraries are tied to the currently selected device in LightBurn.
Before you create a library:
- Check the Devices dropdown
- Select the laser you actually plan to run
If you save entries under the wrong device, you’ll still see them—but the settings won’t match the machine you’re actually running. That’s how good projects turn into head-scratchers.
Create a new library and name it so it’s easy to find later
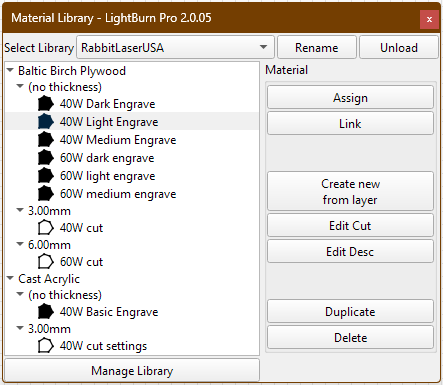
Inside the Material Library tab:
- Click New
- Choose where to save it
- Give it a clear name
Good naming examples:
-
Rabbit SD-60-9060 -
Shop CO2 60W (63.5mm lens) -
Fiber 50W - Marking -
Diode 20W - Wood/Acrylic
Where to save it (without causing chaos)
You can save the library anywhere you like—local drive, network drive, or cloud storage.
Quick rule for cloud/network libraries:
- ✅ Great for backup and sharing
- ⚠️ Only one computer should edit the library at a time
Otherwise you can overwrite changes or corrupt the file. (Which is a fancy way of saying: it’ll ruin your day.)
Tip #2: Save two entries per material (engrave + cut)
Here’s the clean workflow that works in real shops.
Step 1: Set up a finished layer (settings you trust)
Open a project (or a simple test design) and set your layer the way you want it saved.
Common examples:
- Engraving layer: Fill mode, your tested speed/power
- Cut layer: Line mode, tested speed/power, passes, etc.
Save your “this worked great” settings—not the “I hope this works” settings.
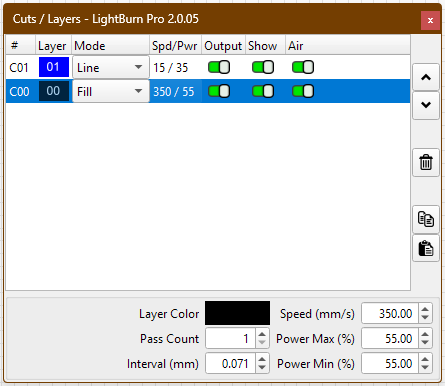
- Engraving layer: Fill mode, your tested speed/power
- Cut layer: Line mode, tested speed/power, passes, etc.
Save your “this worked great” settings—not the “I hope this works” settings.
Step 2: Save that layer into the Material Library
Select the layer you want to save, then in the Material Library choose the option to create a new entry from the layer.
Add details like:
- Material name (birch ply, cast acrylic, leather, etc.)
- Thickness
- Usually important for cutting
- Often optional for engraving (depends on how you organize)
- Notes (optional but smart)
Masking on/off, air assist level, focus notes, passes, special prep - Description (keep it clear)
“Light engrave”, “Dark engrave”, “Photo engrave”, “Cut through”, etc.
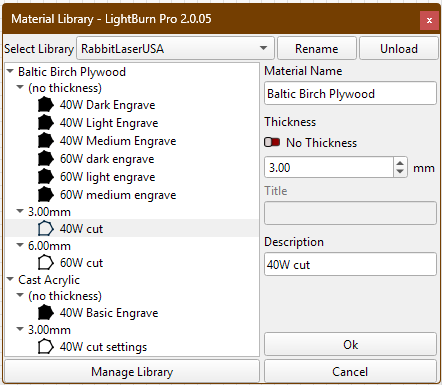
Click OK, and that entry is saved.
Step 3: Repeat for your cut layer
Now select your cut layer and repeat the same process.
Fast win tip: Start with two entries per material:
- One for engraving
- One for cutting
That alone will make your next project feel way smoother.
Tip #3: Use Assign vs Link the right way
This is where the time savings really show up.
Quick comparison

- Assign: copies settings one time (best for one-off jobs)
- Link: stays connected to the library (best for repeat products)
Assign (copy once)
- Select the layer in your project
- Click the library entry you want
- Click Assign
That copies the settings onto your layer one time. After that:
- Changing the layer won’t change the library
- Changing the library won’t update that layer
Link (stays synced)
Linking keeps a live connection between the library entry and the layer.
That means:
- When you update the library entry later, linked layers update too
This is perfect for repeat products and production files.
Tip #4: CO2 users—Link can save you headaches later
If you run a CO2 laser, tube power can slowly change over time. When that happens, your old “perfect” settings might need small adjustments.
If your projects are linked to a material entry:
- you update the library once
- linked projects can automatically reflect that change
It’s like changing the recipe card once instead of rewriting it in every notebook.
Tip #5: Keep your library clean (so it stays useful)
A Material Library can be your best friend… or the “random settings pile.” Here’s how to keep it organized.
Use a naming template you can stick to
Material + Thickness + Operation + Goal
Examples:
- “Birch Ply 3mm – Cut – Clean Edge”
- “Cast Acrylic 1/8 – Engrave – Frosted Mark”
- “MDF 6mm – Cut – 2 Pass”
- “Leather – Engrave – Dark Mark”
Avoid names like:
- “wood test 2”
- “acrylic maybe”
Future-you will not understand what that means. Future-you is also tired.
Notes you’ll thank yourself for later
Good notes include:
- Masking: yes/no
- Air assist: low/high
- Passes
- Focus height or focus tricks
- Material prep (leave paper on acrylic, wipe wood, etc.)
Duplicate, delete, and “Save As”
Inside the Material Library you can:
- Edit an entry (settings + details)
- Duplicate an entry (great for variations)
- Delete old entries you don’t trust
You can also create multiple libraries if needed:
- Different machines
- Different lenses
- Different workflows (example: “Production” vs “Experimenting”)
To duplicate the entire library:
- Load your current library
- Click Save As
- Give it a new name
Quick troubleshooting (because it happens)
My library isn’t showing.
Go to Window → Library.
Assign didn’t change anything.
Make sure the correct layer is selected before clicking Assign.
My project changed after I updated the library.
That layer was Linked, so it updated on purpose.
I can’t find my library file.
Use a consistent save folder and name it after your machine.
Starter goal: build your first 10 entries
Don’t try to save everything in one day. Start with what you actually use.
A simple goal:
5 materials × (engrave + cut) = 10 entries
Great starting materials:
- Birch plywood
- MDF
- Cast acrylic
- Leather (engrave, and cut if you do it)
- Cardstock (score/cut)
Wrap-up: do this next
If you want immediate payoff:
- Create a library for your current laser device.
- Add two entries for your most-used material: one engrave, one cut.
- Name entries clearly using the template.
- Use Assign for quick one-offs and Link for repeat products.
Do that, and the next time you’re about to re-test the same material again… you can skip the drama and get straight to making. 🐰
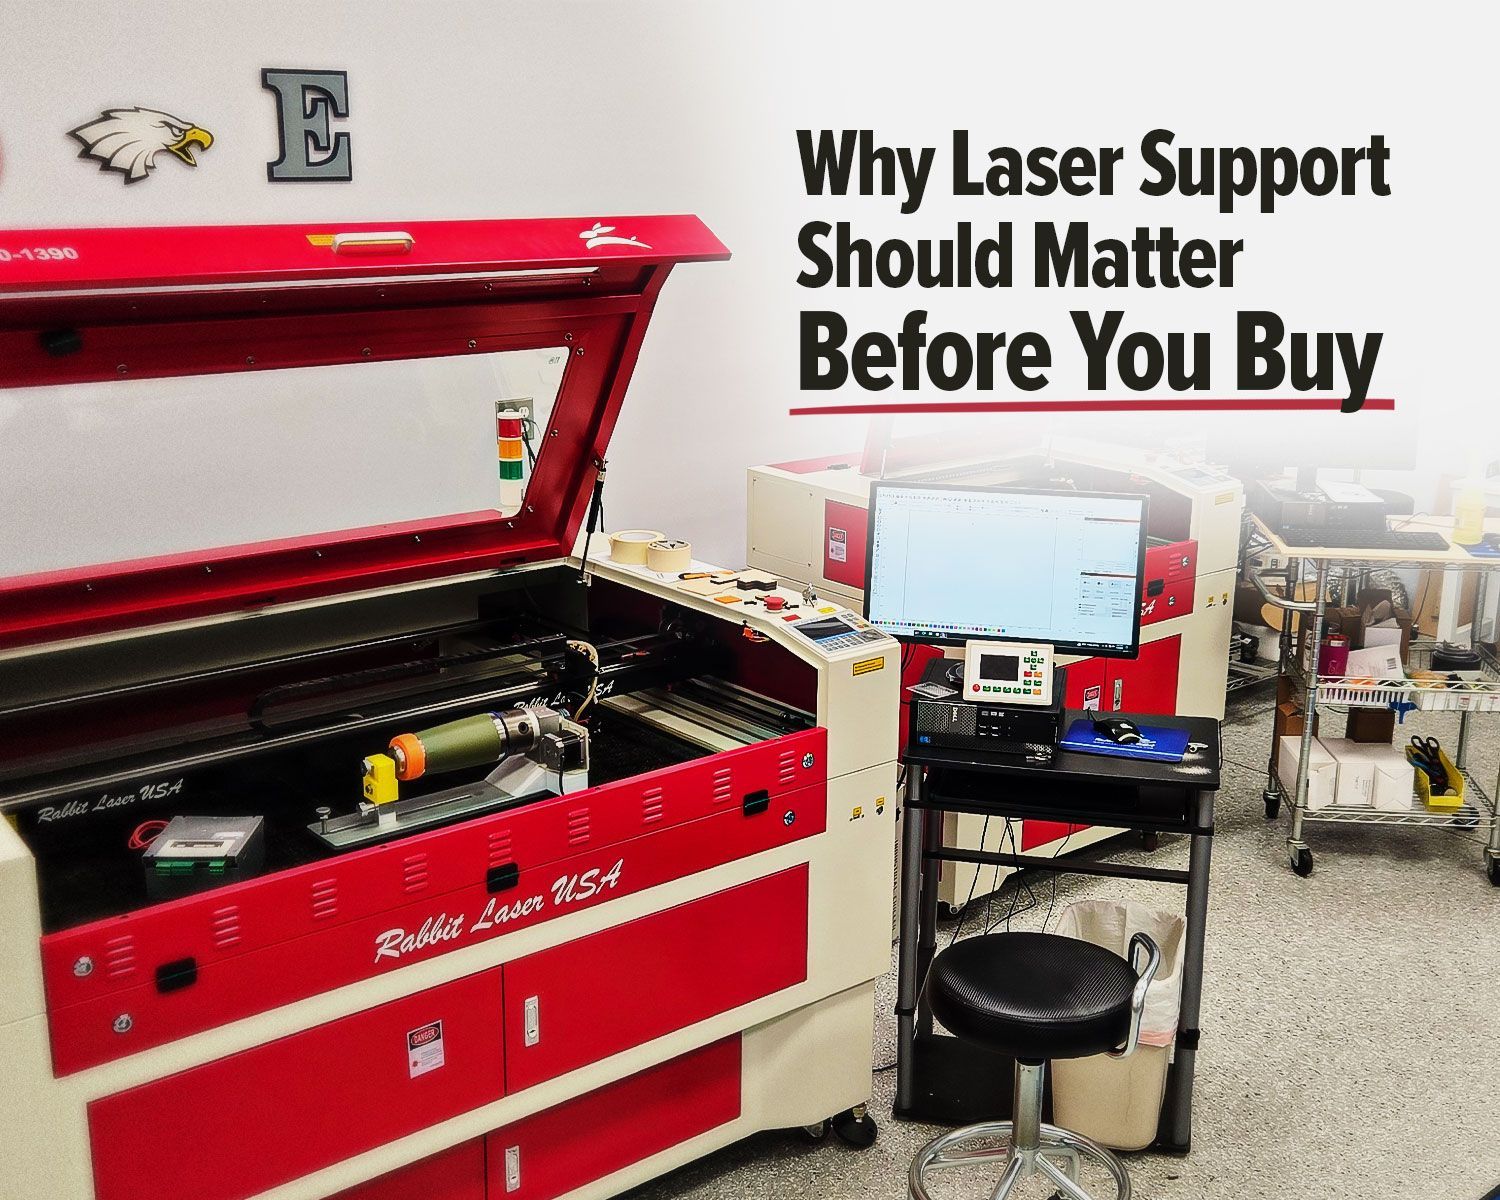
Rabbit Laser USA CO2 laser with support workstation for troubleshooting.
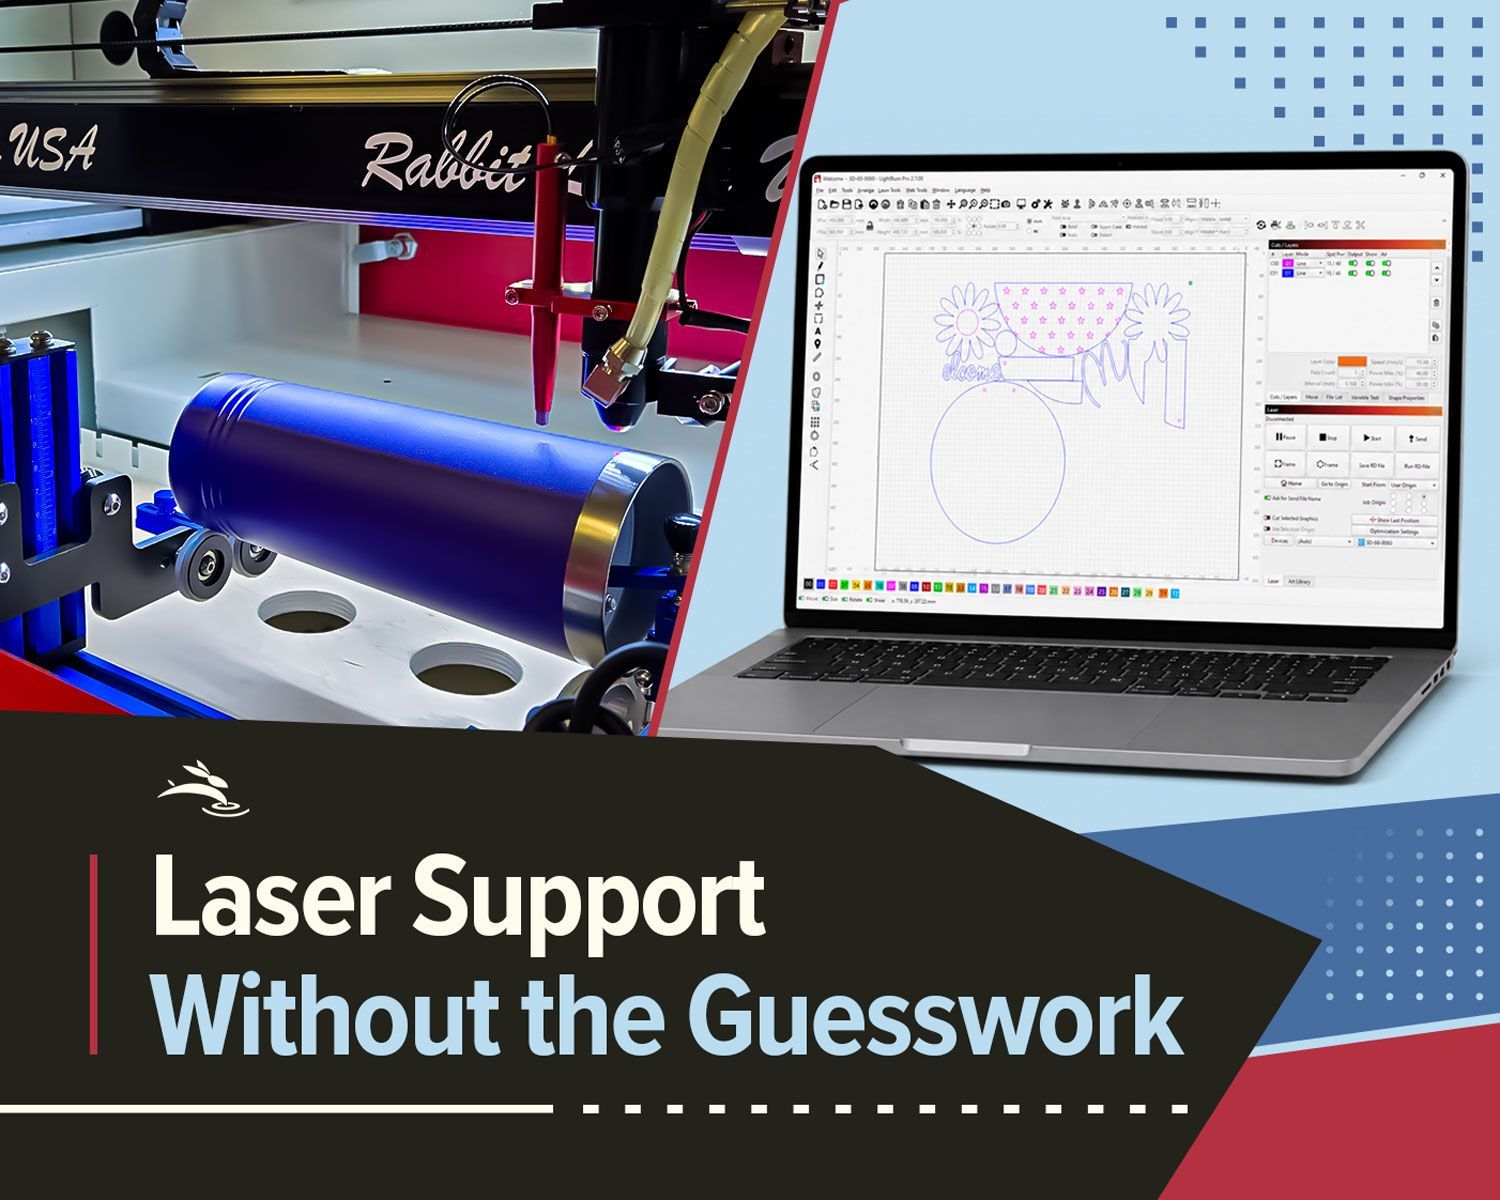
Remote laser support can help with software, settings, troubleshooting, alignment, parts questions, and service needs.
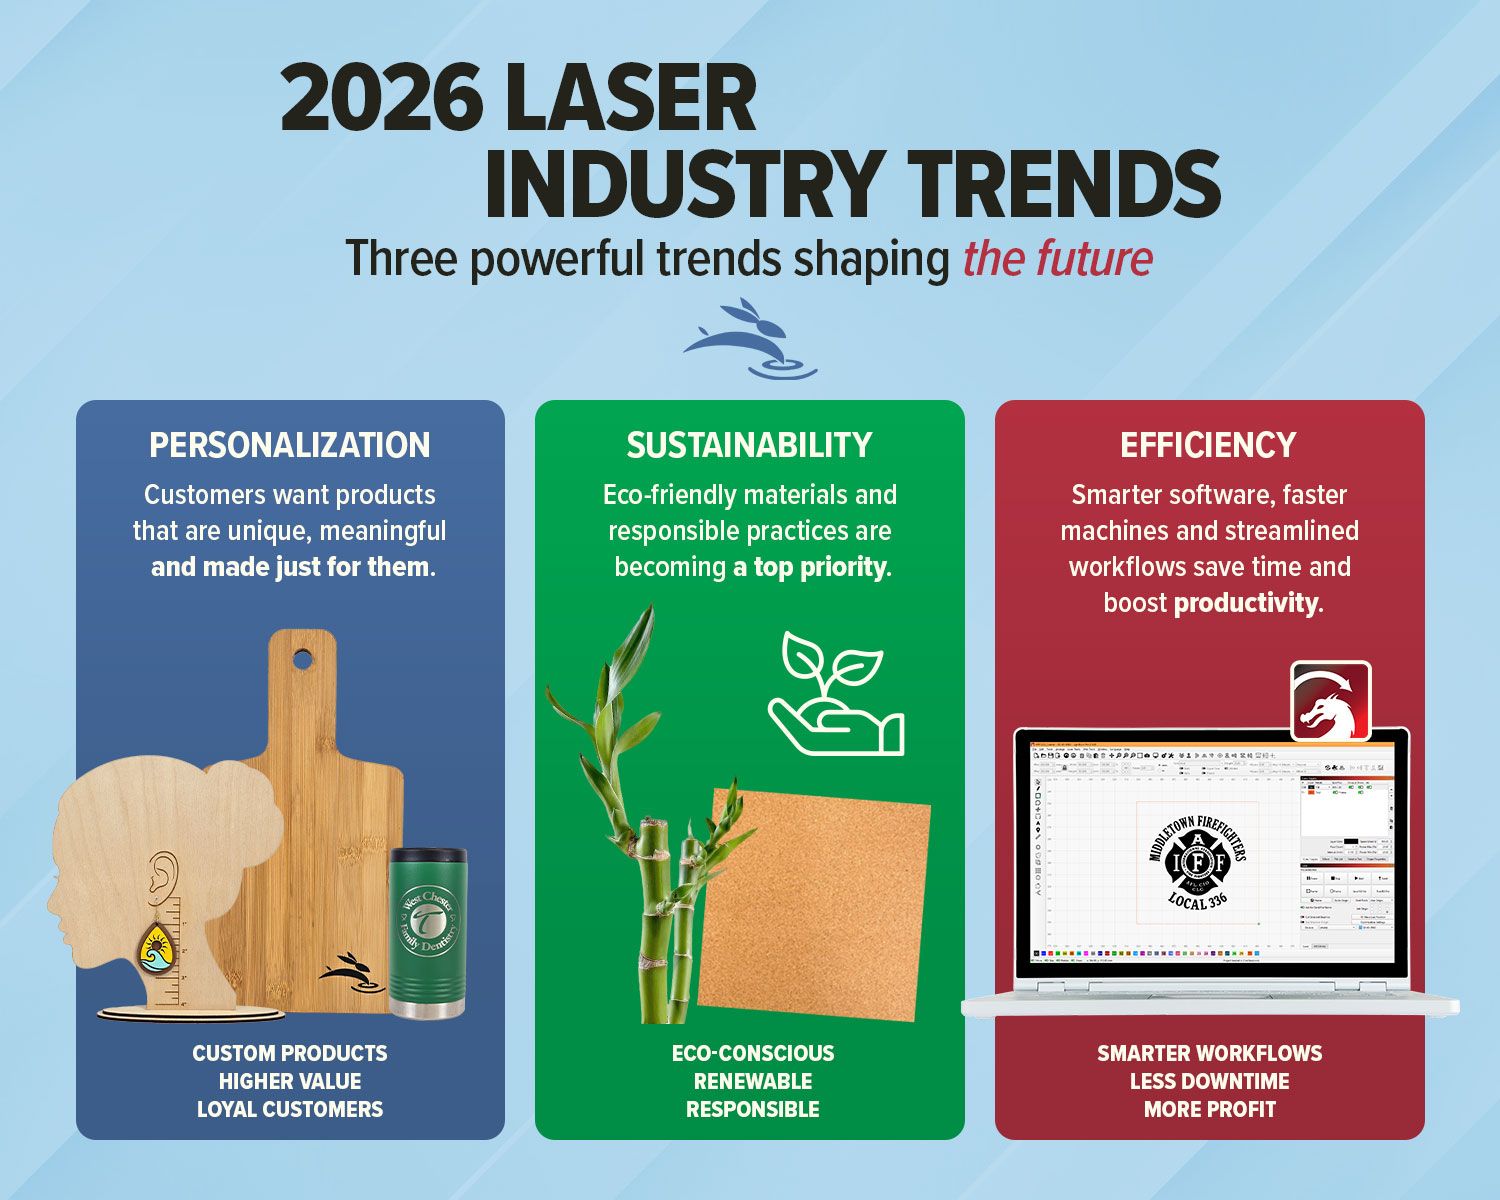
Explore 2026 laser engraving trends, including custom products, eco-friendly materials, efficient workflows, and business growth ideas.
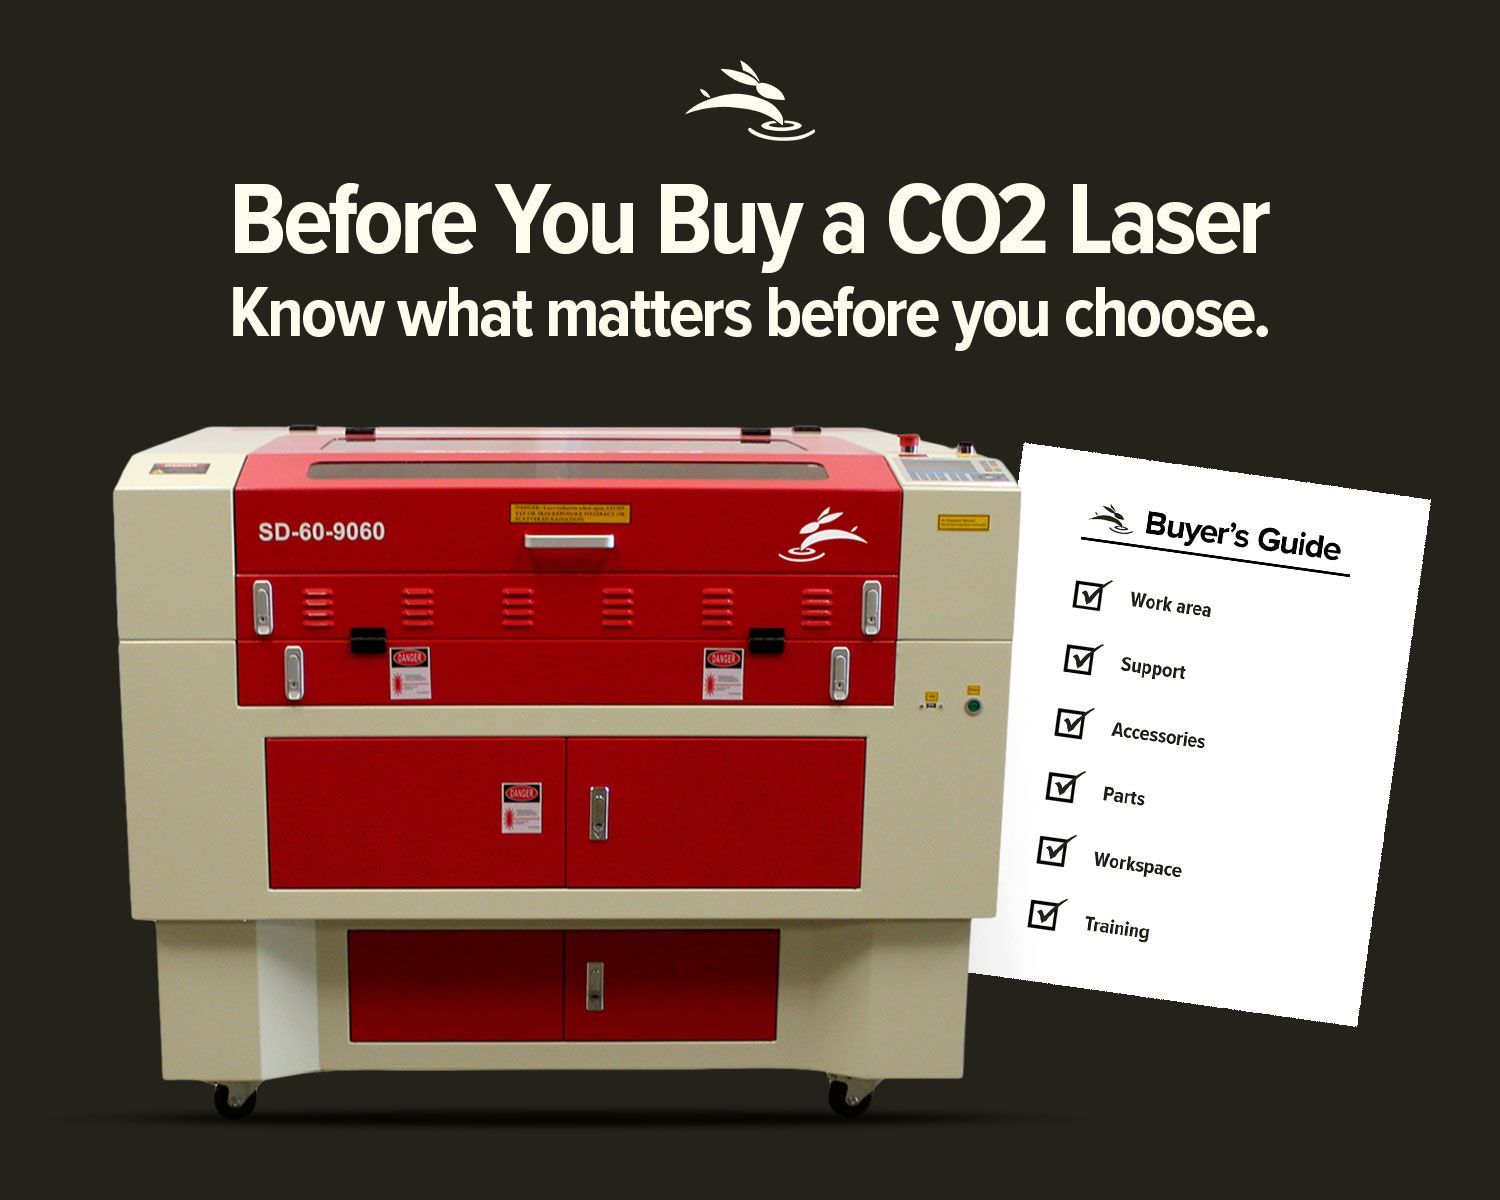
Avoid common CO2 laser buying regrets. Learn what to know about size, support, parts, accessories, setup, and long-term value before you buy.
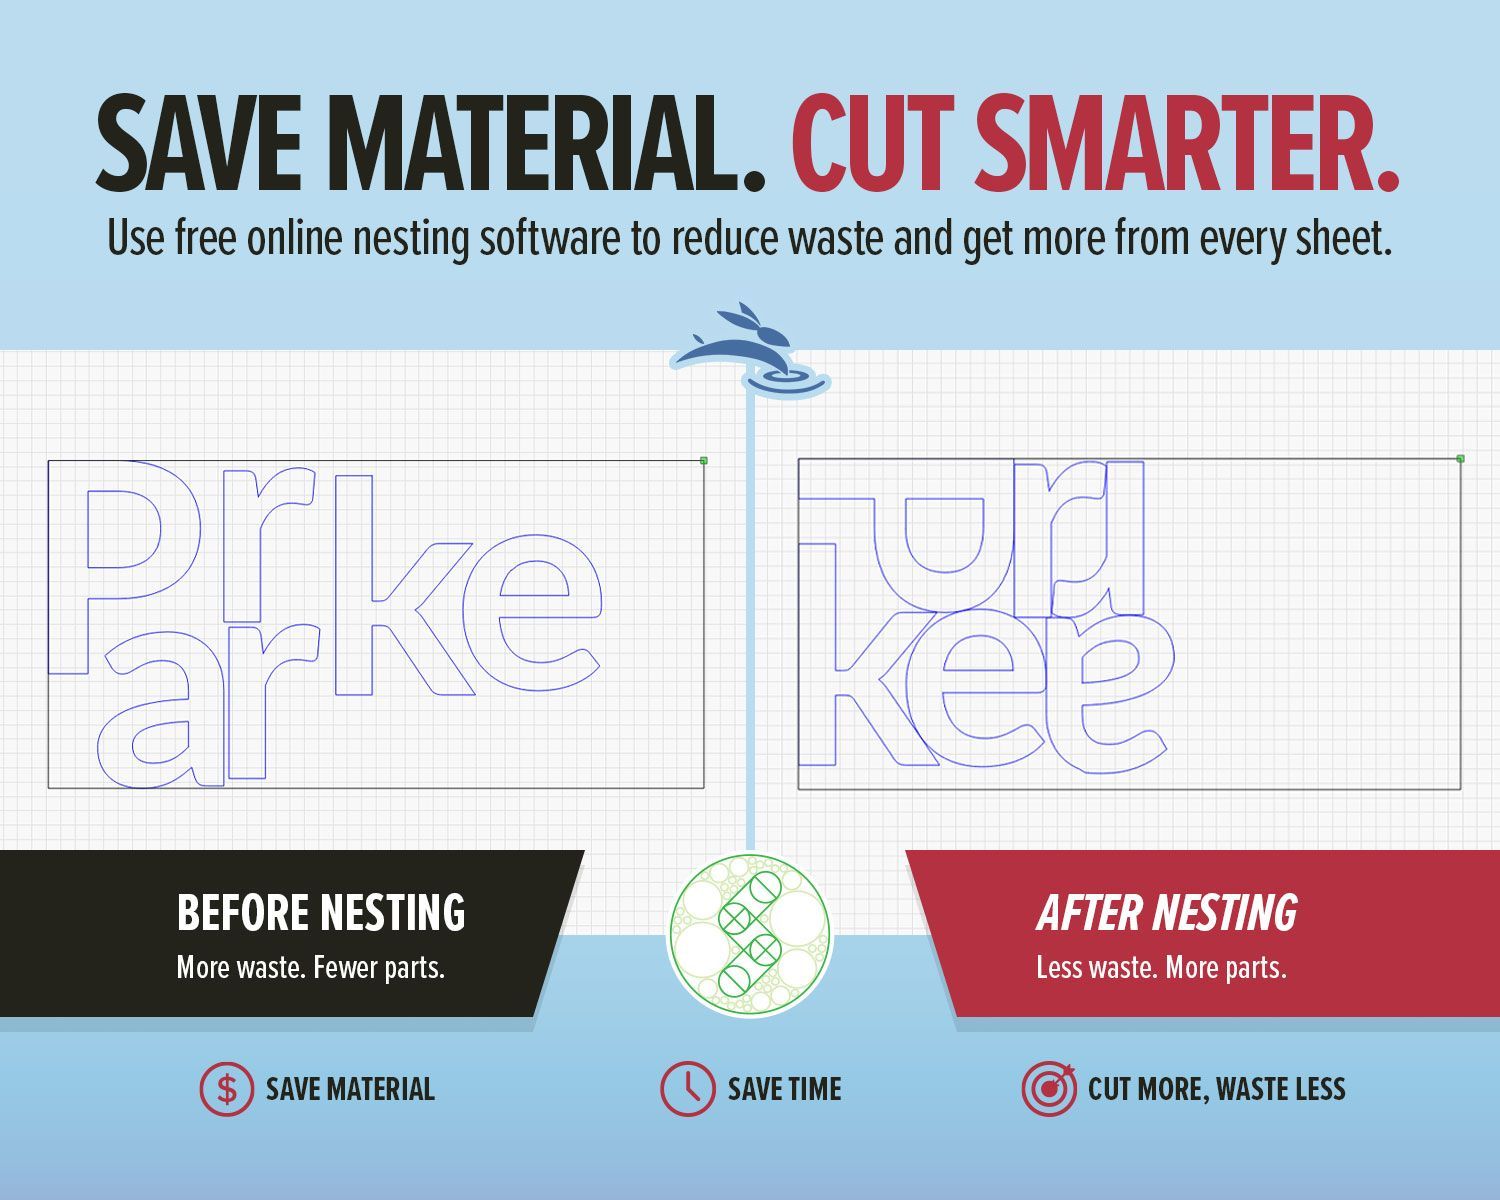
Use free online nesting software like SVGnest to arrange laser cutting files, reduce material waste, and improve your LightBurn workflow.
New to laser engraving or cutting? Avoid common mistakes that cause poor results, wasted material, and frustration. Learn what to fix fast.
High-speed laser engraving demands motion control. Learn how overscan, acceleration, and momentum impact precision and usable workspace.
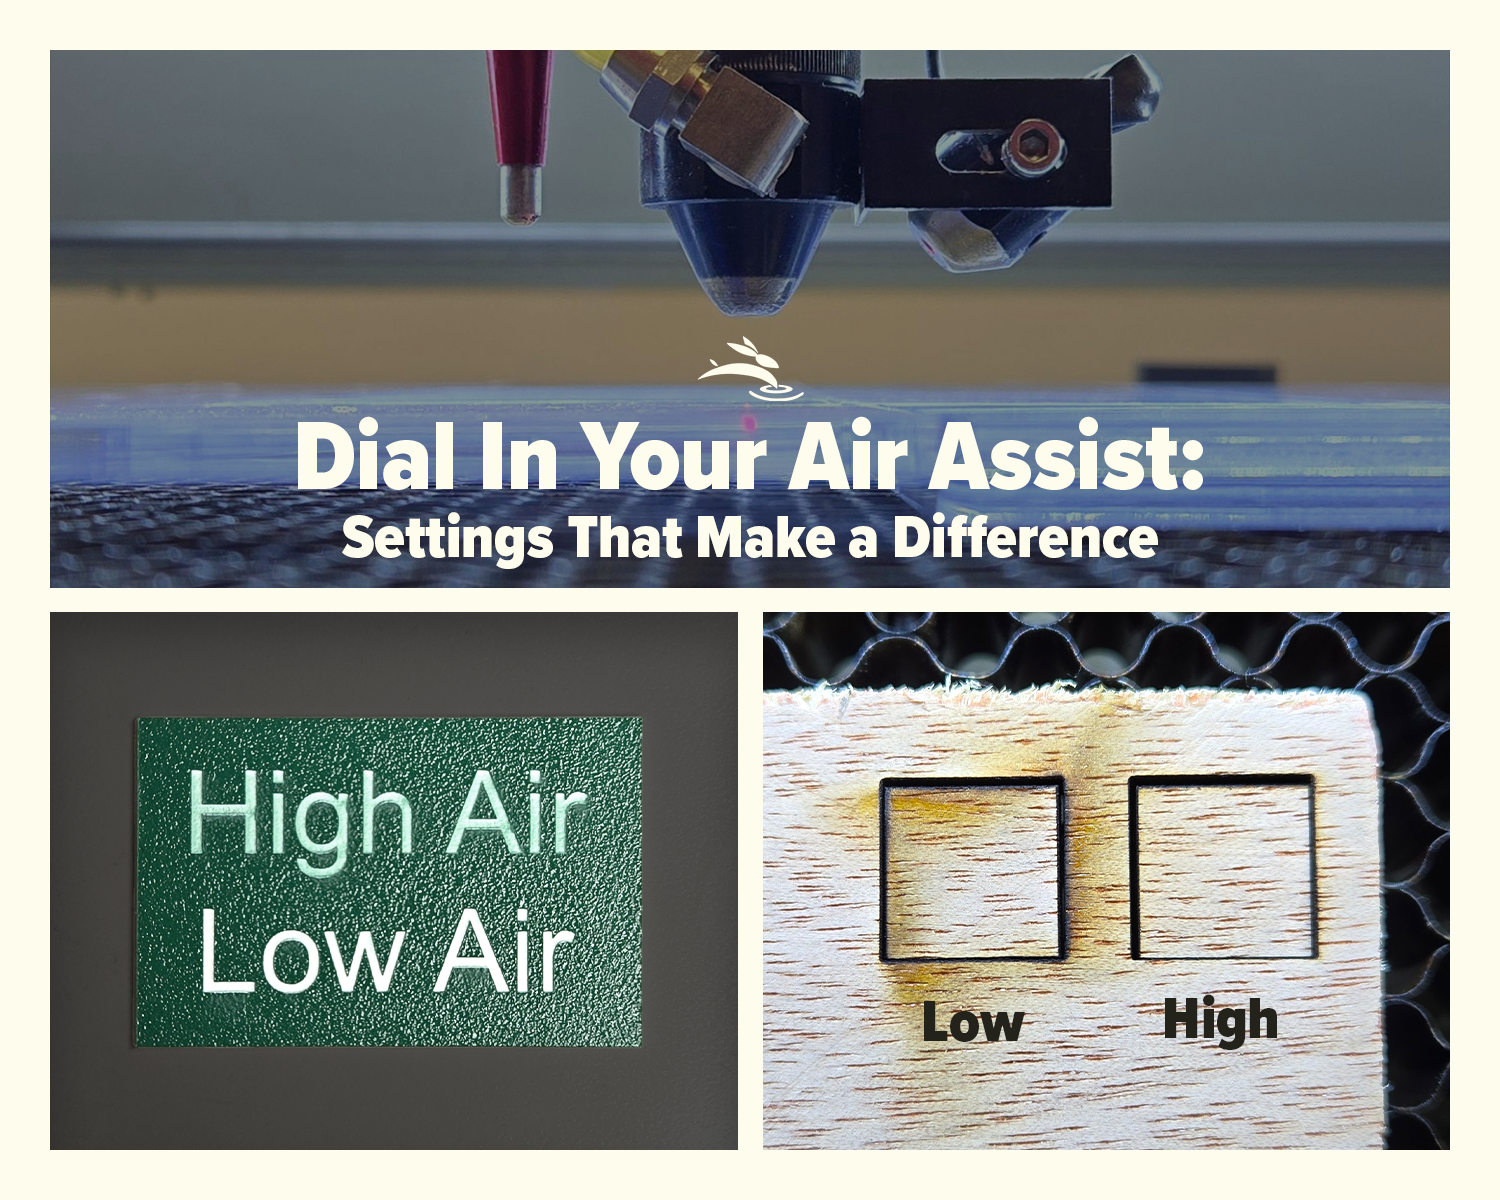
Dial In Your Air Assist: Settings That Make a Difference Air Assist Isn’t Just an Add-On If you’ve ever smelled smoke during a job or noticed charred edges on your laser-cut pieces, chances are your air assist wasn’t doing its job—or it wasn’t set right for your application. While it might seem like a minor detail, air assist plays a critical role in the performance and lifespan of your CO2 laser machine. In this post, we’ll break down the difference between low flow and high flow air assist, when to use each, and how to get the best results from your setup.
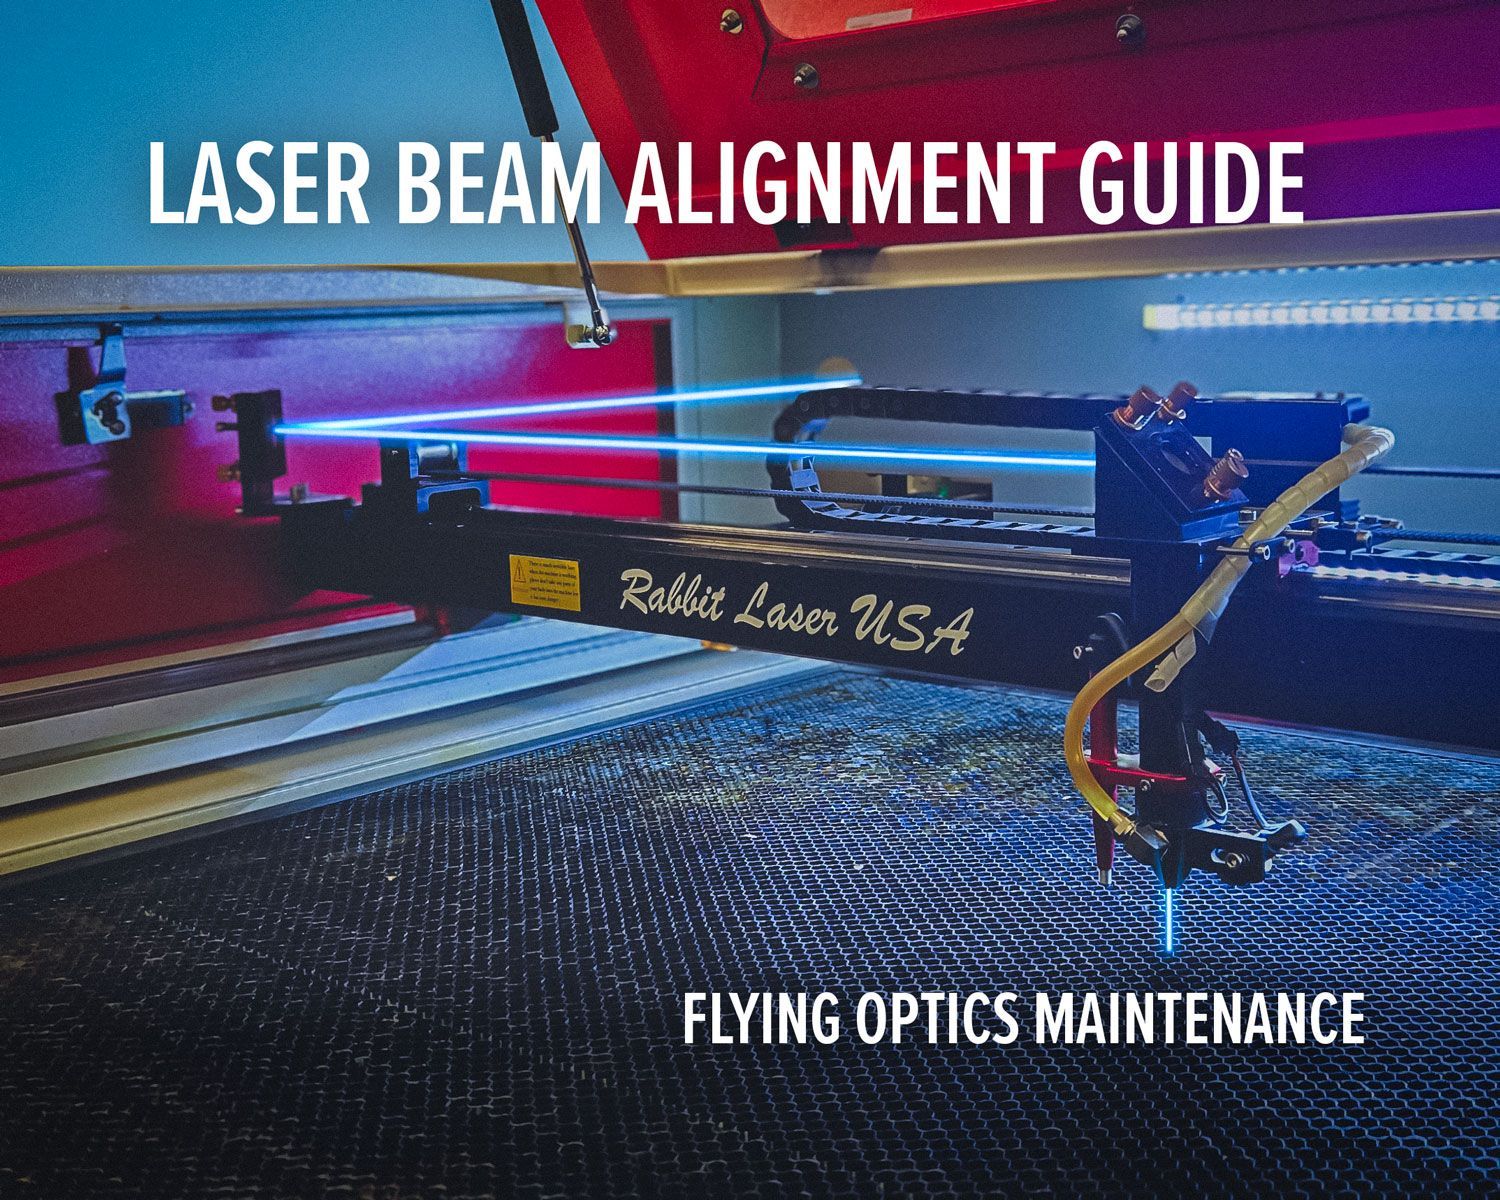
Laser beam alignment guide for flying optics laser machines. Step-by-step maintenance tutorial to restore accuracy, cutting power, and engraving performance.
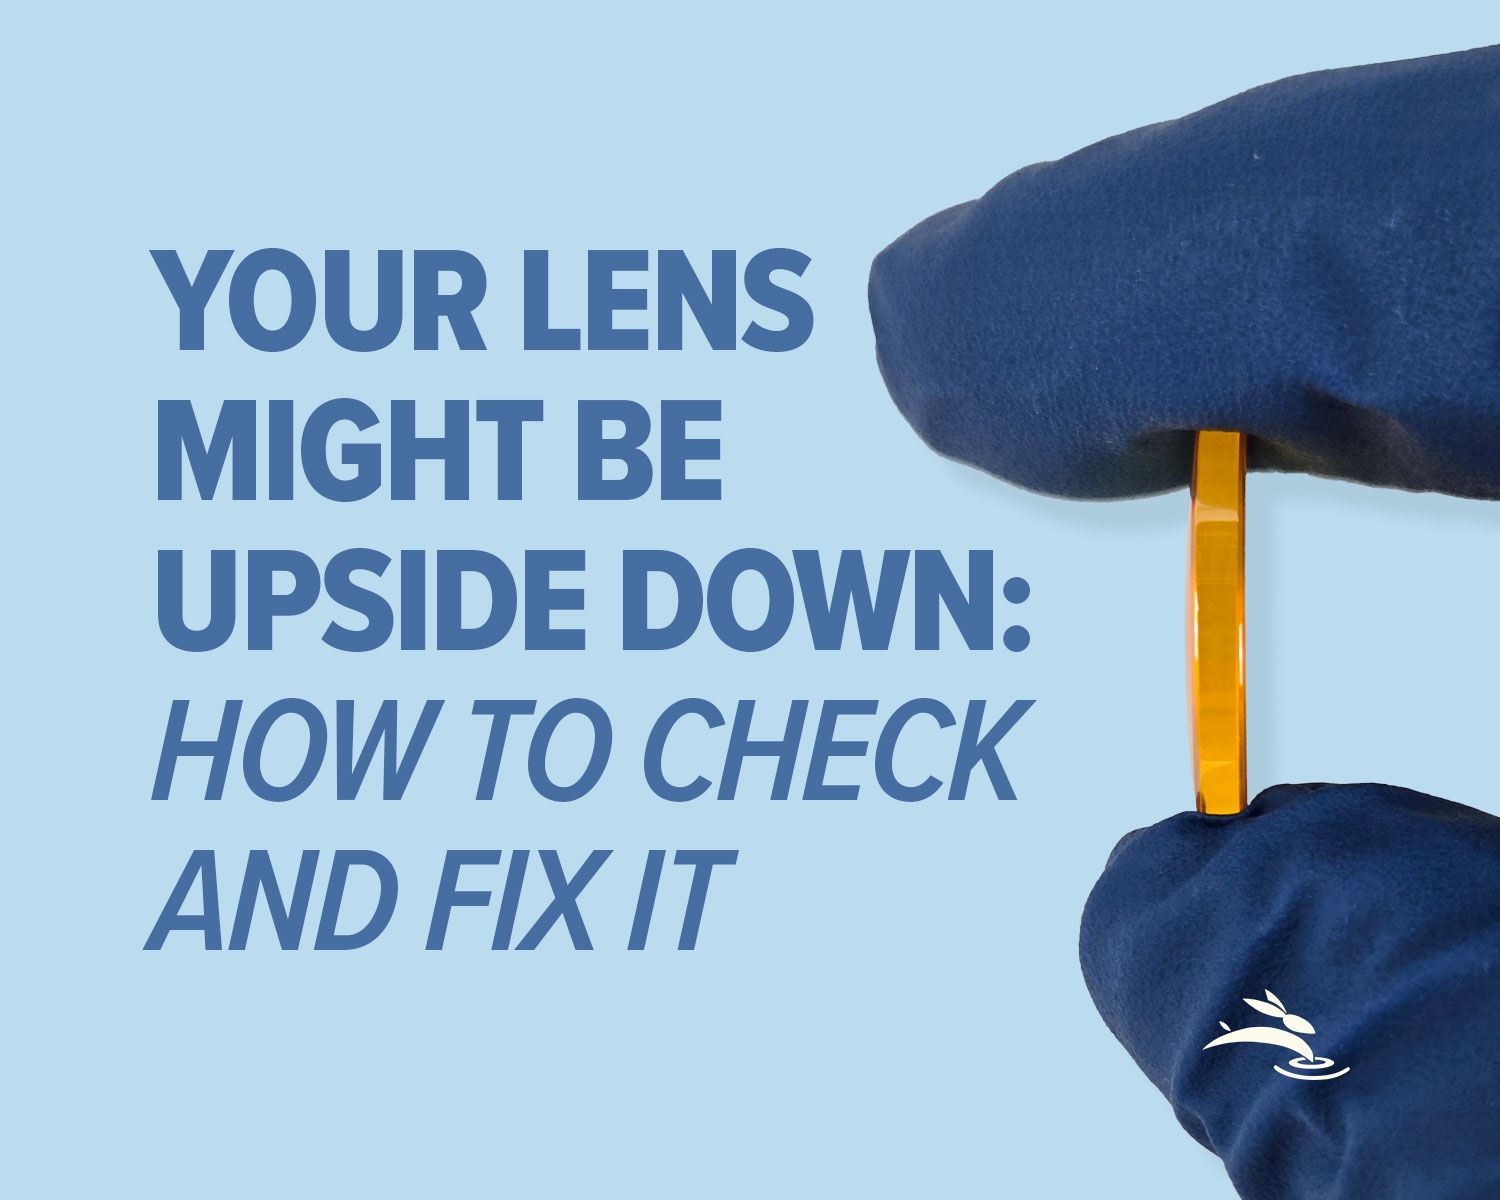
Blurry engraving or weak cuts? Learn the correct CO2 laser lens orientation and how to fix one of the most common laser setup mistakes.
New to CO2 laser engraving? Learn how to choose bed size, wattage, safety features, and support so your first industrial laser is ready to make money.
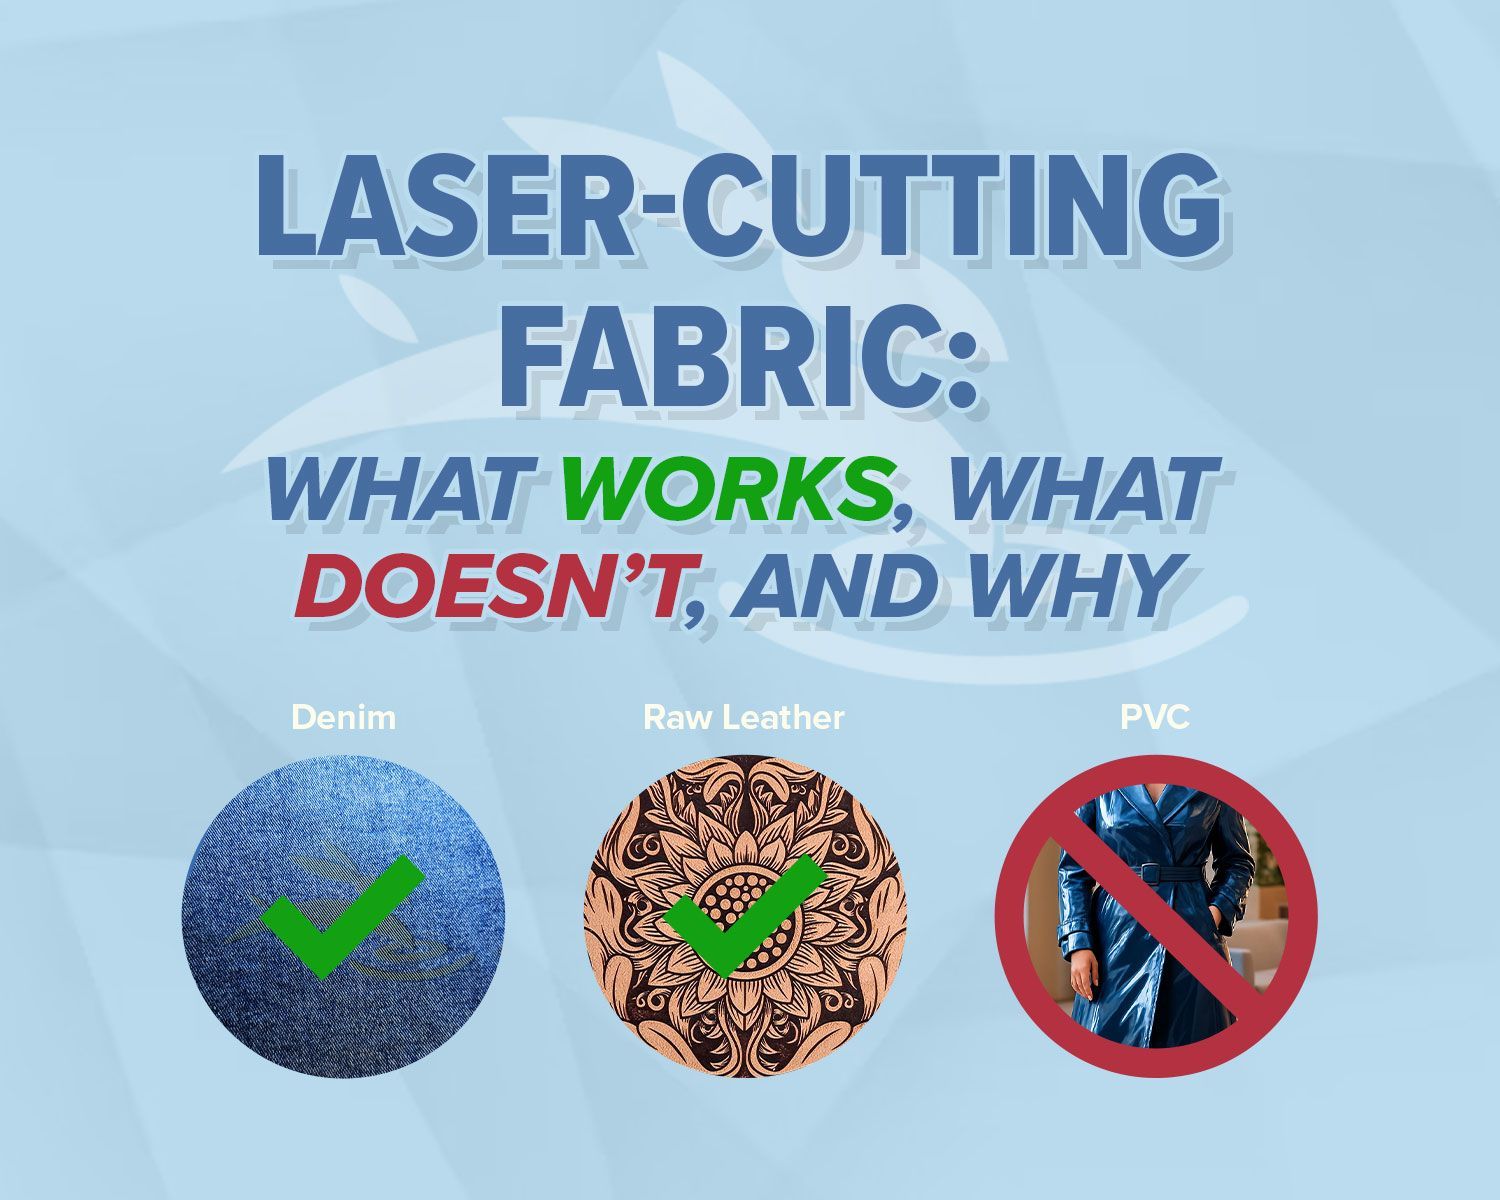
Learn which fabrics are safe to laser cut, which should never be used, and how to get clean results without fraying or burning.