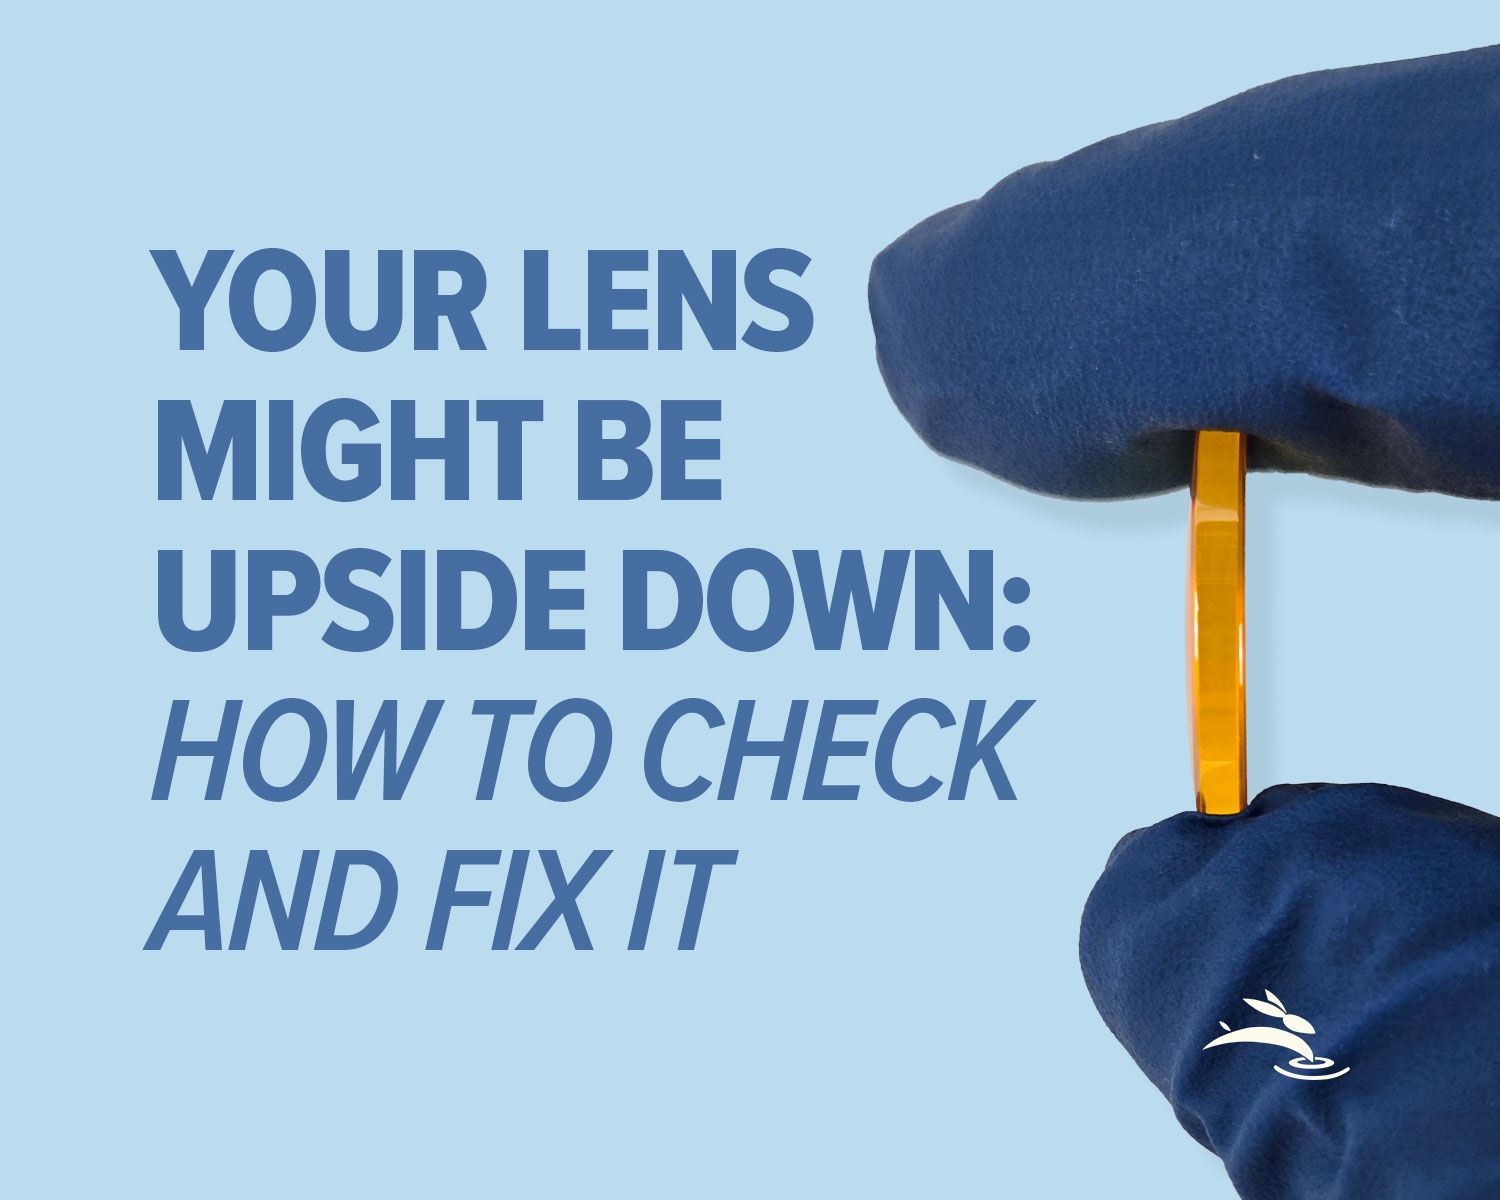
Your Lens Might Be Upside Down: How to Check and Fix It
If your CO2 laser engraving suddenly looks blurry or your cuts won’t go through like they used to, take a breath before touching your settings. I’ve seen this movie a hundred times, and the twist is almost always the same.
The lens is upside down.
This is one of the most common CO2 laser maintenance mistakes we see, especially after lens cleaning or replacement. The good news? It’s easy to check, easy to fix, and doesn’t require buying anything new.
Let’s walk through it the right way.
Why CO2 Laser Lens Orientation Matters
A CO2 laser lens isn’t just glass—it’s shaped to focus the beam into a tight point. That shape only works when the lens is installed in the correct direction.
When the lens is flipped:
- The beam doesn’t focus properly
- Energy spreads instead of concentrating
- Engraving looks soft or washed out
- Cuts need more passes or more power
The machine hasn’t changed. The optics have.
Think of it like using binoculars backward. Everything still “works,” just not the way it should.
Step 1: Confirm the Lens Type (No Guessing)
This guide applies to the
most common CO2 laser focusing lens used in engraving and cutting systems:
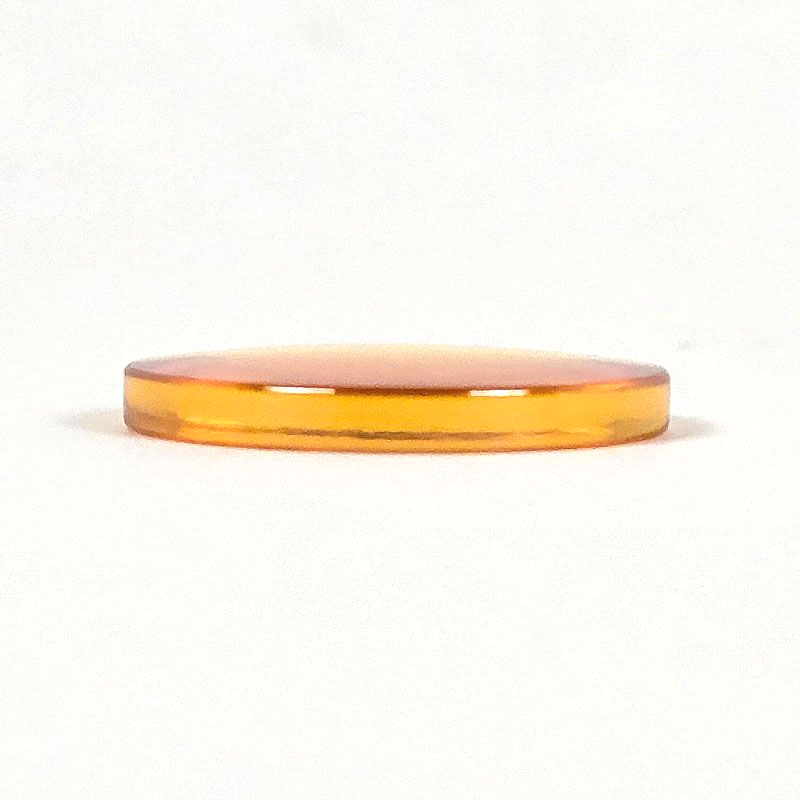
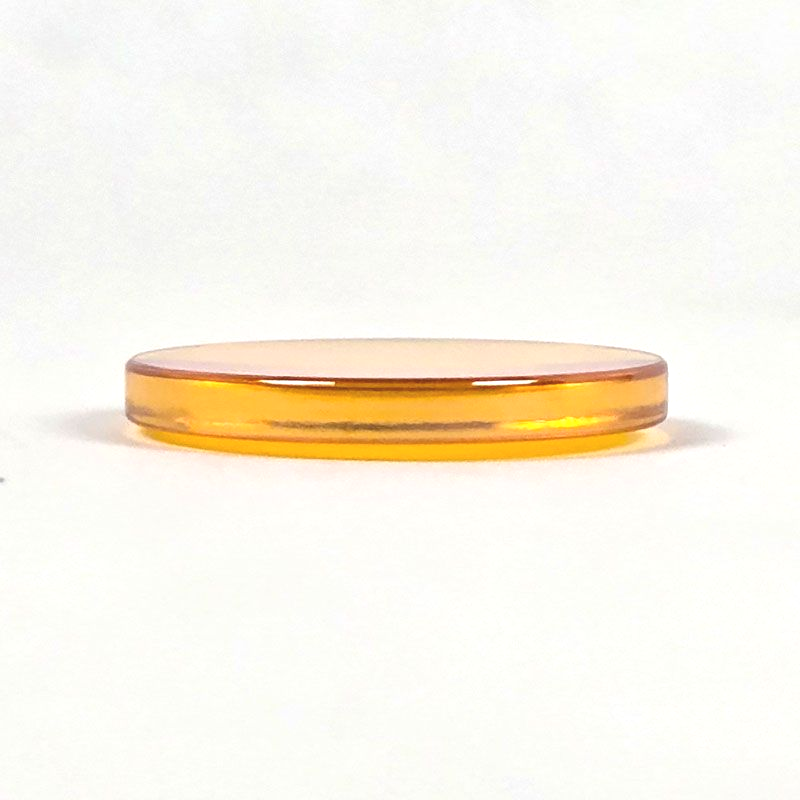
Plano-convex ZnSe lens
- One side is flat
- One side is curved (convex)
If your lens came with a manufacturer diagram that specifies a different orientation, always follow that documentation. Lens shape matters, and not all lenses are identical.
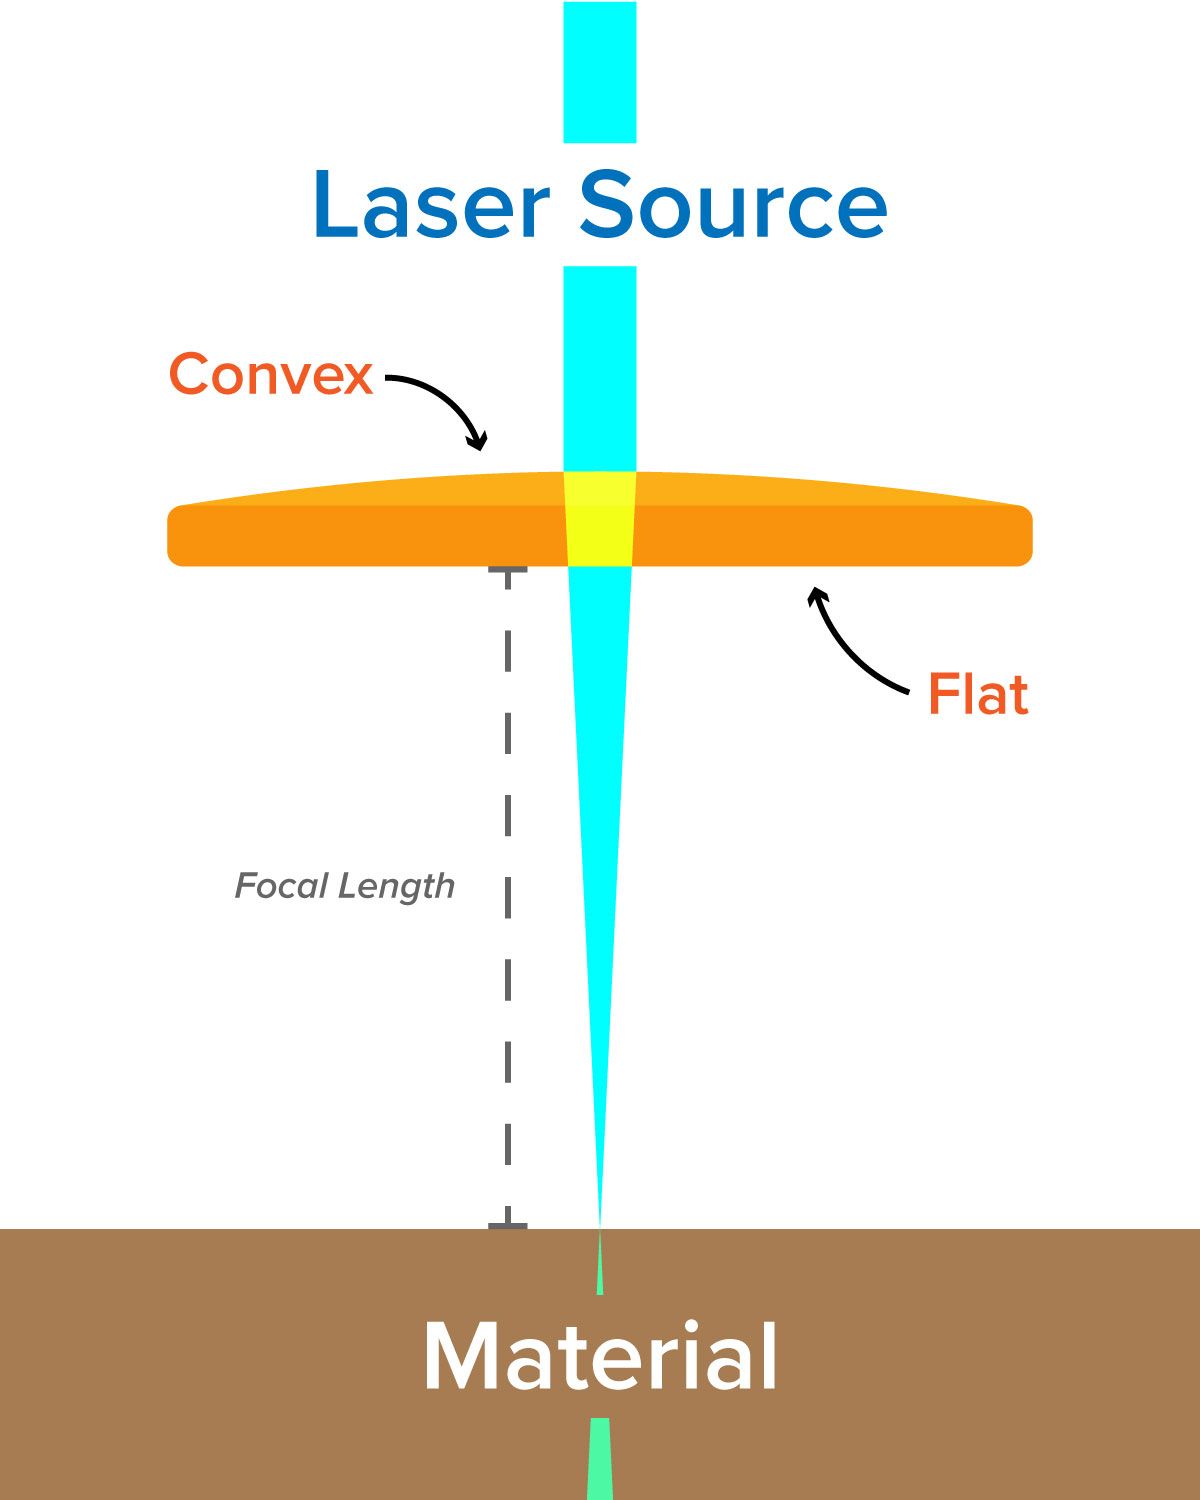
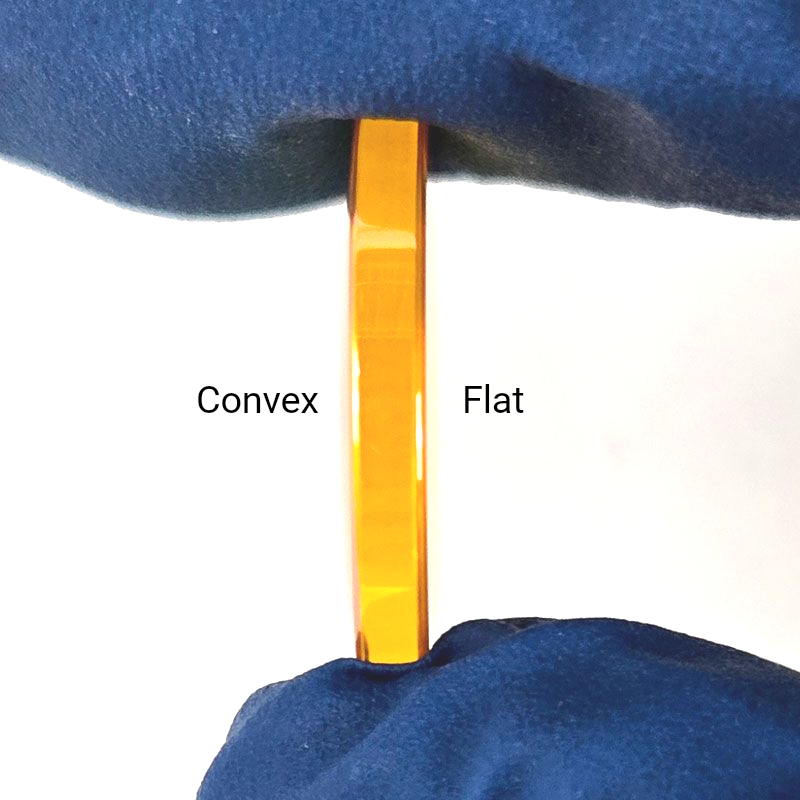
Step 2: Correct CO2 Laser Lens Orientation (House Rule)
Why This Orientation Works
Inside a CO2 laser head, the beam entering the focusing lens is
close to collimated. Placing the curved surface toward the incoming beam reduces optical distortion and produces a tighter, more consistent focal spot on the material.
Flip the lens, and you’ll still get output—but not performance.
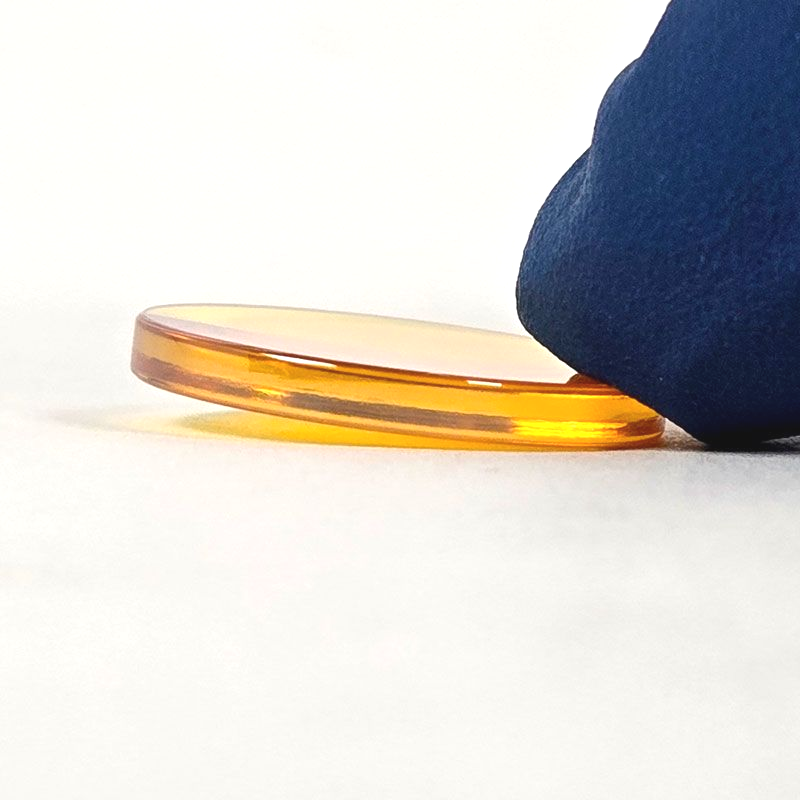
Step 3: How to Check Your Lens (Quick and Safe)
You don’t need tools or test gear. Just good light and a steady hand.
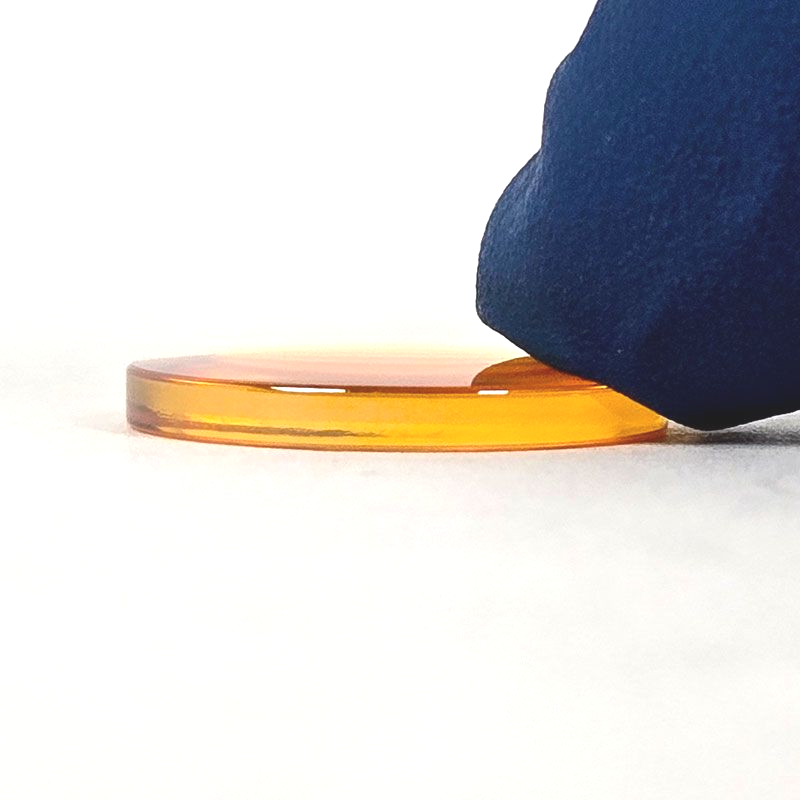
- Remove the lens carefully
Work over a clean surface. Dropped lenses don’t get second chances. - Identify the flat side
Hold the lens at eye level and tilt it under light. - Flat side shows minimal distortion
- Convex side has a visible outward curve
- Reinstall correctly
- Convex side up
- Flat side down
- Make sure the lens seats evenly
- Tighten the retaining ring snug—not forced
Faces of Humanity
Portraits of people from around the globe
Button
Beyond Boundaries
Visual odyssey across continents
Button
Sands of Time
Stark beauty of desolate dunes
Button
Nature's Symphony
Breathtaking colors of our planet
Button
Symptoms of an Upside-Down CO2 Laser Lens
If these problems showed up after cleaning or maintenance, check orientation first:
- Blurry or fuzzy engraving
- Fine text losing sharp edges
- Cuts not going through at known-good speeds
- More charring than usual
- Inconsistent focus across the bed
This is one of the fastest issues to diagnose, and one of the easiest to fix.
When This Mistake Usually Happens
Most upside-down lenses happen during:
- Routine lens cleaning
- Swapping focal lengths
- Nozzle disassembly
- Rushed maintenance between jobs
It’s not carelessness. It’s a very human mistake.
A Simple Habit That Prevents This
Here’s a trick that saves a lot of frustration:
When you remove the lens, set it on a clean lens wipe.
Press on the edge. If it doesn't rise, the flat side is down. If it rises, the convex is facing down.
Small habit. Big payoff.
Final Check Before You Run a Job
After reinstalling the lens:
- Run a quick focus test or ramp test
- Confirm the thinnest line and cleanest cut occur at the expected focus point
If results still look off, then move on to alignment or focus height—but always rule out lens orientation first.
CO2 Laser Lens Orientation FAQs
What happens if my CO2 laser lens is upside down?
The beam won’t focus correctly, leading to blurry engraving, weak cuts, and inconsistent results.
Which way does a plano-convex laser lens face?
The convex side faces the incoming beam, and the flat side faces the material.
Can incorrect lens orientation damage my laser?
It won’t damage the machine, but it will reduce performance and waste time troubleshooting.
Final Takeaway
If your CO2 laser suddenly isn’t performing the way it used to, don’t panic and don’t start changing settings blindly.
Start with the lens.
Checking CO2 laser lens orientation takes two minutes and can save hours of frustration. It’s one of those small details that makes a big difference—and it’s something we see come up again and again during customer support and service conversations.
Any time you touch the optics, double-check orientation before hitting Start.
Your cuts will be cleaner, your engraving sharper, and your stress level a whole lot lower. 🐰