
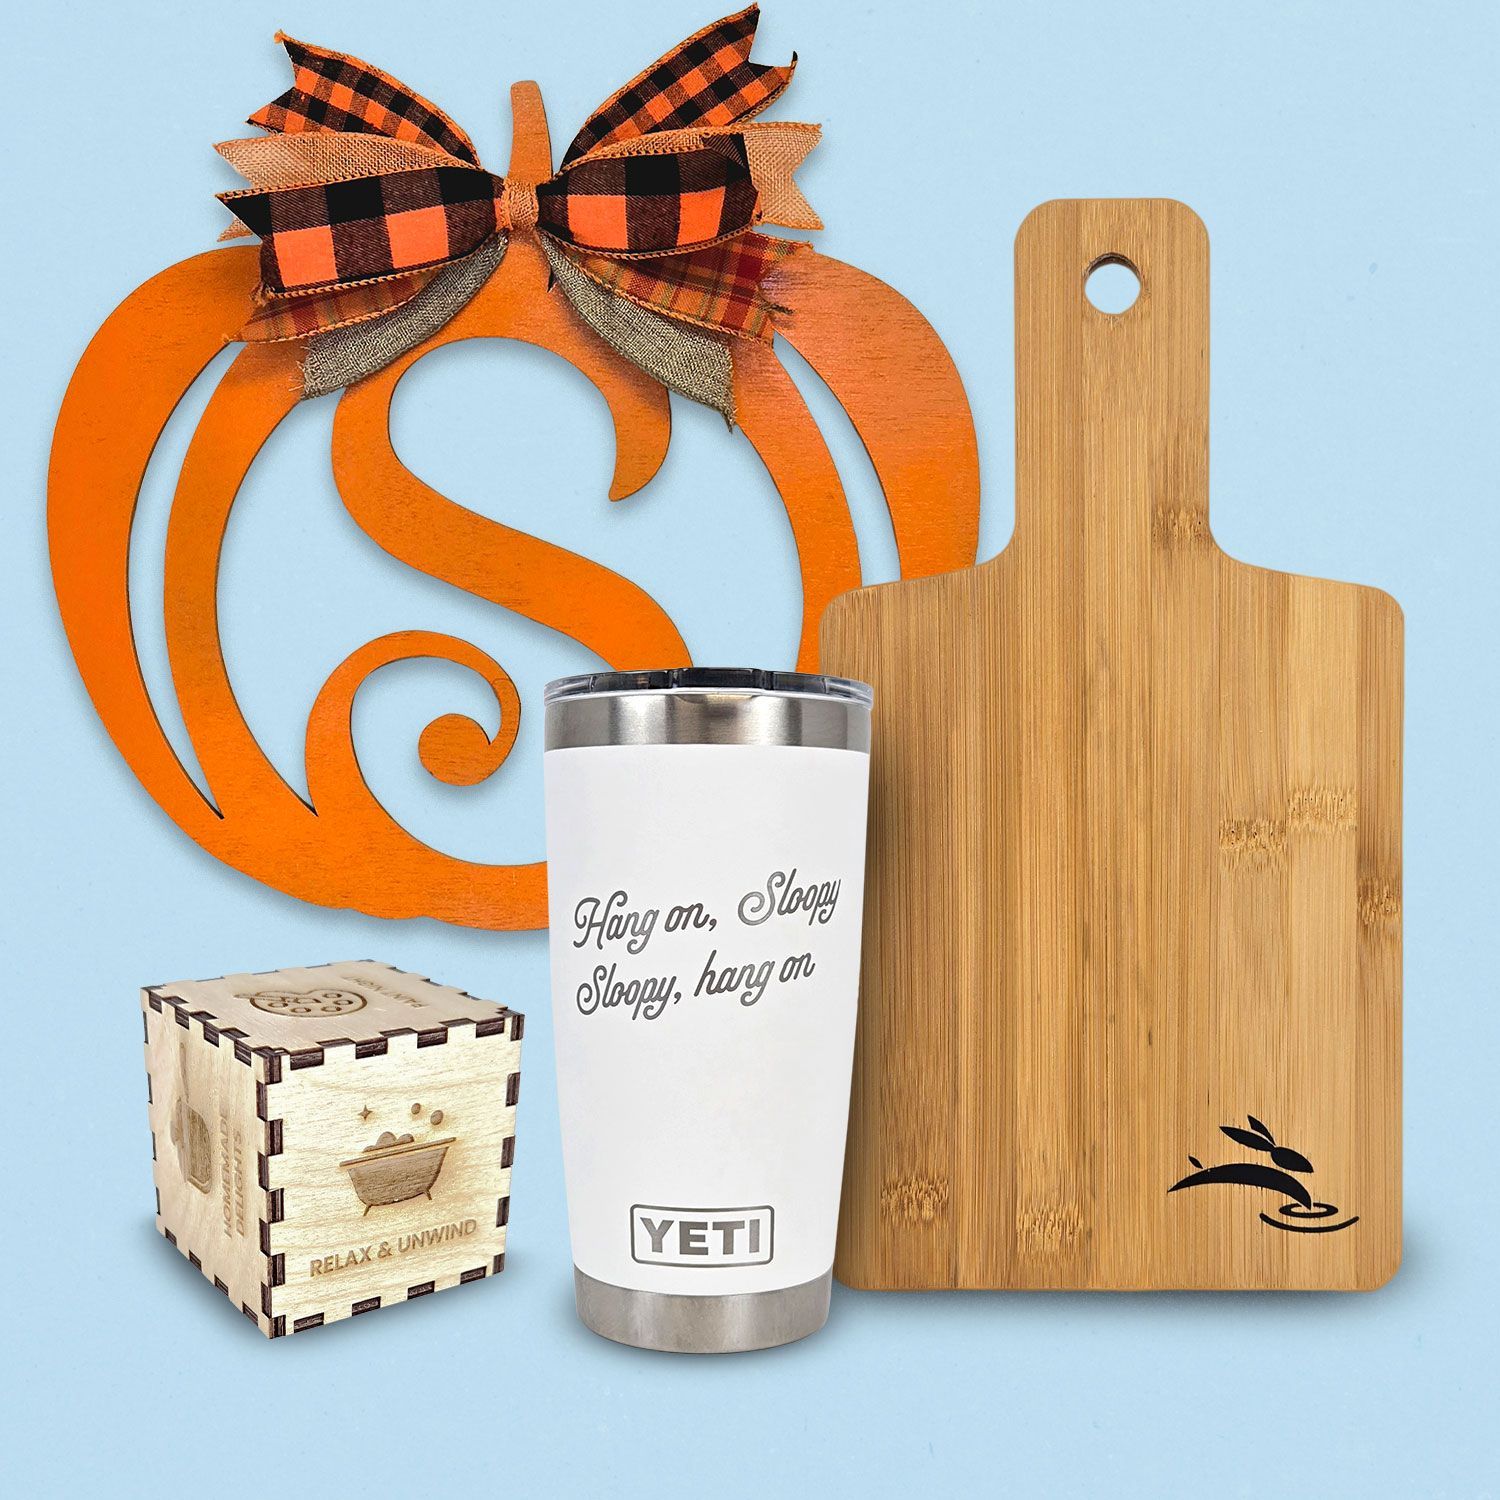
- Signs and home décor – name signs, door hangers, farmhouse-style pieces.
- Gifts and keepsakes – cutting boards, photo frames, layered art, ornaments.
- Tumblers and drinkware – powder-coated stainless steel tumblers.
- Small business or school projects – tags, labels, keychains, awards.
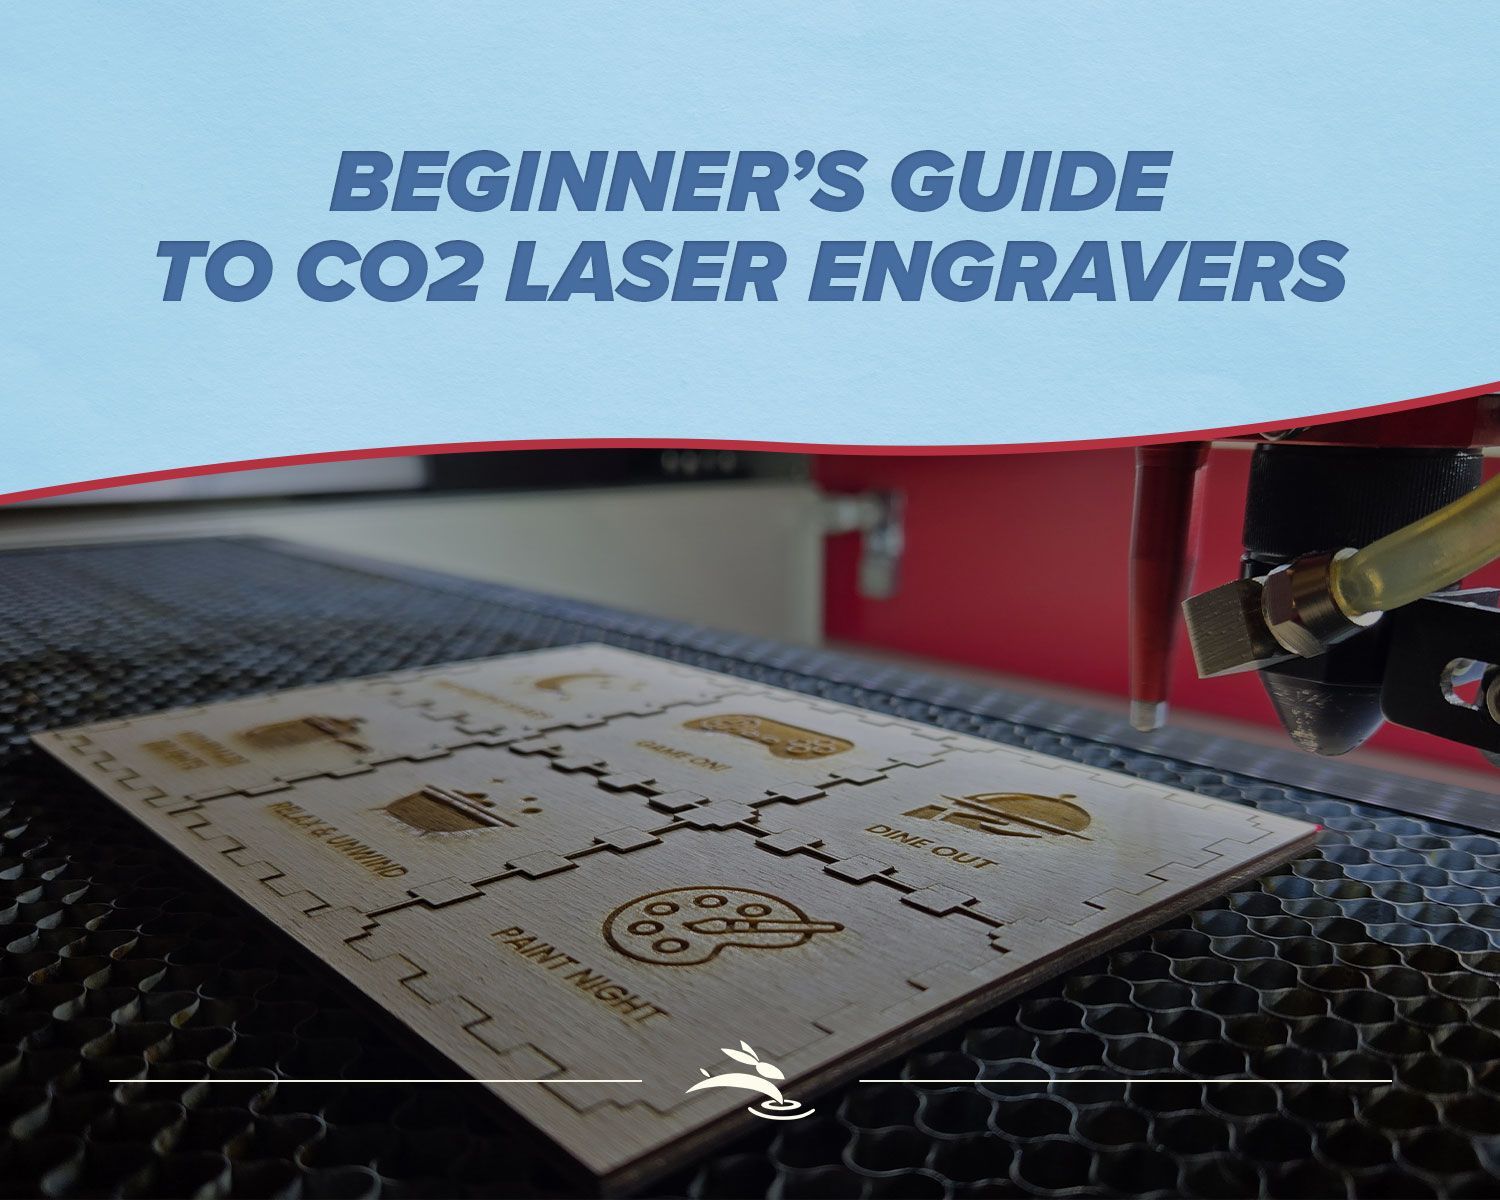
Beginner’s Guide to CO2 Laser Engravers
You’ve been scrolling past laser videos, saving project ideas, and now you’re Googling
“co2 laser engraver for beginners.”
Yeah… you’re in deep now.
This guide is for you if:
- You don’t own a laser yet, but you’re seriously thinking about it.
- You’re confused by wattage, bed size, and all the “best beginner laser!” claims.
- You want honest info, not pressure.
Let’s walk through what you actually need for your first CO2 laser machine… and what’s mostly hype.
Start with Projects, Not Specs
Before we talk numbers, think about what you want to make. Your projects will decide nearly everything else.
What do you really want this machine to do?
Common beginner ideas:
If your list sounds like this, a CO2 laser engraver/cutter is a solid choice. It can both engrave and cut wood, many plastics, leather, and more.
Once you know your projects, then you can answer:
- How big should the work area be?
- How much power (wattage) makes sense?
- What extras do you really need on day one?
Bed Size: Will Your Ideas Actually Fit?
Think of bed size as the “desk space” inside the machine. If it doesn’t fit, you’re not cutting it… at least not easily.
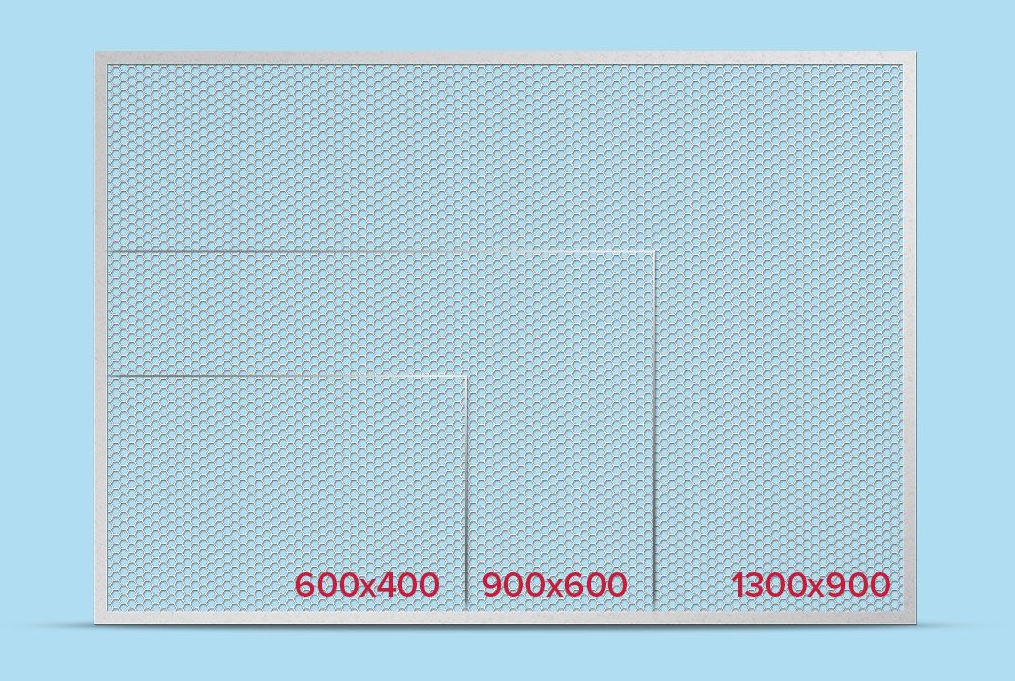
Small work area (600x400)
Good for:
- Coasters
- Name tags
- Small signs and keychains
- Powder-coated tumblers (with a rotary attachment)
Great if you’re limited on space or just testing the waters. You’ll hit limits faster, especially with door hangers or larger décor, but you can still do a surprising amount of paid work on a smaller machine.
Medium work area (900x600)
Good for:
- Door hangers
- Medium signs
- Layered wall art
- Classroom projects
This is a sweet spot for many beginners: big enough for “real” projects, still manageable in a home shop or classroom.
Large work area (1300x900)
Good for:
- Production runs
- Large signs and panels
- Batch work for a small business
If you’re looking at an
industrial-style CO2 laser, you’re almost always planning to make money with it—whether that’s a serious side business, a full shop, or a school program that needs reliable output. In that case, starting with a larger bed can keep you from outgrowing the machine and paying to upgrade again sooner than you’d like.
If your Pinterest board is full of 18–24" round door hangers, don’t buy a machine that only fits 12" comfortably. You’ll be fighting it from day one.
Wattage: What Those Numbers Really Mean
You’ll see all kinds of watt numbers thrown around. Here’s the simple version.
What wattage actually affects
- How thick you can cut
- How fast you can cut
- How much headroom you have before you’re running at full power all the time
Common CO2 wattage ranges
- Around 40W – Great for thin wood, acrylic, cardstock, leather, engraving. Good starter if your projects are smaller and not super thick.
- Around 60W – Nice balance of engraving and cutting. Handles thicker woods and acrylic more comfortably and faster.
- Around 90W – More power and speed for production work and thicker material.
You don’t need to memorize charts. Just ask:
“What materials and thicknesses do I want to cut most of the time?”
If it’s mostly 1/8"–1/4" wood and acrylic, a 40W–60W machine will treat you well. If you’re dreaming of thick hardwood signs and faster batch work, more power is worth considering.
One more thing: some cheaper brands stretch the truth on wattage, especially on diodes. A real 40W CO2 laser is not the same as a “40W” diode in an ad.
CO2 Laser vs Diode:
Which Is Better for Beginners?
You’ll see a lot of diode machines marketed as beginner lasers. They’re not bad; they’re just different.
Where diode lasers shine
- Lower price
- Very small footprint
- Good for engraving wood, leather, and some coated materials
But:
- They’re generally slower at cutting and/or multiple passes.
- Clear acrylic is usually a no-go.
- Open-frame designs often need extra attention to fumes and eye protection.
Why many beginners end up on CO2
A CO2 laser engraver:
- Cuts wood and acrylic faster and cleaner
- Handles a wider variety of materials
- Often comes in an enclosed cabinet, which helps with safety and fumes
If you mostly want to engrave small things and money is tight, a diode can be okay to start with.
If you want to
engrave and cut wood and acrylic for real projects and paid work, a CO2 laser is usually the better first step.

Support, Training, and Software Matter More Than Gadgets
The machine is only half the story. The other half is: do you have help?
The learning curve is real (but you don’t have to do it alone)
Most beginners get stuck on:

- Focusing the laser correctly
- Choosing speeds and power
- Figuring out which materials are safe
- Keeping mirrors and lenses clean
You can learn everything from random videos… but that usually means more wasted material and more frustration.
This is where buying from a company that offers real support and training matters. With Rabbit Laser USA, for example, customers get:
- Help choosing a machine based on what they want to make
- Setup guidance and orientation
- Lifetime tech support for as long as they own the machine
Most common problems can be solved with a phone call, email, or quick FaceTime-style video chat, which keeps your downtime low and your projects moving.
Software: LightBurn makes life easier
Most modern CO2 lasers pair well with LightBurn, which has become the go-to software in the laser world.
Good news for beginners:

- Clean, visual layout
- Simple workflow: import design → place it → set layers → run
- Tons of online tutorials, groups, and examples
You don’t need to be a designer to use it. You can start with text, basic shapes, and simple artwork, and grow from there.
What’s Hype and What Actually Helps You?
Let’s talk about the shiny stuff.
Features that sound fancy but aren’t must-haves
These are “nice to have,” not “buy or die”:
- Wi-Fi or Ethernet control
- Built-in cameras (helpful for placement but not magic)
- Accent lighting and flashy cosmetics
Are they cool? Sure.
Do they pay off the machine faster? Not really.
Features beginners really appreciate
These make daily use easier:
- Good exhaust system – pulls fumes out so you’re not working in a cloud.
- Air assist – helps keep cuts cleaner and reduces flare-ups.
- Motorized Z-table – makes changing material thickness or using a rotary simpler.
- Auto-focus or easy focusing tools – less guessing, more consistent results.
- Simple rotary hookup – a dedicated port and clear steps so adding tumbler engraving later is painless.
- Clear control panel with an emergency stop – easy to understand, easy to stop if something looks wrong.
If you’re choosing between “flashy lighting” and “better exhaust,” exhaust wins every time.

Safety and Fumes:
The Unfun Stuff That Matters
Lasers are fun… right up until someone cuts the wrong material or runs with no venting.
Is a CO2 laser safe for home or school?
Used correctly, yes. A properly enclosed CO2 laser with working interlocks and good exhaust can be Class 1 during normal operation—meaning the beam is safely contained.
Rabbit Laser USA machines are designed as enclosed Class 1 systems during normal use, so when the lid is down and the safety features are intact, the beam stays where it belongs: inside the cabinet.
For beginners, that means:
- Keep the lid closed when running jobs.
- Don’t bypass safety switches.
- Make sure everyone understands basic rules before using it.
Schools especially like the peace of mind that comes with a Class 1 enclosure and clear safety documentation.
Fumes and material safety
Every laser—cheap or premium—creates fumes. You need a plan for them.
Basics:
- Vent outside or into a proper filtration system.
- Avoid materials like PVC and anything “mystery plastic.”
- Test new materials carefully and in small amounts.
If you’re not sure what something is made of, don’t toss it in the machine “just to see what happens.” That’s how you get ruined optics and nasty fumes.
Cheap Import vs Supported Machine:
The Real Trade-Off
Let’s be honest: it’s tempting to sort by “lowest price” and call it a day.
What you risk with the cheapest option
- Confusing or incomplete setup instructions
- No real training or person to call
- Slow or nonexistent parts and support
- Questionable safety and wiring
- Longer downtime when something breaks and no one’s there to help
You might save money on day one, but month three can be a different story when something fails and you’re stuck.
What you get with a supported machine
When you buy from a company like Rabbit Laser USA, you’re getting more than metal and a laser tube:
- Machines built with solid, industrial-grade components
- Careful setup guides and documentation
- Lifetime customer support for your machine
- Most issues solved quickly over phone, email, or video call
- A company that stocks parts for their machines, so you’re not waiting months for a simple component
- People who actually run and service these machines, not just sell them
That kind of backing matters even more if you’re a beginner, a teacher, or someone starting or growing a business. Less downtime = more projects out the door.
What Can You Make with Your First CO2 Laser?
Let’s talk about what this actually does for your business and projects.
For side hustles and small shops
A beginner-friendly CO2 laser can create:
- Name signs and door hangers
- Personalized cutting boards and charcuterie boards
- Branded tags, ornaments, and keychains
- Batch runs of products for craft shows or online shops
- Custom powder-coated tumbler engravings
You don’t have to start with a full “product line.” Even a few solid designs can bring in steady orders and help the machine pay for itself.
For classrooms and makerspaces
Teachers and program directors use CO2 lasers for:
- Classroom signage and bulletin boards
- Student-designed awards and plaques
- STEM and engineering projects (gears, models, puzzles)
- Jigs and fixtures for other tools in the shop
The laser becomes a shared tool students can use across art, engineering, and design—and a real-world way to talk about manufacturing and entrepreneurship.
How to Choose Your First CO2 Laser in 5 Simple Steps
Feeling information overload? Here’s the quick version.
- List your top 5–10 projects.
Door hangers? Tumblers? Classroom projects? Let those ideas lead. - Pick a bed size that actually fits them.
If your dream project is 20" wide, don’t buy a machine that barely fits 12". - Match wattage to your materials.
Mostly thin wood and acrylic? 40W–60W is often enough. Thicker and faster? More power. - Plan for exhaust and placement.
Know where the machine will live and how you’ll vent fumes before it arrives. - Choose a seller who will be there after the sale.
Look for training, documentation, real humans, in-stock parts, and a clear support path.

Ready to Take the Next Step?
If you’re still in the “co2 laser engraver for beginners” search phase, that’s okay. Take your time. Bookmark a few machines. Watch some real project videos.
When you’re ready to talk to someone about matching a machine to your projects, the team at Rabbit Laser USA is ready to help. Tell us:
- What you want to make
- Where the machine will live (home, shop, or school)
- Your rough budget and timeline
We’ll help you sort out what you actually need, what can wait until later, and how to get started without getting overwhelmed.
You bring the ideas.
We’ll help you
Cut. Create. Conquer.
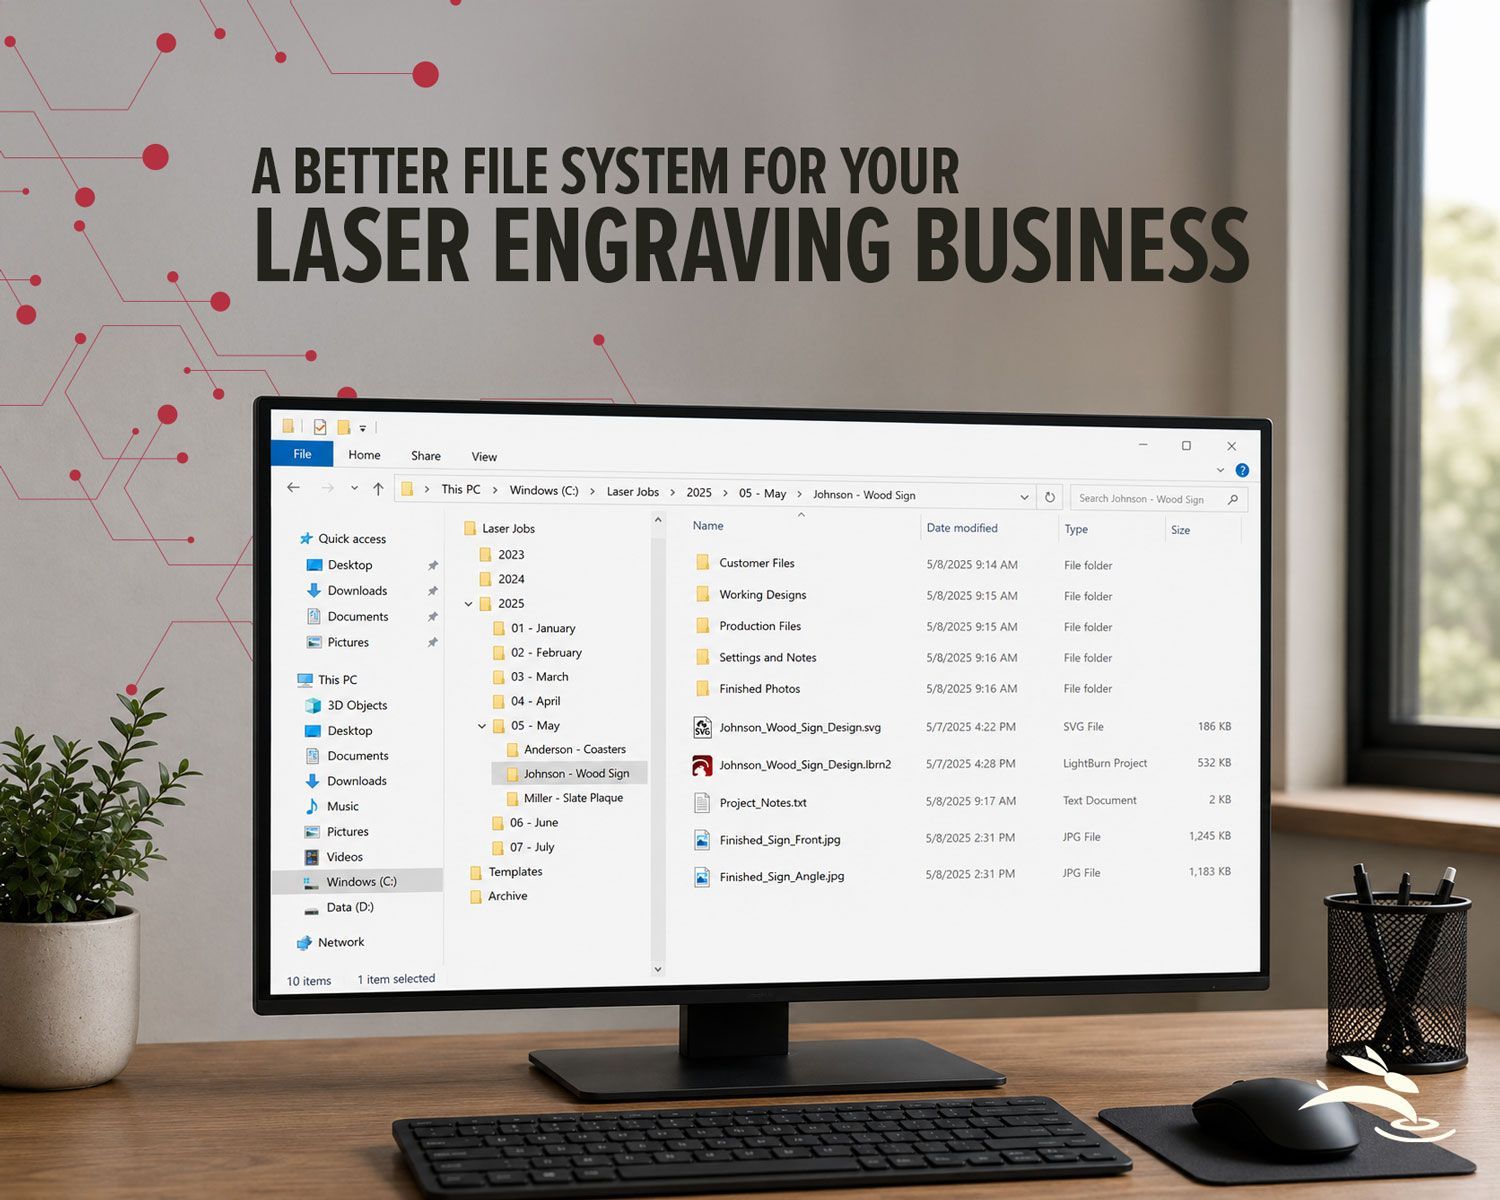
Organize your laser engraving files with a simple folder system that makes repeat orders faster, reduces mistakes, and protects customer artwork.
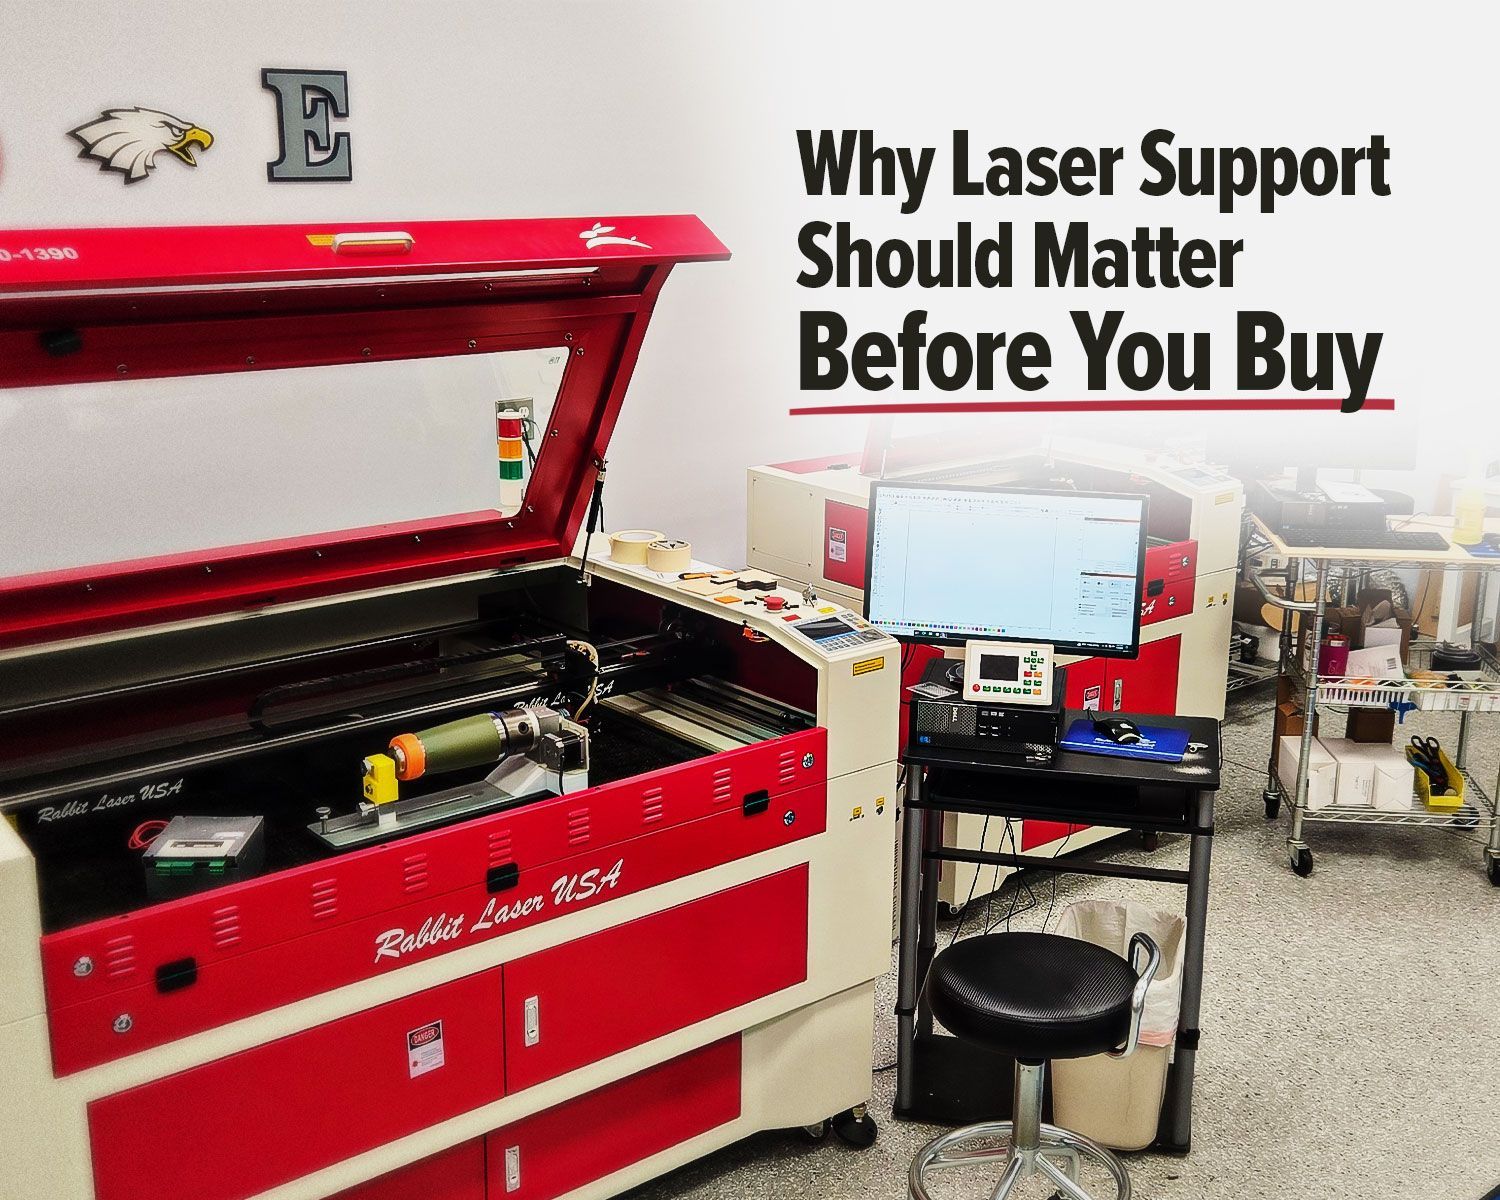
Rabbit Laser USA CO2 laser with support workstation for troubleshooting.
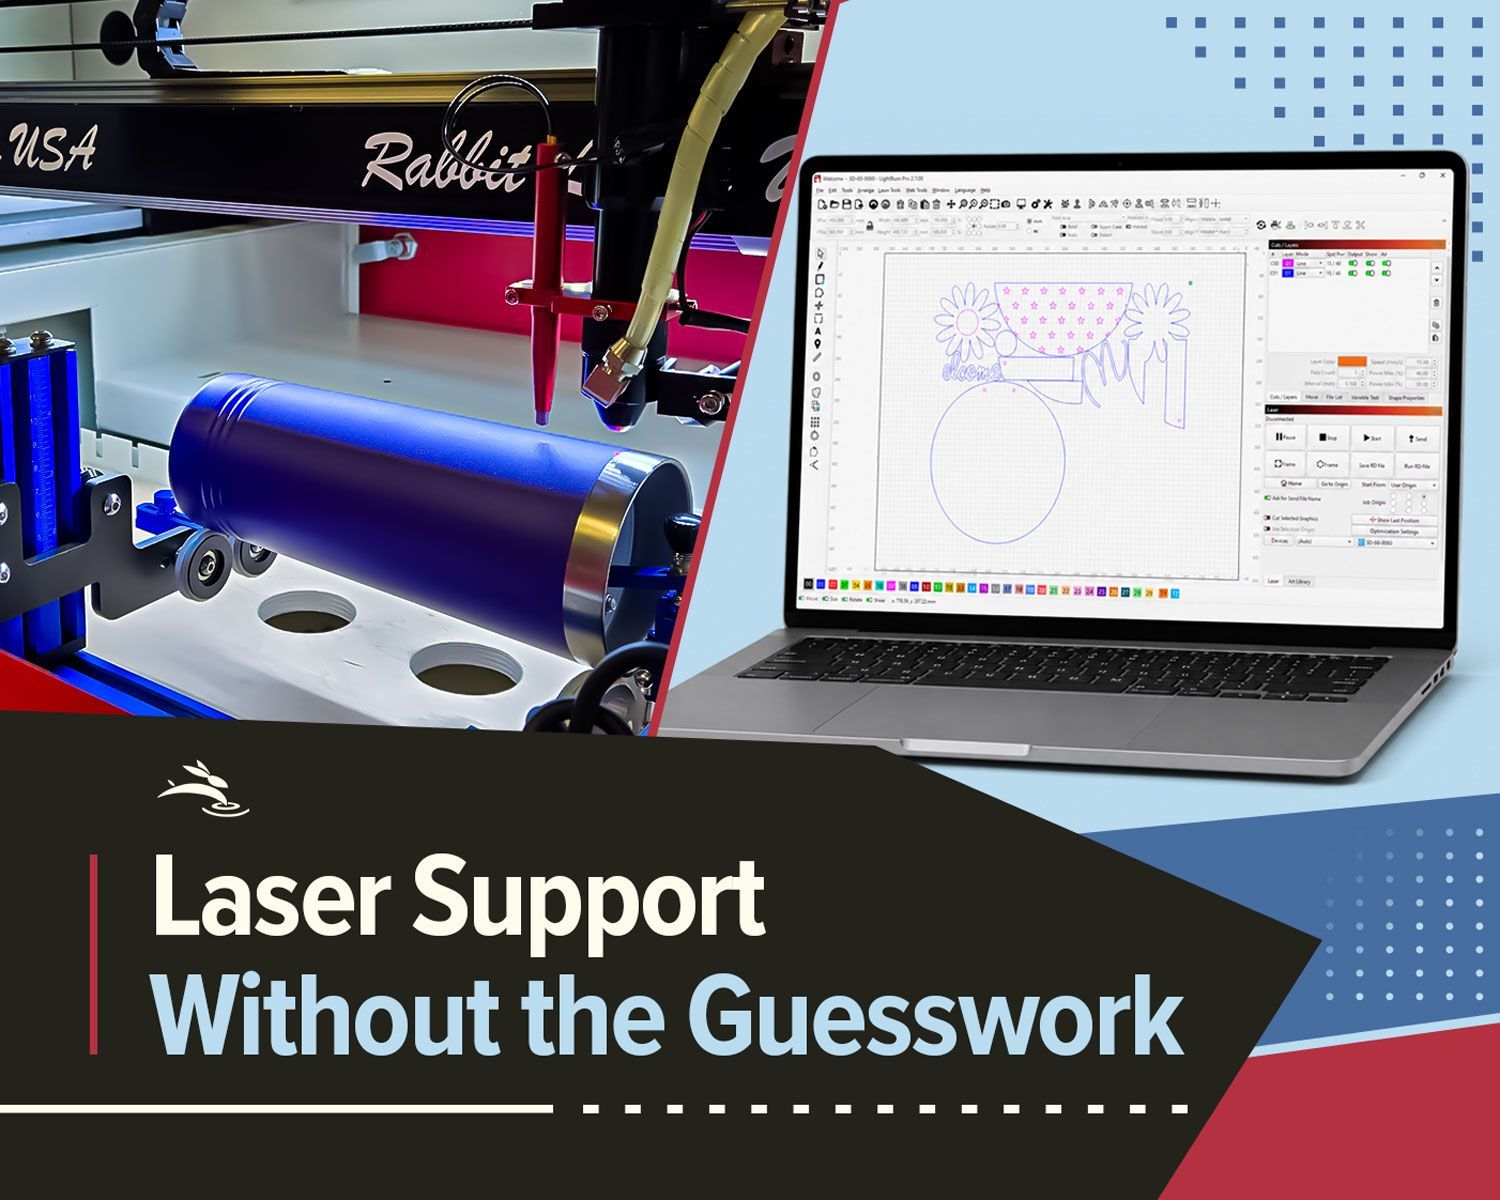
Remote laser support can help with software, settings, troubleshooting, alignment, parts questions, and service needs.
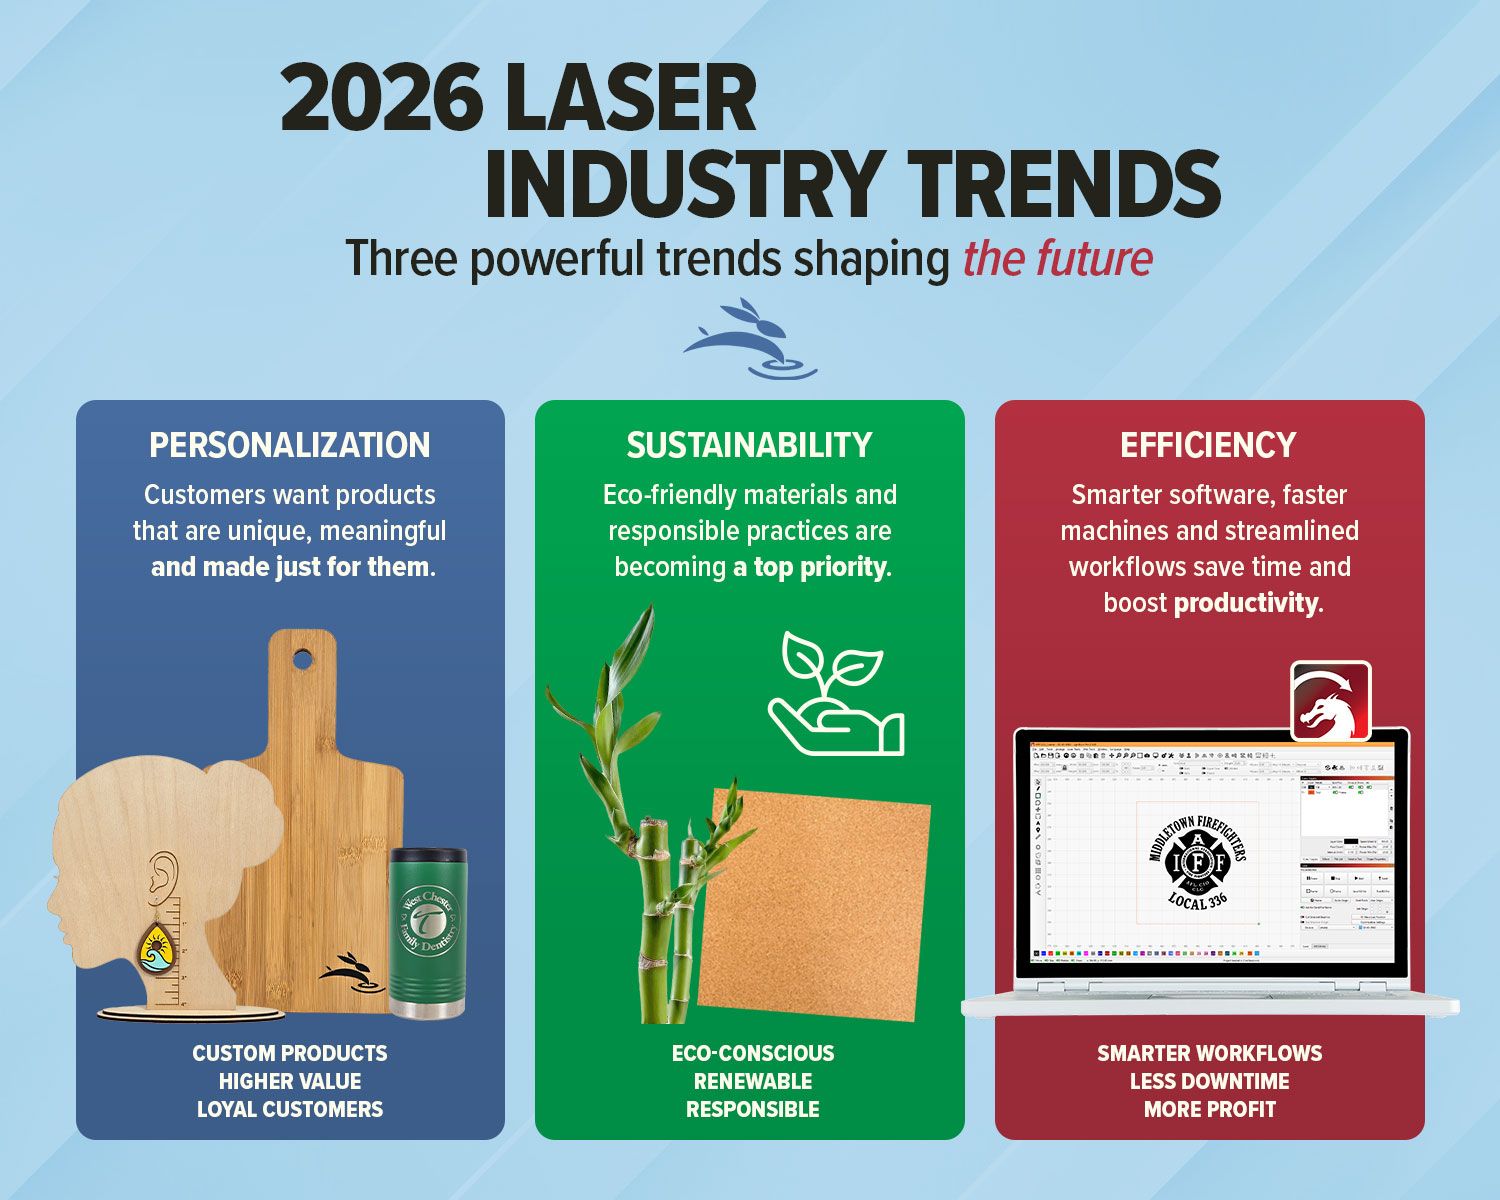
Explore 2026 laser engraving trends, including custom products, eco-friendly materials, efficient workflows, and business growth ideas.
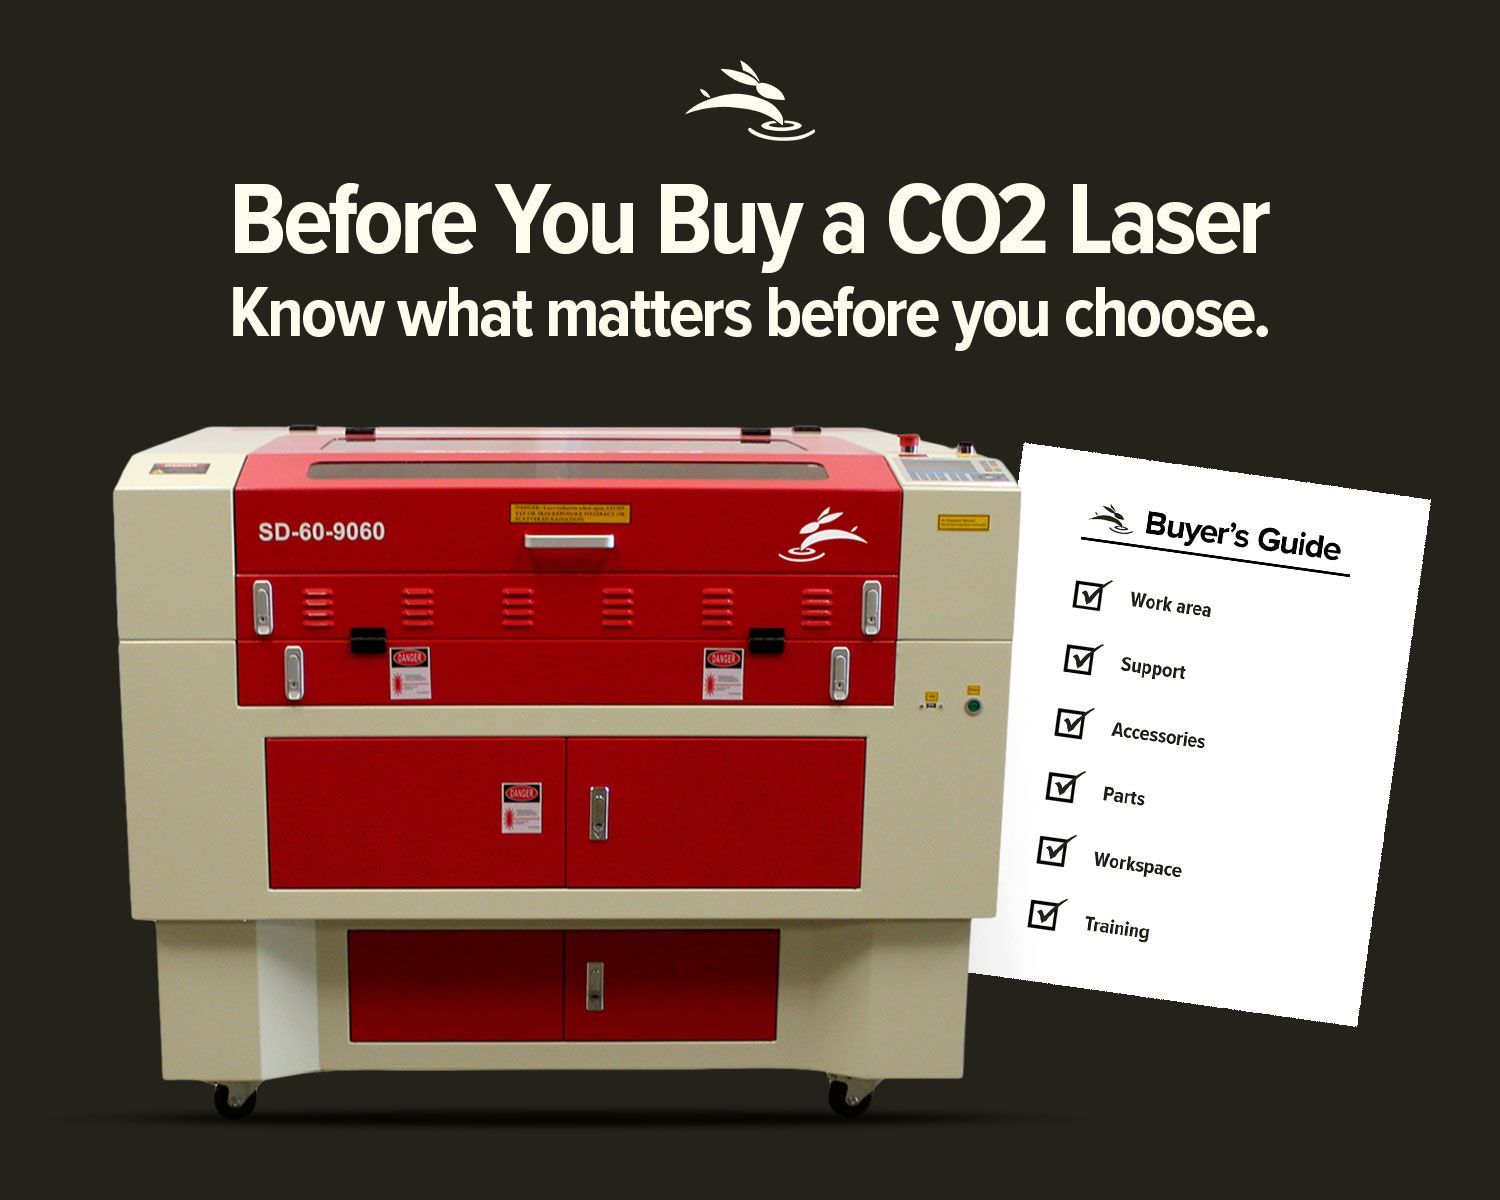
Avoid common CO2 laser buying regrets. Learn what to know about size, support, parts, accessories, setup, and long-term value before you buy.
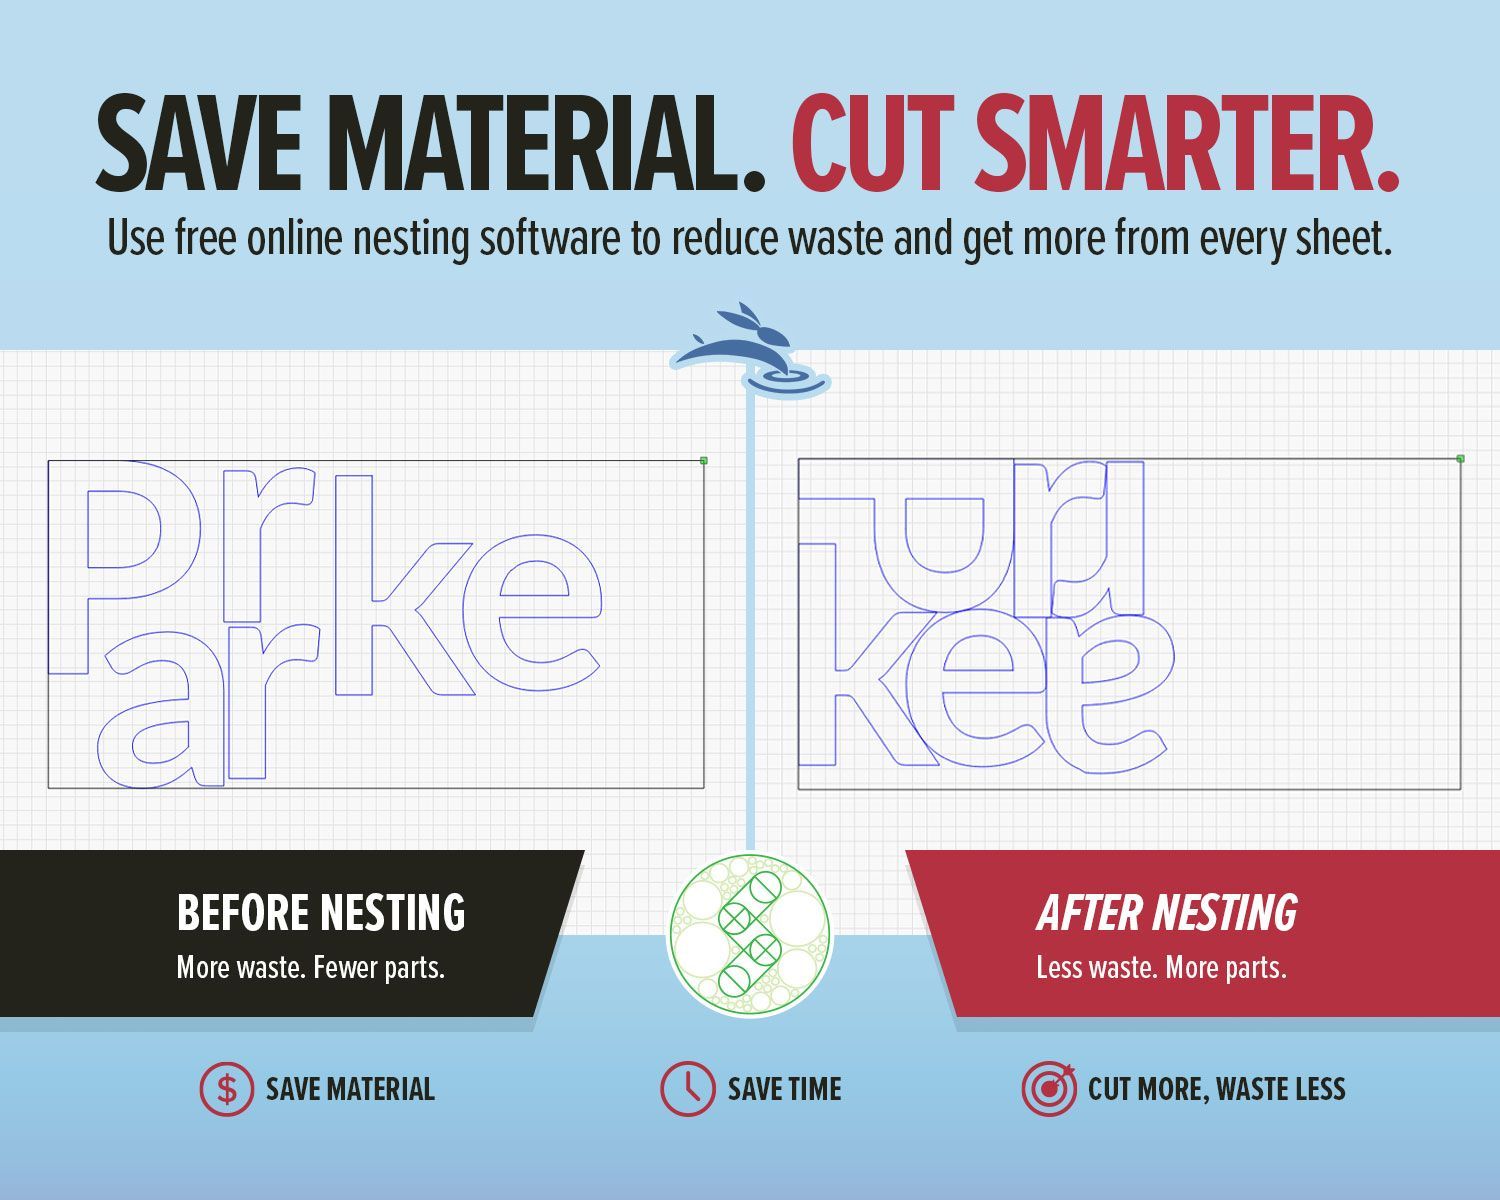
Use free online nesting software like SVGnest to arrange laser cutting files, reduce material waste, and improve your LightBurn workflow.
New to laser engraving or cutting? Avoid common mistakes that cause poor results, wasted material, and frustration. Learn what to fix fast.
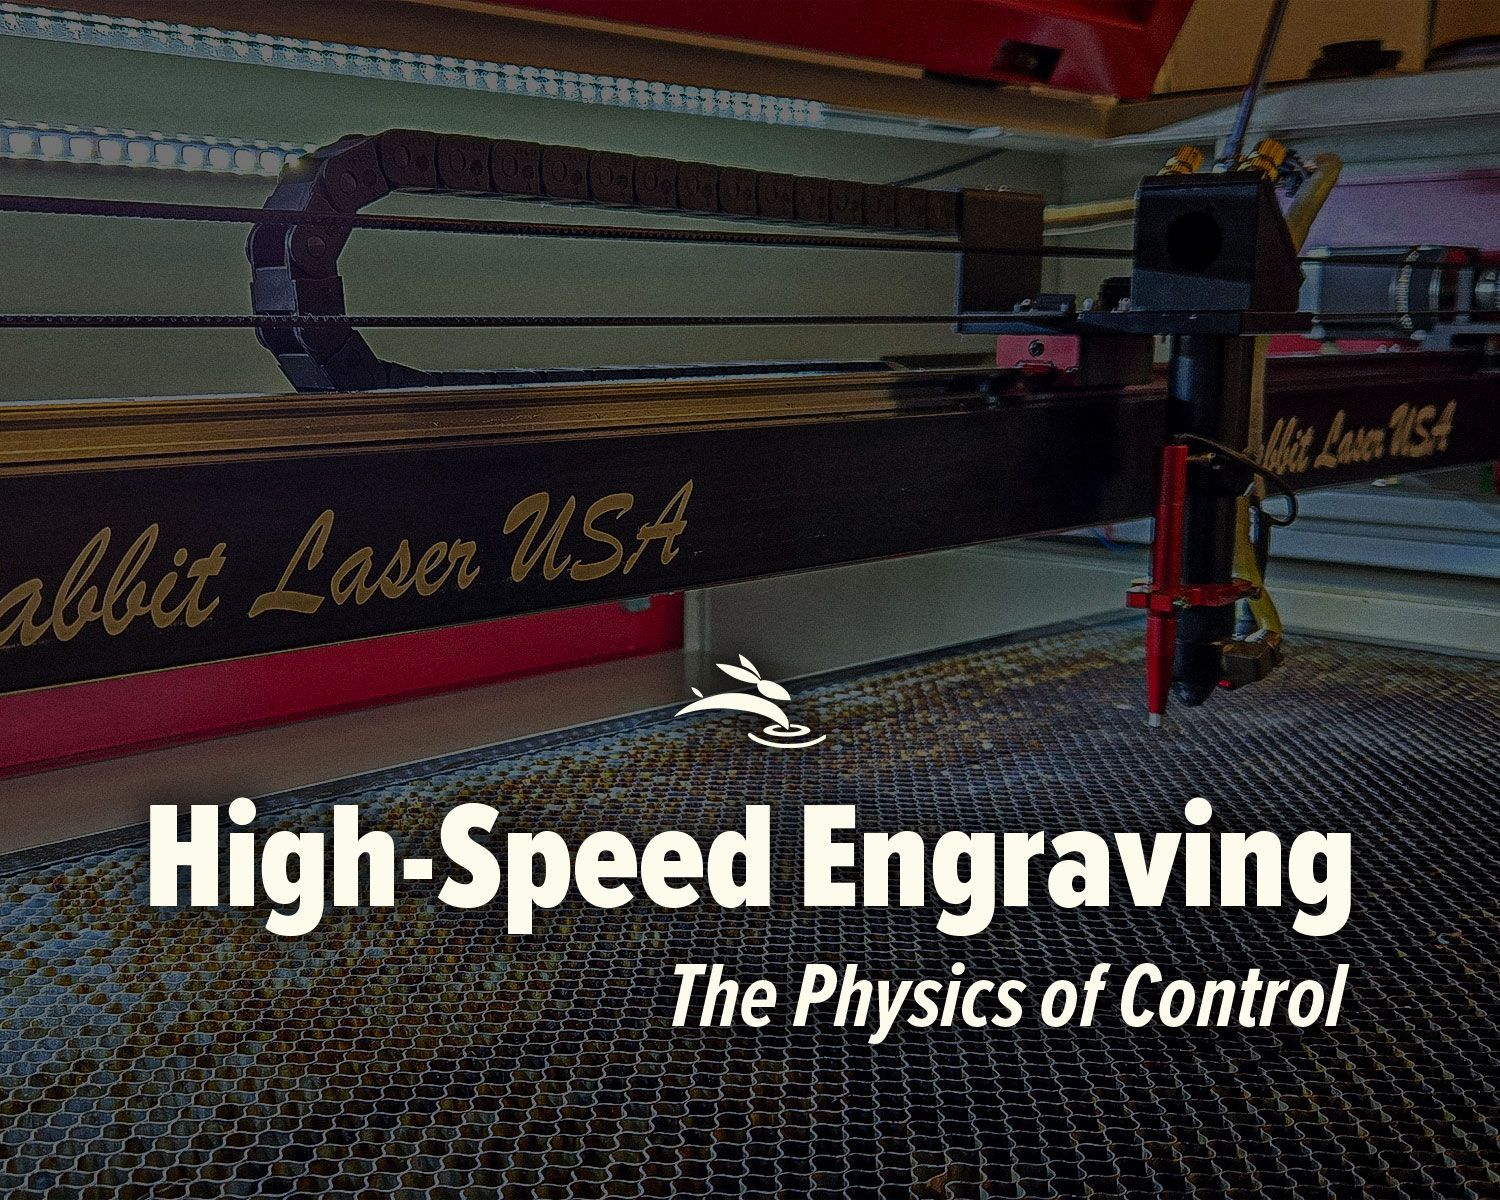
High-speed laser engraving demands motion control. Learn how overscan, acceleration, and momentum impact precision and usable workspace.
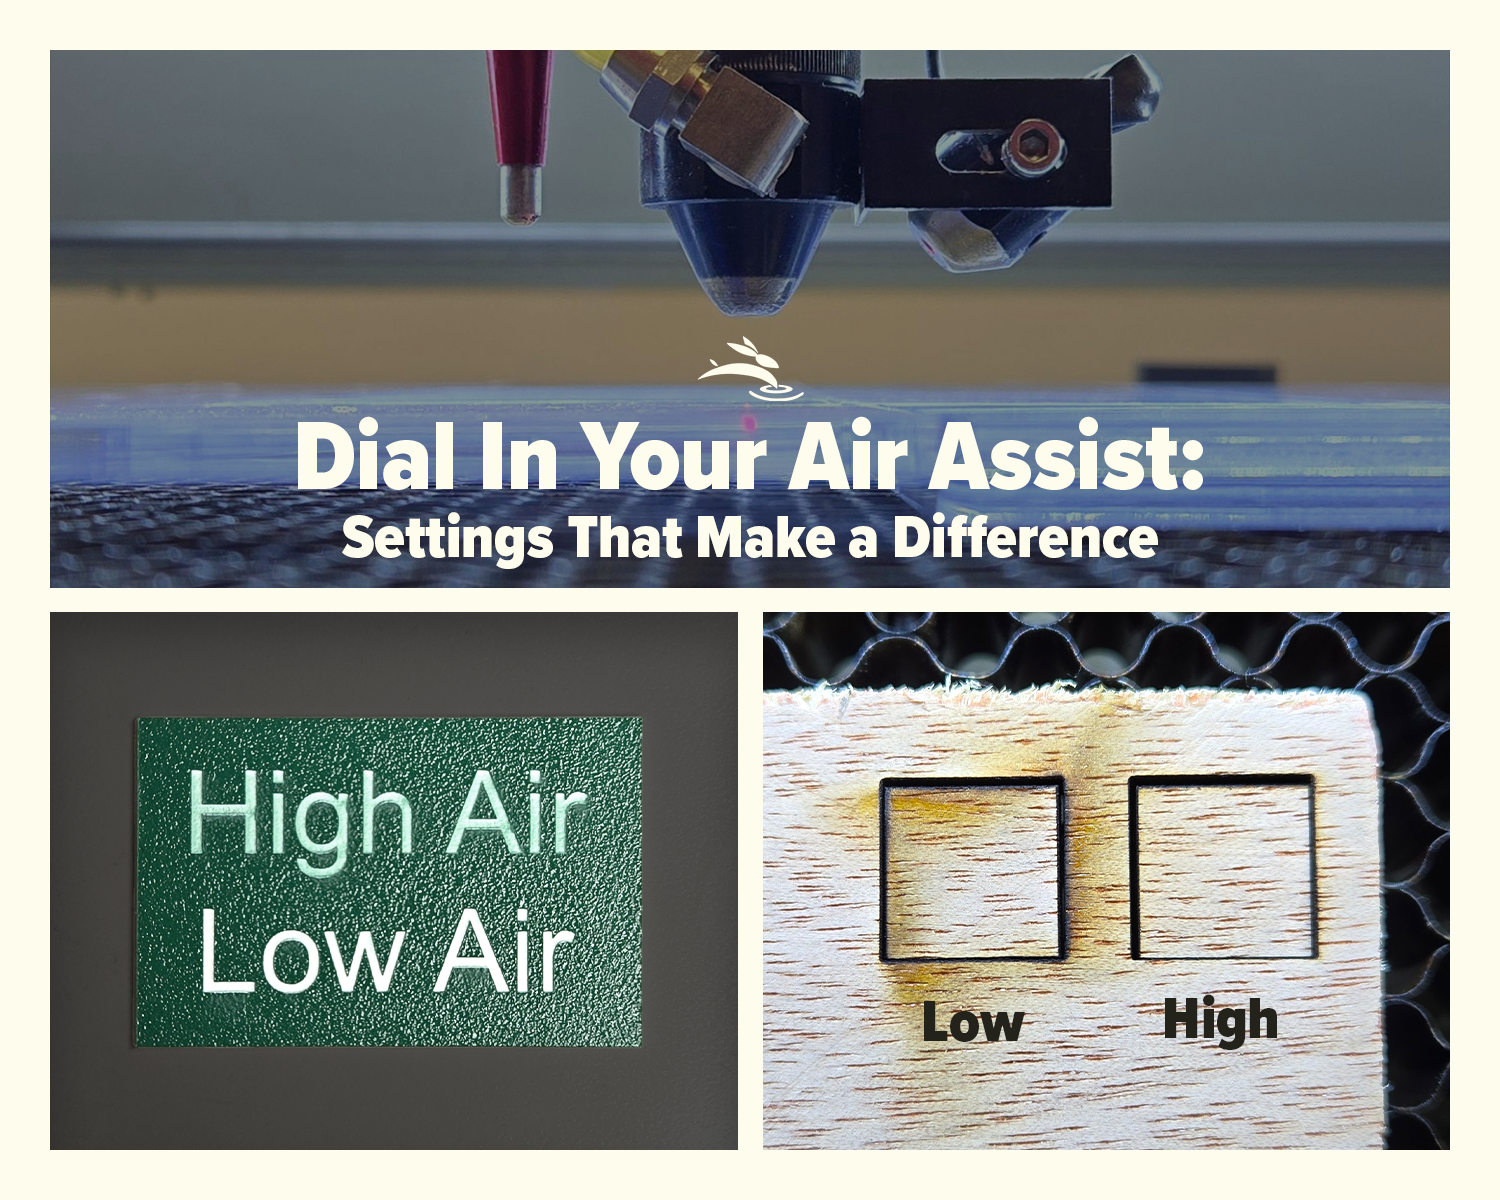
Dial In Your Air Assist: Settings That Make a Difference Air Assist Isn’t Just an Add-On If you’ve ever smelled smoke during a job or noticed charred edges on your laser-cut pieces, chances are your air assist wasn’t doing its job—or it wasn’t set right for your application. While it might seem like a minor detail, air assist plays a critical role in the performance and lifespan of your CO2 laser machine. In this post, we’ll break down the difference between low flow and high flow air assist, when to use each, and how to get the best results from your setup.
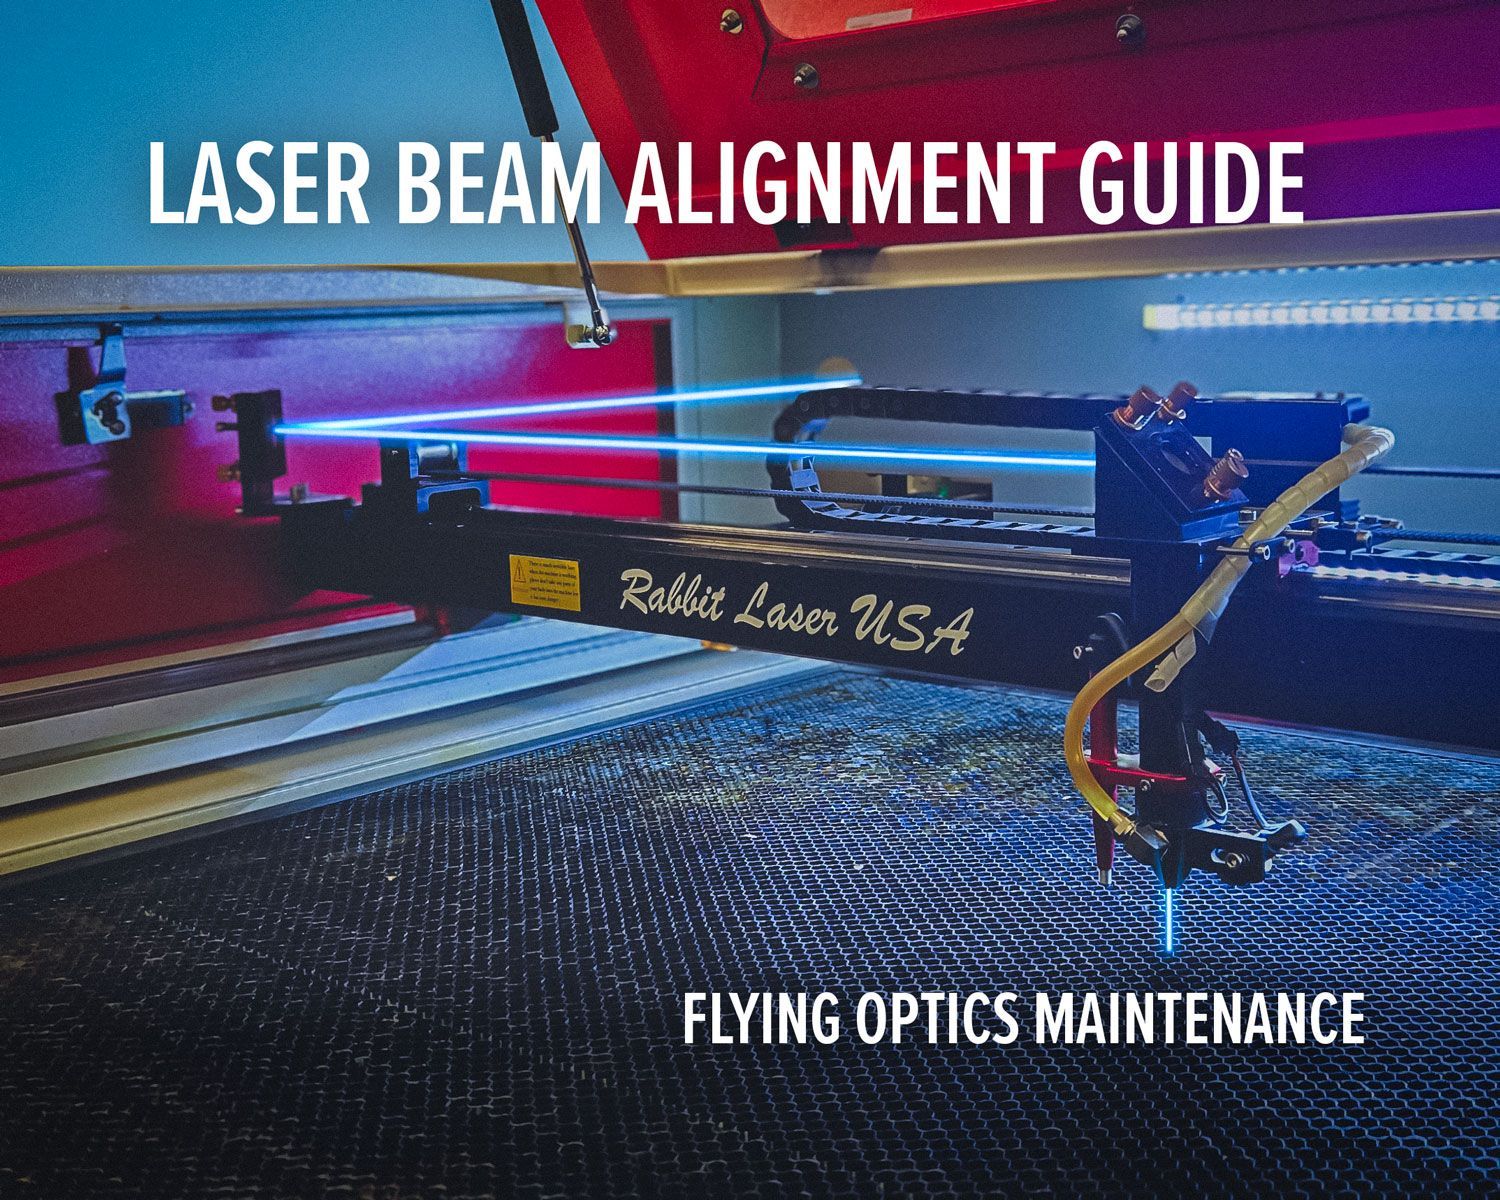
Laser beam alignment guide for flying optics laser machines. Step-by-step maintenance tutorial to restore accuracy, cutting power, and engraving performance.
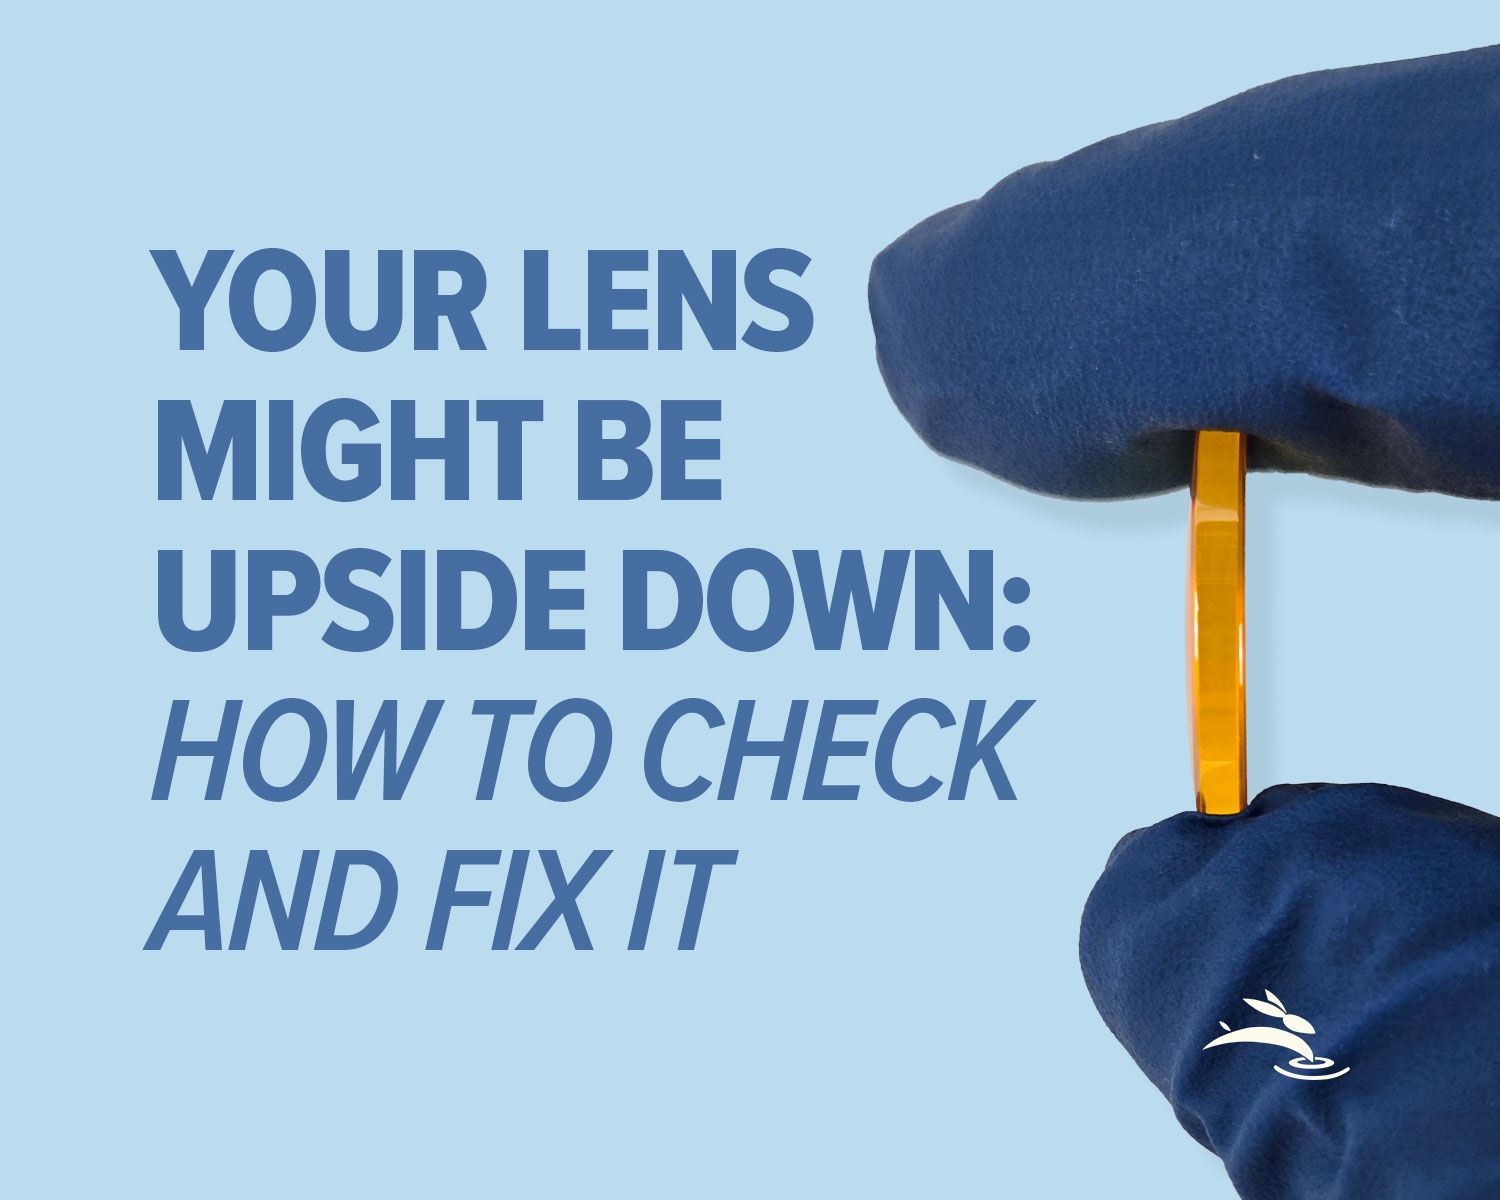
Blurry engraving or weak cuts? Learn the correct CO2 laser lens orientation and how to fix one of the most common laser setup mistakes.
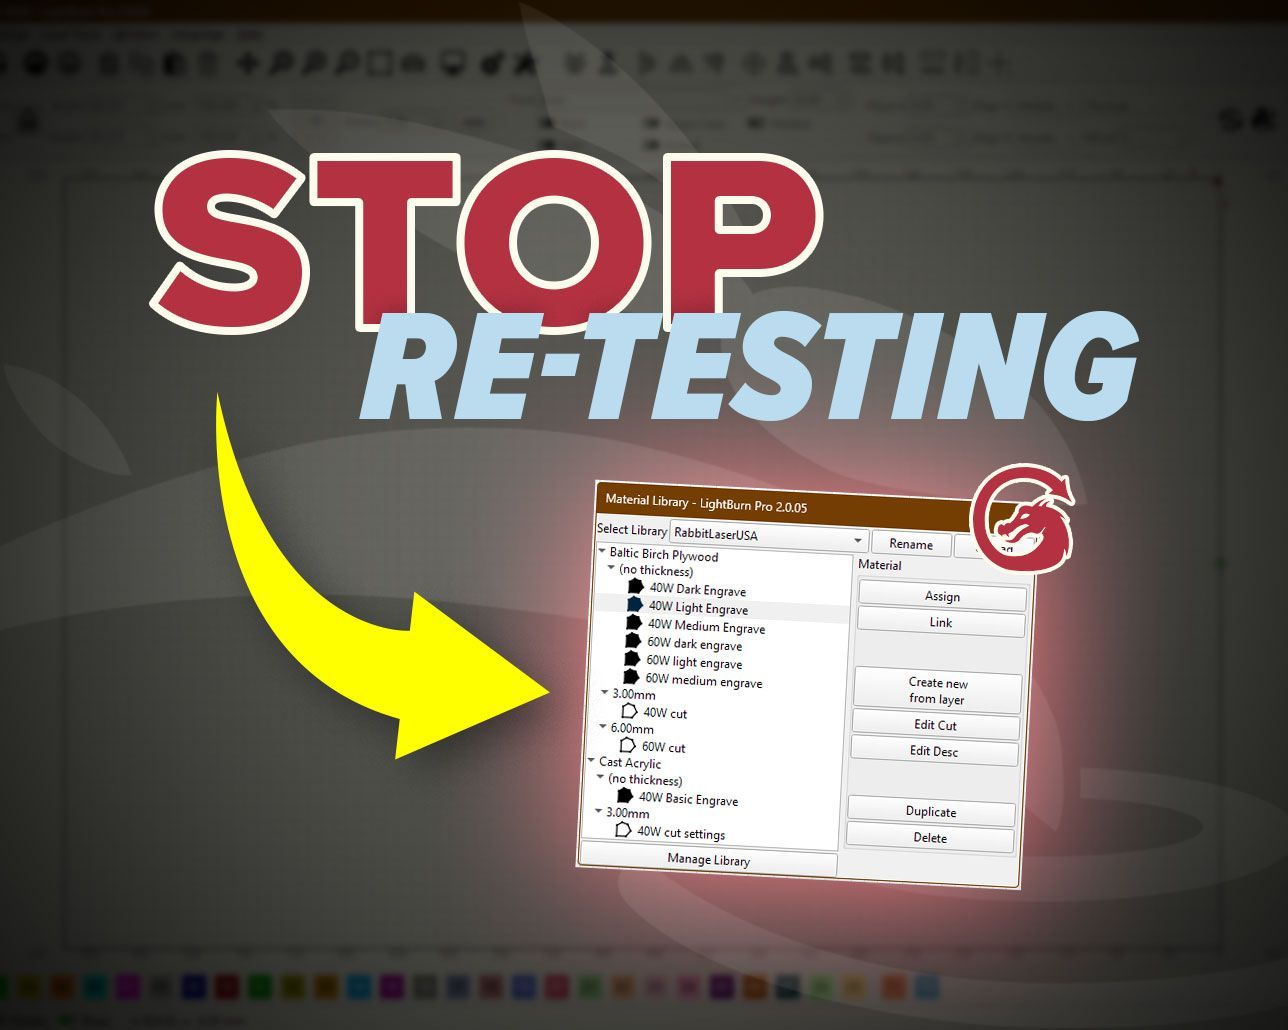
Stop re-testing. Save proven engraving and cutting settings in LightBurn’s Material Library and apply them fast on future projects.