Dial In Your Air Assist: Settings That Make a Difference
Air Assist Isn’t Just an Add-On
If you’ve ever smelled smoke during a job or noticed charred edges on your laser-cut pieces, chances are your air assist wasn’t doing its job—or it wasn’t set right for your application. While it might seem like a minor detail, air assist plays a critical role in the performance and lifespan of your CO2 laser machine.
In this post, we’ll break down the difference between low flow and high flow air assist, when to use each, and how to get the best results from your setup.
What Air Assist Actually Does
Air assist helps your laser machine in three major ways:
- Cools the material as it cuts or engraves, preventing flare-ups and burns
- Clears debris and smoke from the beam path for cleaner, more accurate results
- Keeps your optics cleaner, reducing wear on mirrors and lenses
Whether you’re cutting, engraving, or scoring, airflow plays a part.
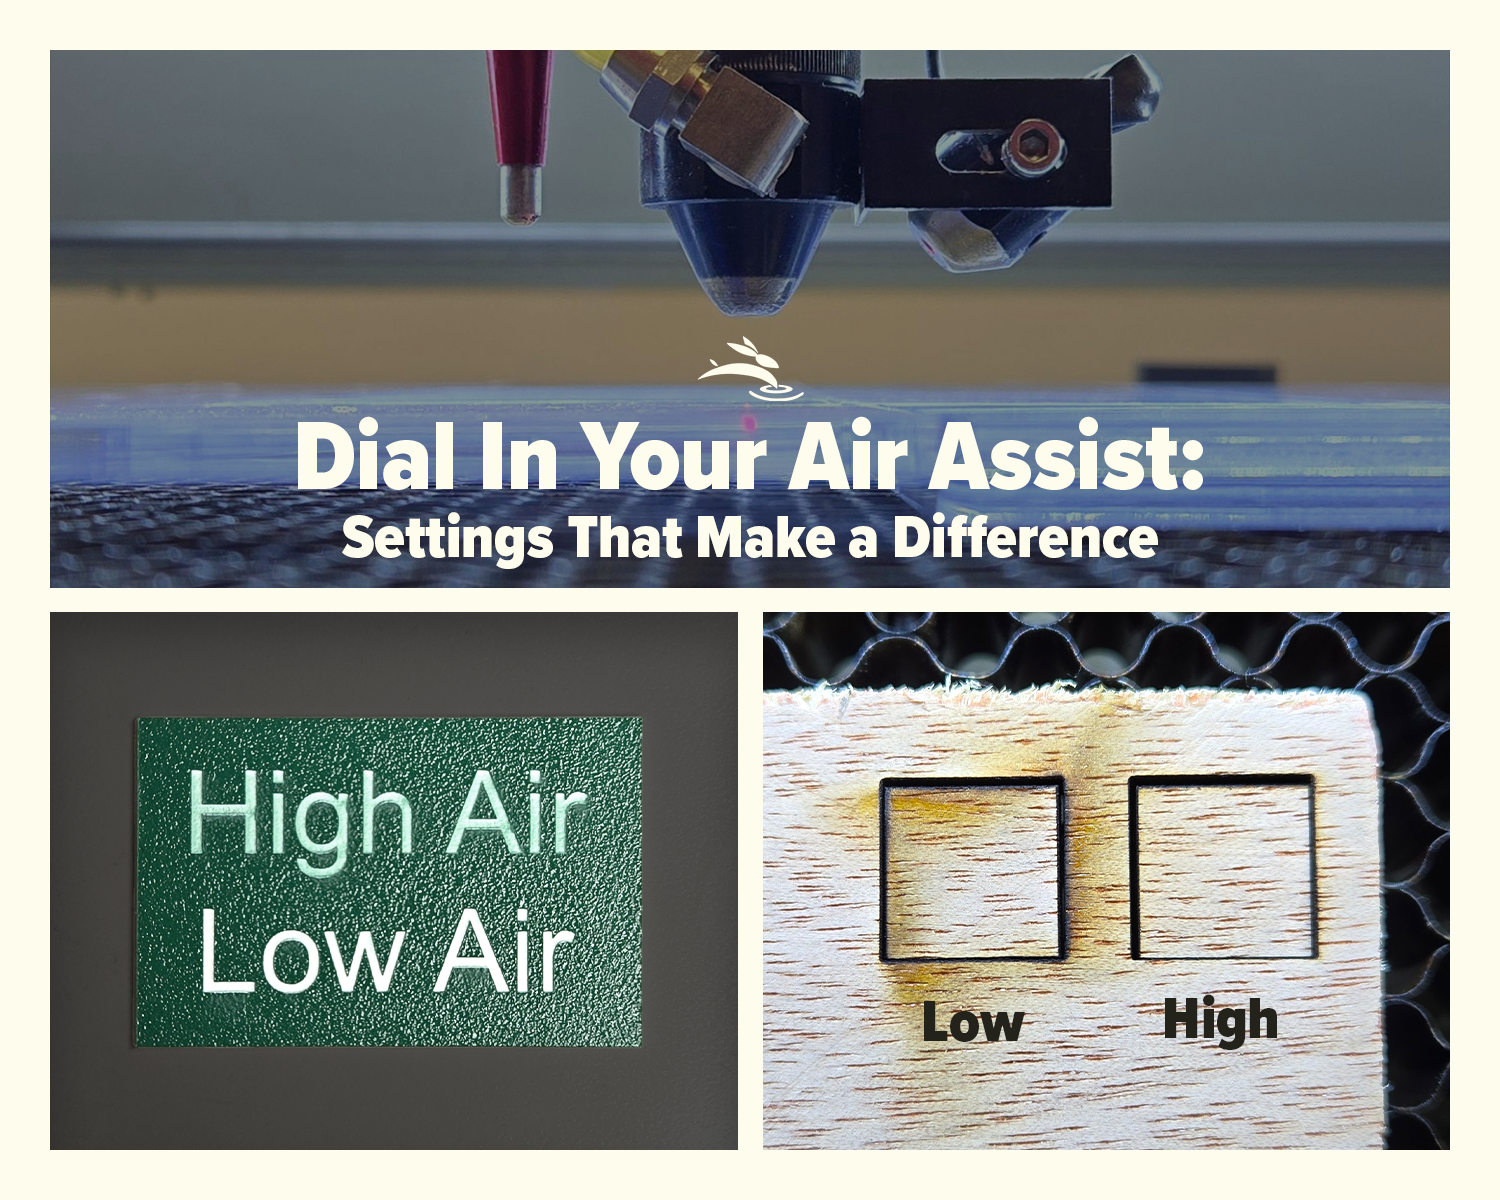
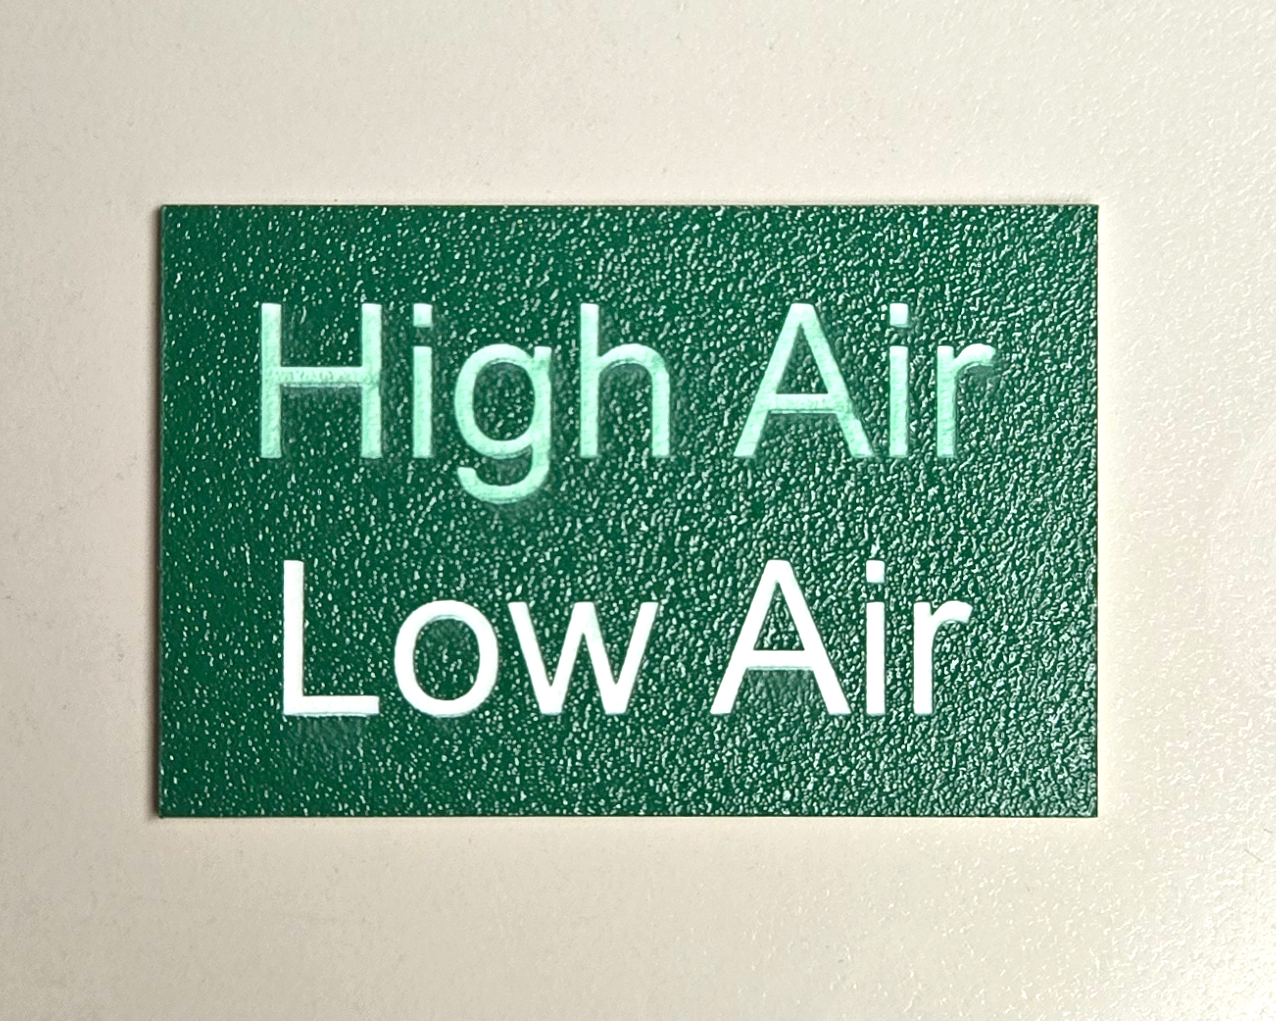
Low Flow vs High Flow: What's the Difference?
Let’s clear something up: air pressure (PSI) isn’t the only factor. Volume (measured in CFM) also matters. A small aquarium pump may hit 20 PSI in a narrow hose but can’t deliver the airflow needed to clear material.
- Low Flow typically means around 5–10 PSI or low volume airflow
- High Flow often means 20–40 PSI and a stronger compressor to back it up
The goal isn’t to blast air at everything—it’s to match airflow to your task.
| Material | Recommended Air Flow | Why |
|---|---|---|
| Cardstock | Low Flow | Prevents material lift and edge burns |
| Veneer | Low Flow | Maintains surface quality, avoids blowout |
| Anodized Aluminum | Low Flow | Protects detail and surface finish during engraving |
| Acrylic (1/8”) | Low–Med | Clean edges without melting or haze |
| Acrylic (1/4”+) | High Flow | Removes molten debris, reduces edge flare |
| MDF (1/4”+) | High Flow | Minimizes char, prevents flare-ups |
| Birch Plywood | Medium–High | Helps clear resin and dust |
| Painted Wood | Low Flow | Preserves painted surface during engraving |
| Fabric | Low Flow | Avoids scorch and movement |
| Masked Materials | Low–Med | Prevents tape lift while keeping cuts clean |
Note: “Medium” can be achieved by partially closing a needle valve or using a regulator.
When to Use Low Flow Air Assist
Low flow is best for precision and control:
- Engraving painted or anodized surfaces
- Delicate materials like cardstock, veneers, or masking tape
- Detailed work where high airflow could dislodge or scorch small pieces
- Layered acrylic projects where excess air could discolor inner layers
Too much air in these scenarios can blur detail or cause debris to stain surfaces.
When to Use High Flow Air Assist
High flow is your friend for demanding cuts:
- Cutting thick acrylic, MDF, or plywood
- Projects without masking where clean edges matter
- Situations where smoke buildup can reduce cut quality
More airflow clears out hot debris and helps prevent flame-ups, especially on resin-heavy materials like MDF.
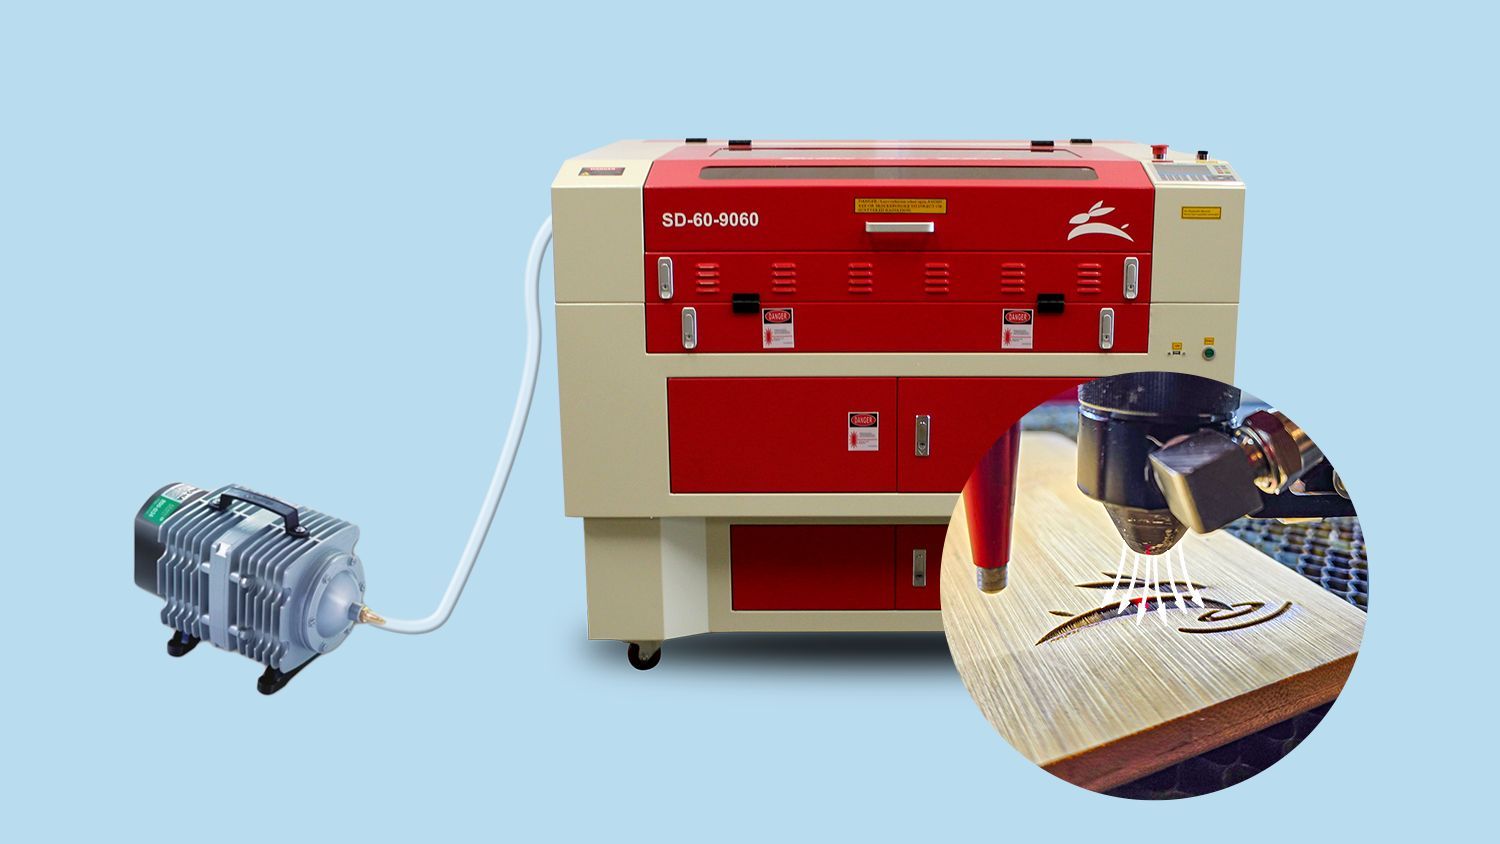
How to Control Air Flow on Your Laser
Depending on your setup, there are a few ways to fine-tune your air assist:
- Needle valve or regulator on your compressor line
- Manual flow control knob on some machines
- Solenoid valves or LightBurn control for automated switching (engraving vs cutting)
If you don’t already have control options, consider adding them for more versatility.
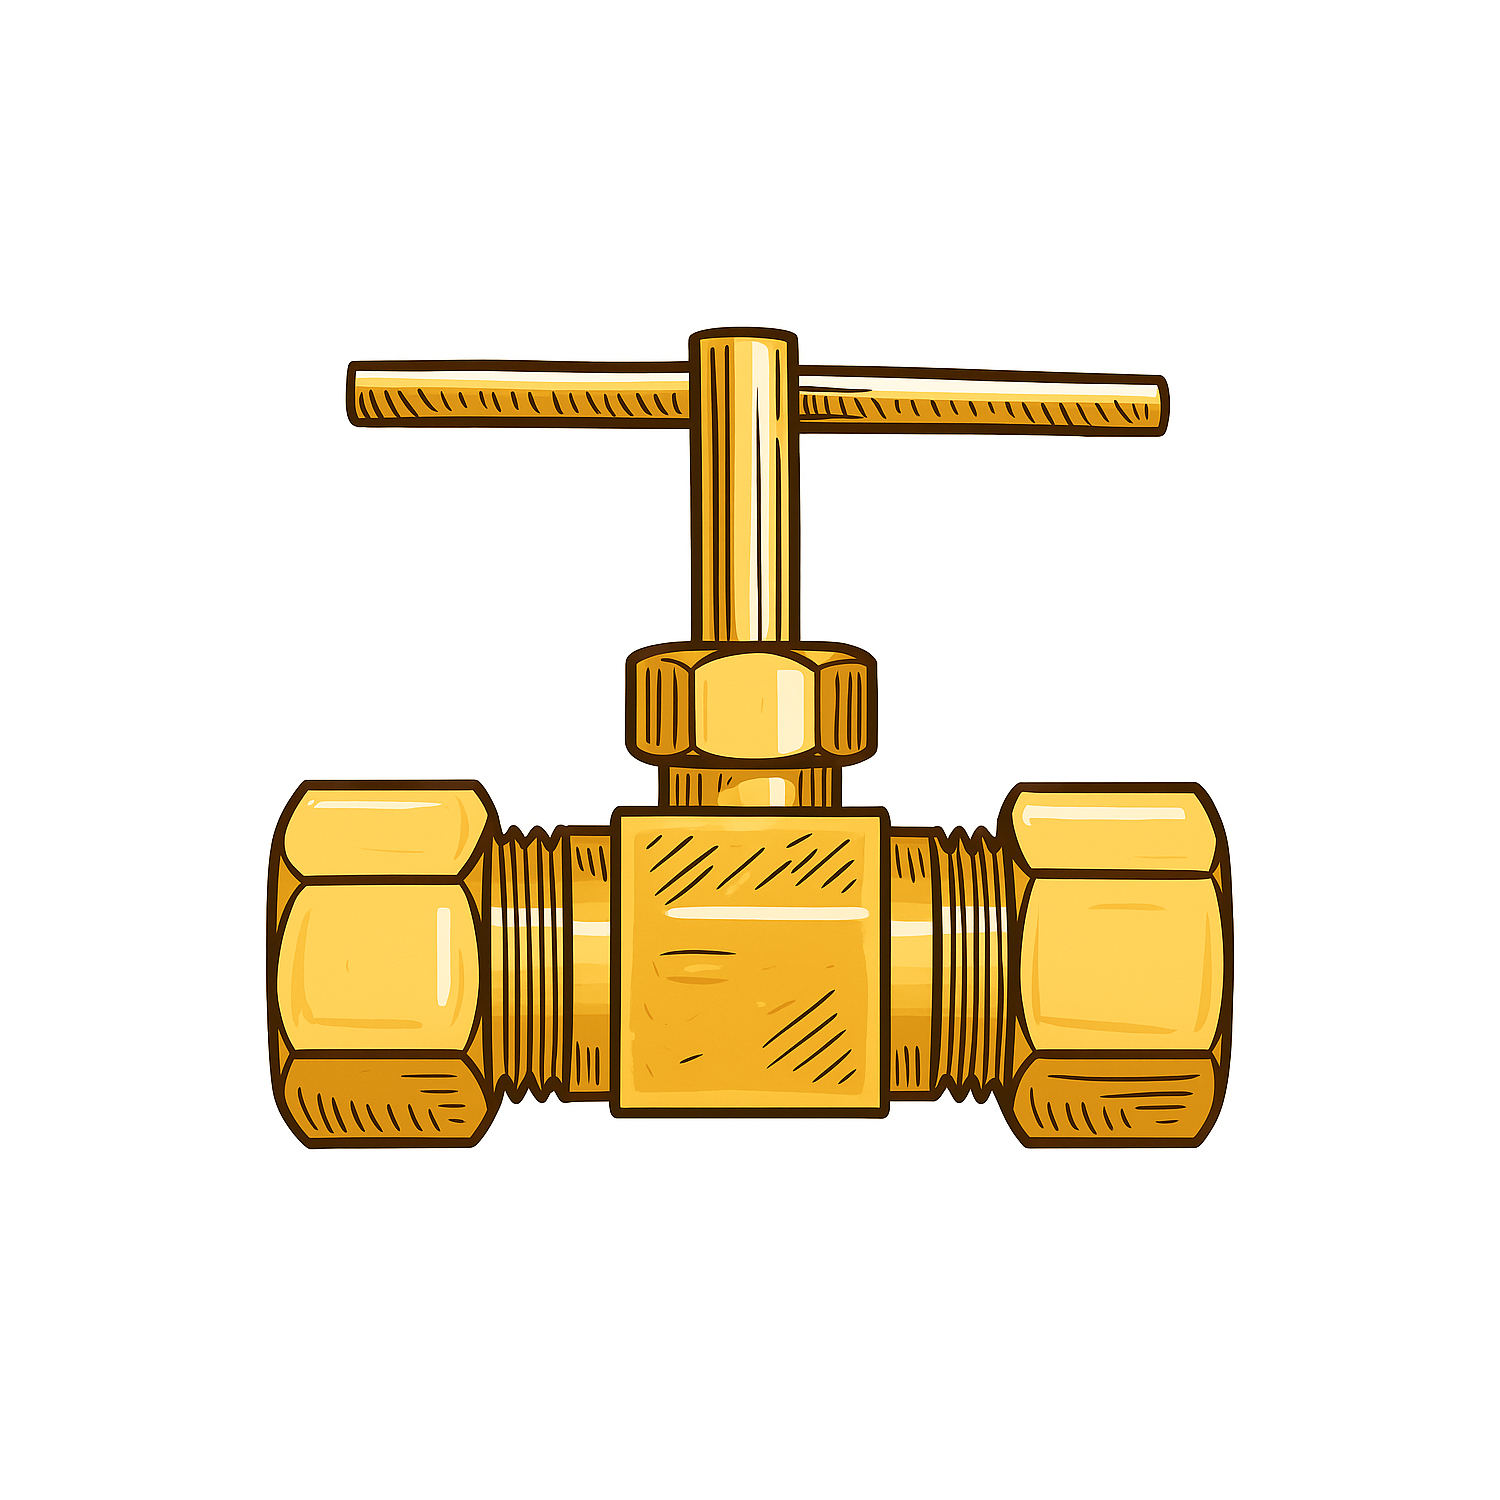
Needle Valve
Button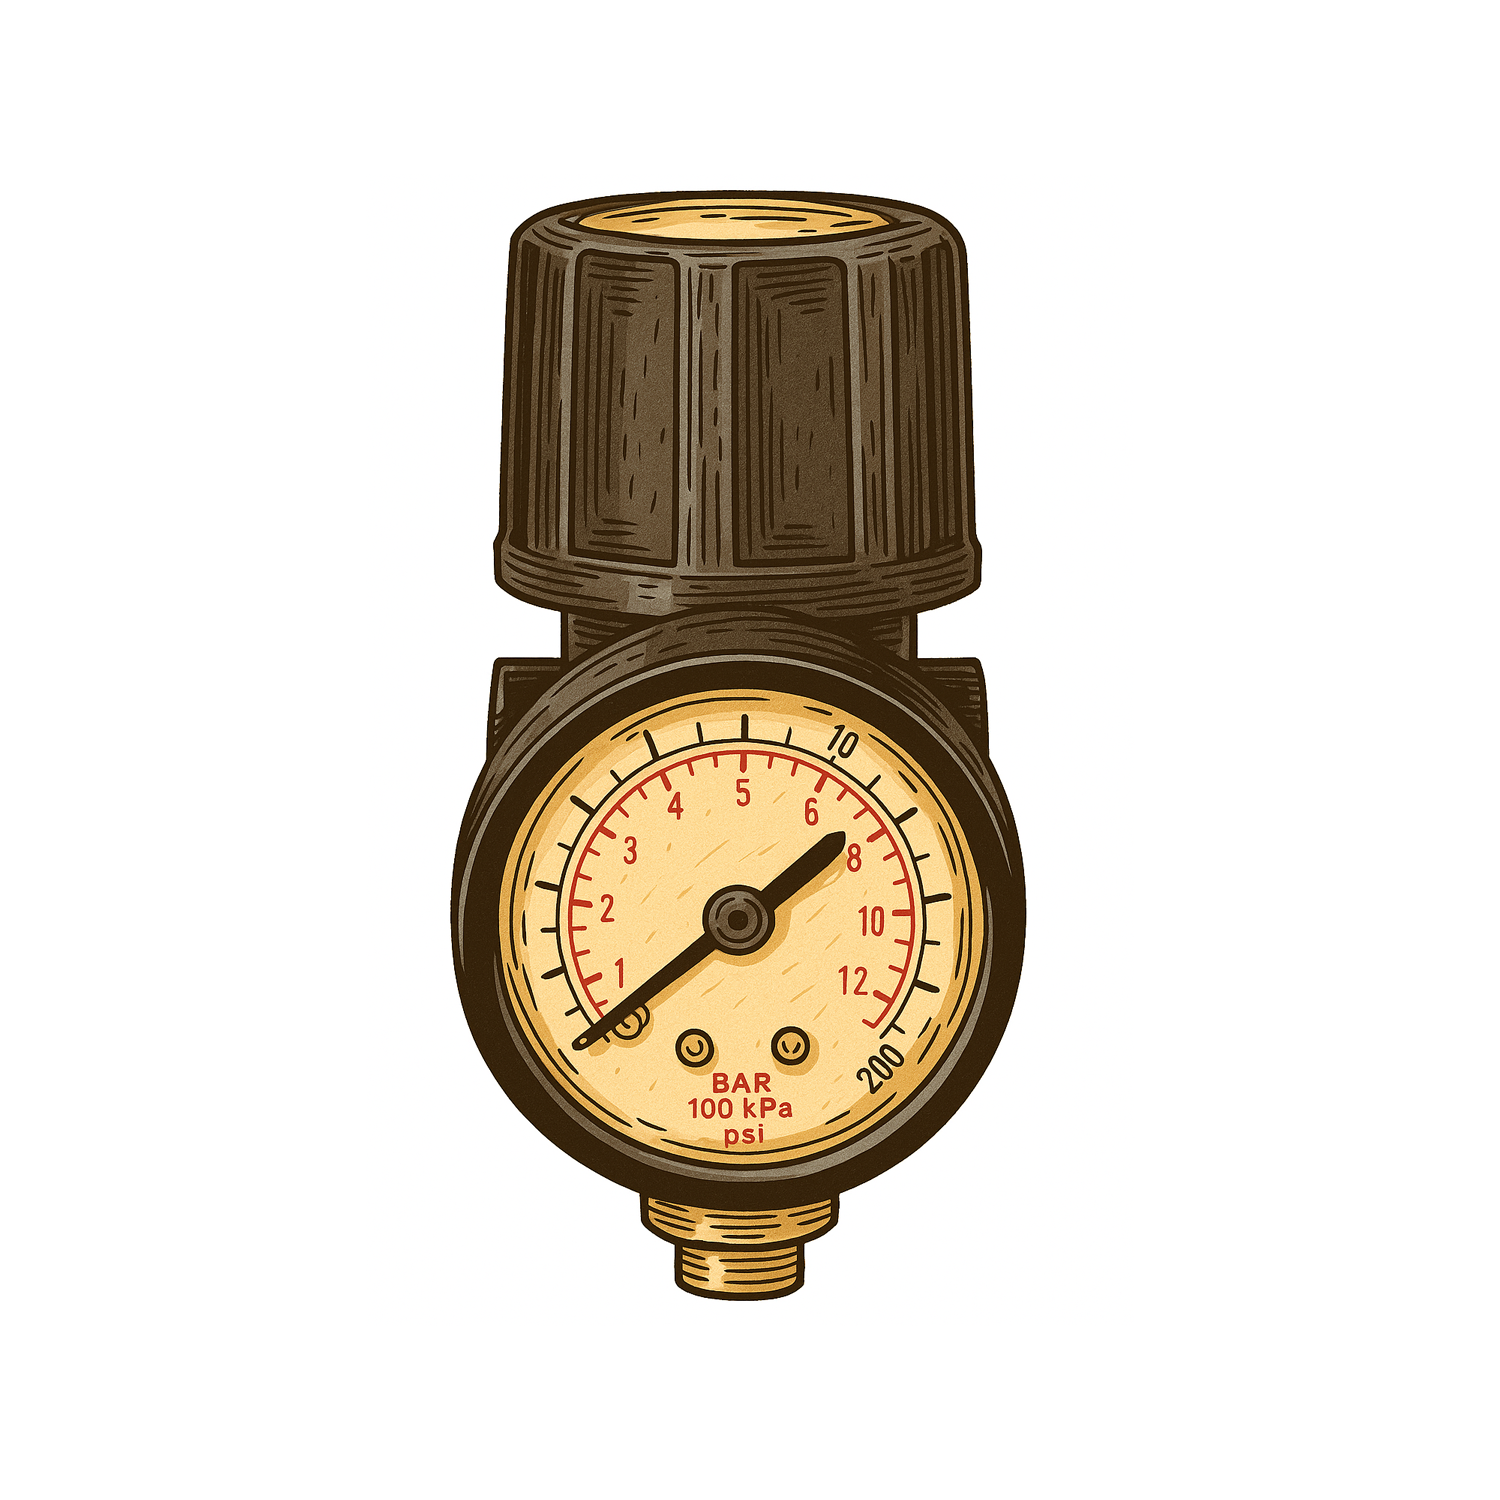
Signs Your Air Assist Needs Attention
- You smell burning during a job
- Excess smoke in the cabinet
- Blackened edges on wood or acrylic
- Frequent soot buildup on mirrors or lenses
These are red flags worth checking out before assuming your settings are off.
Upgrades & Accessories
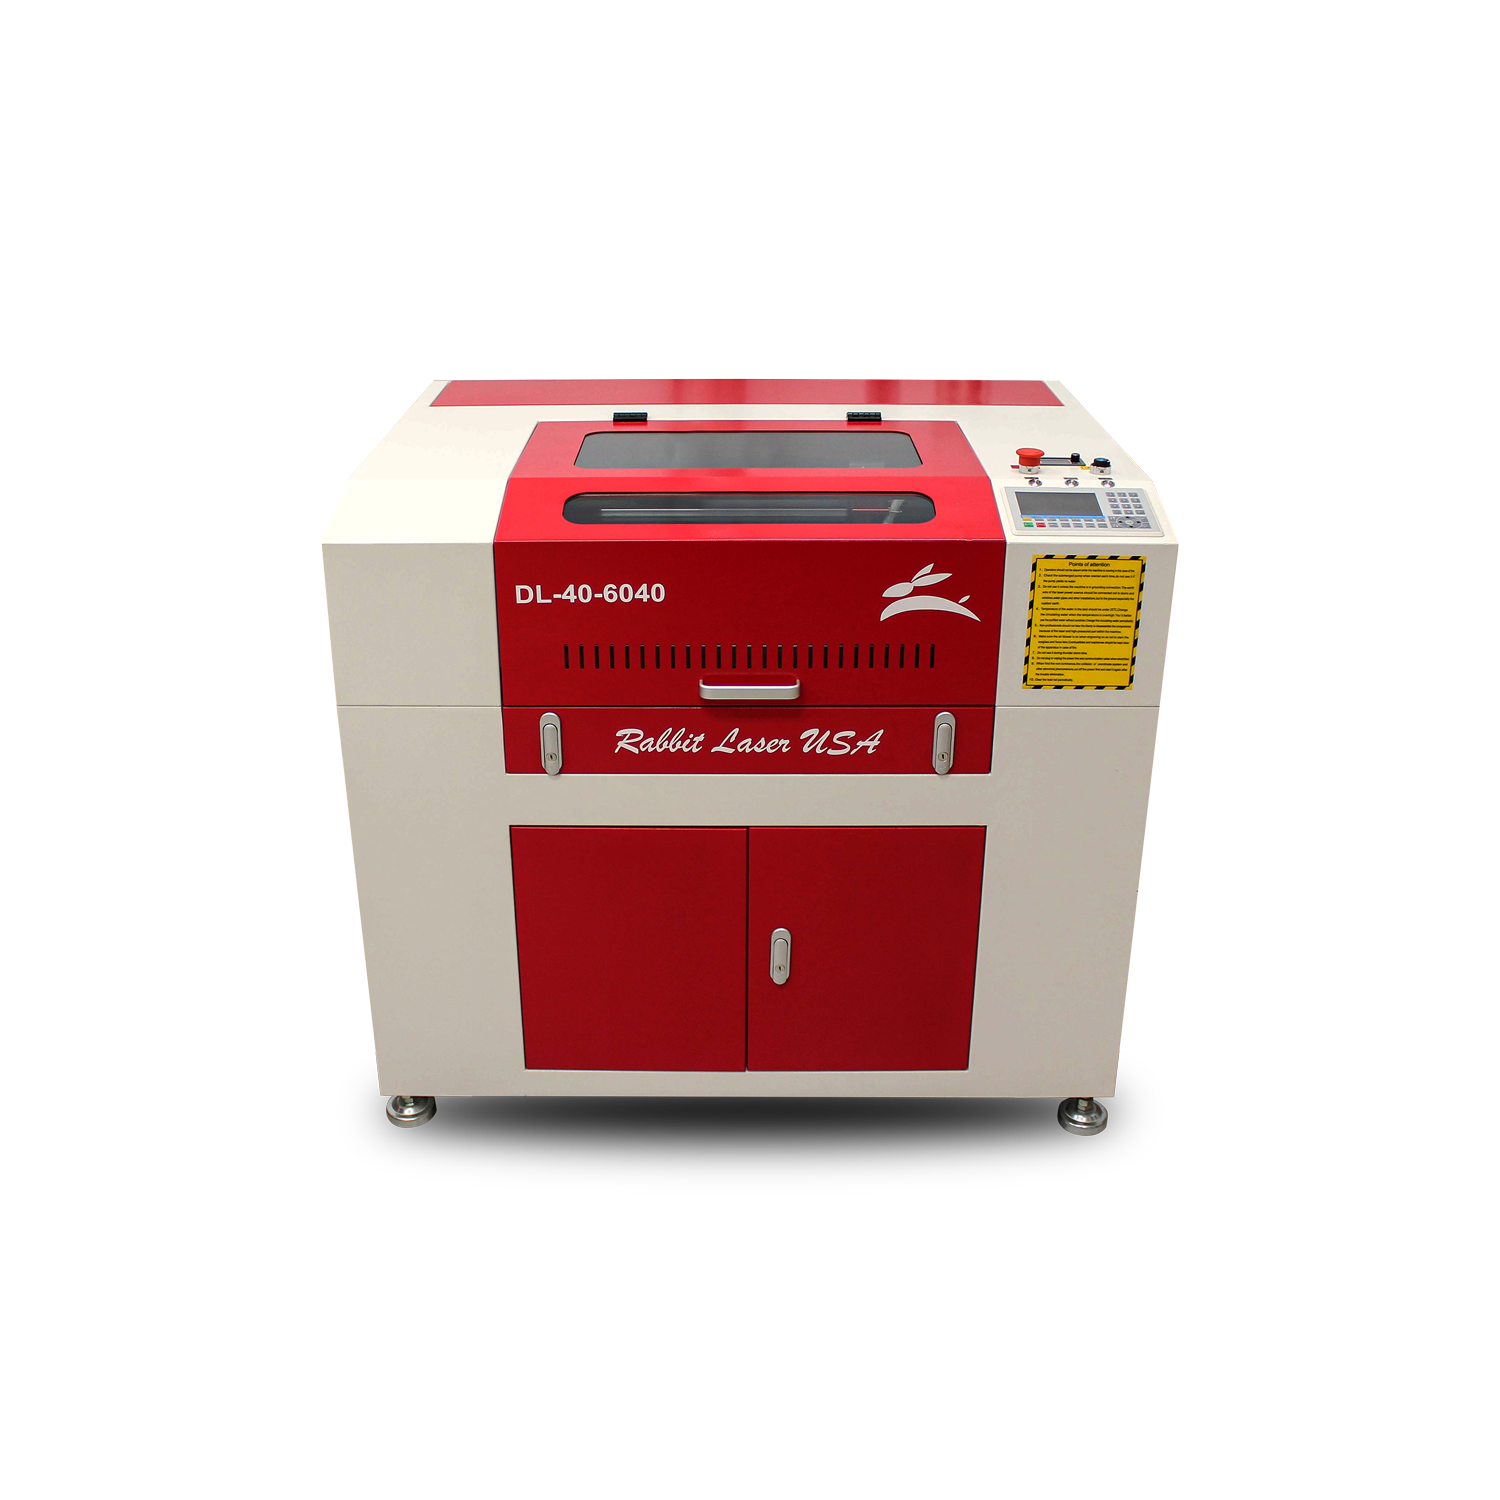
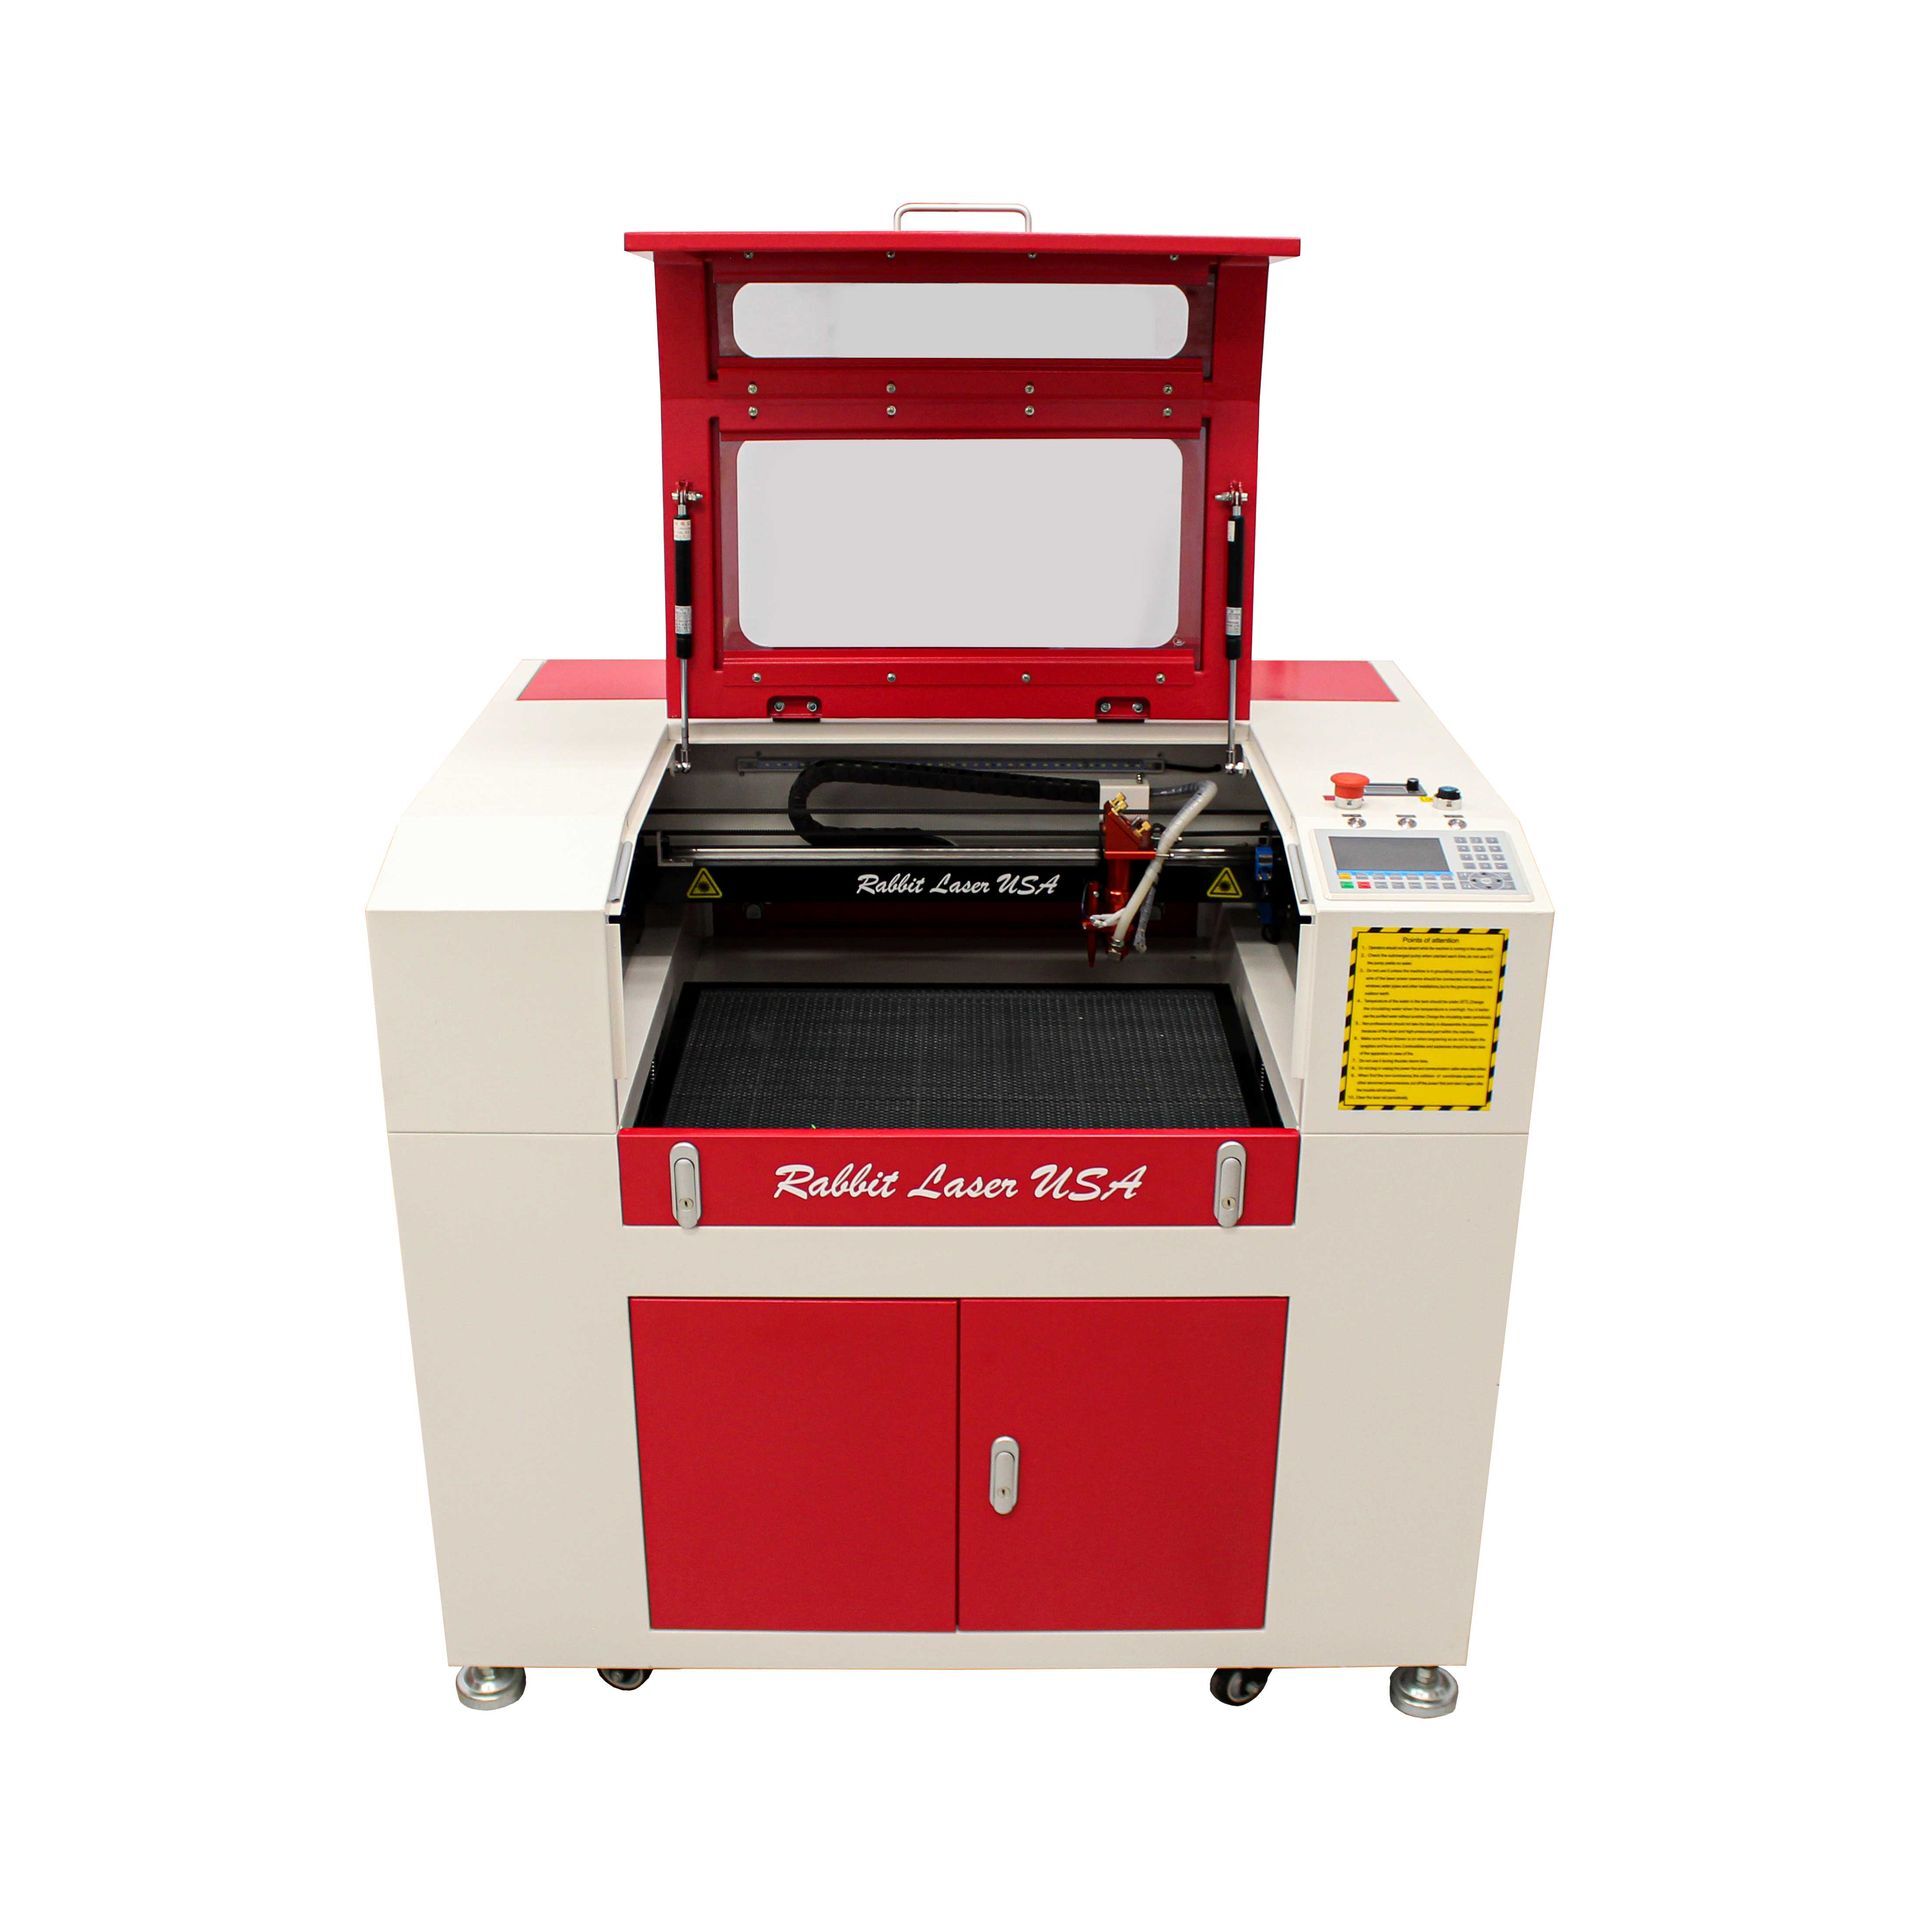
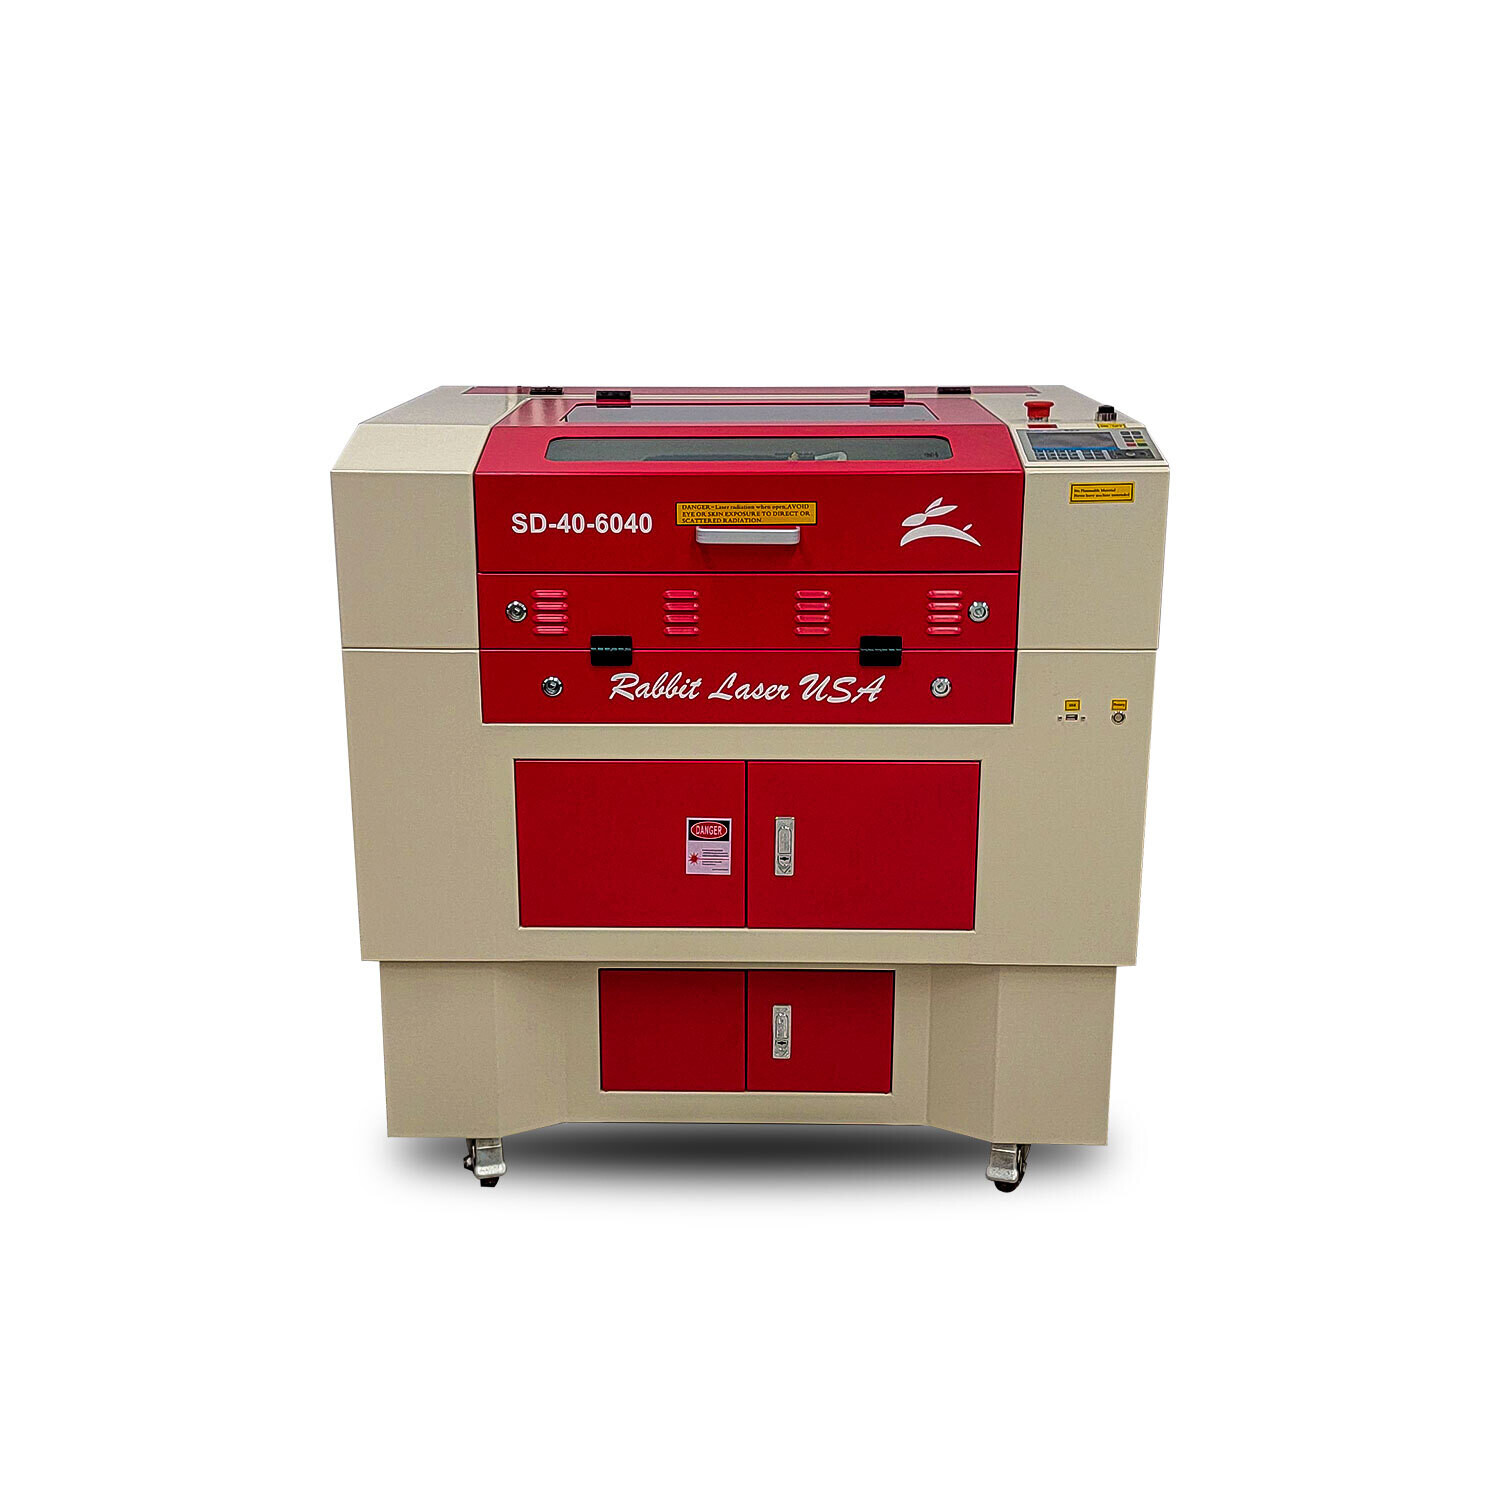
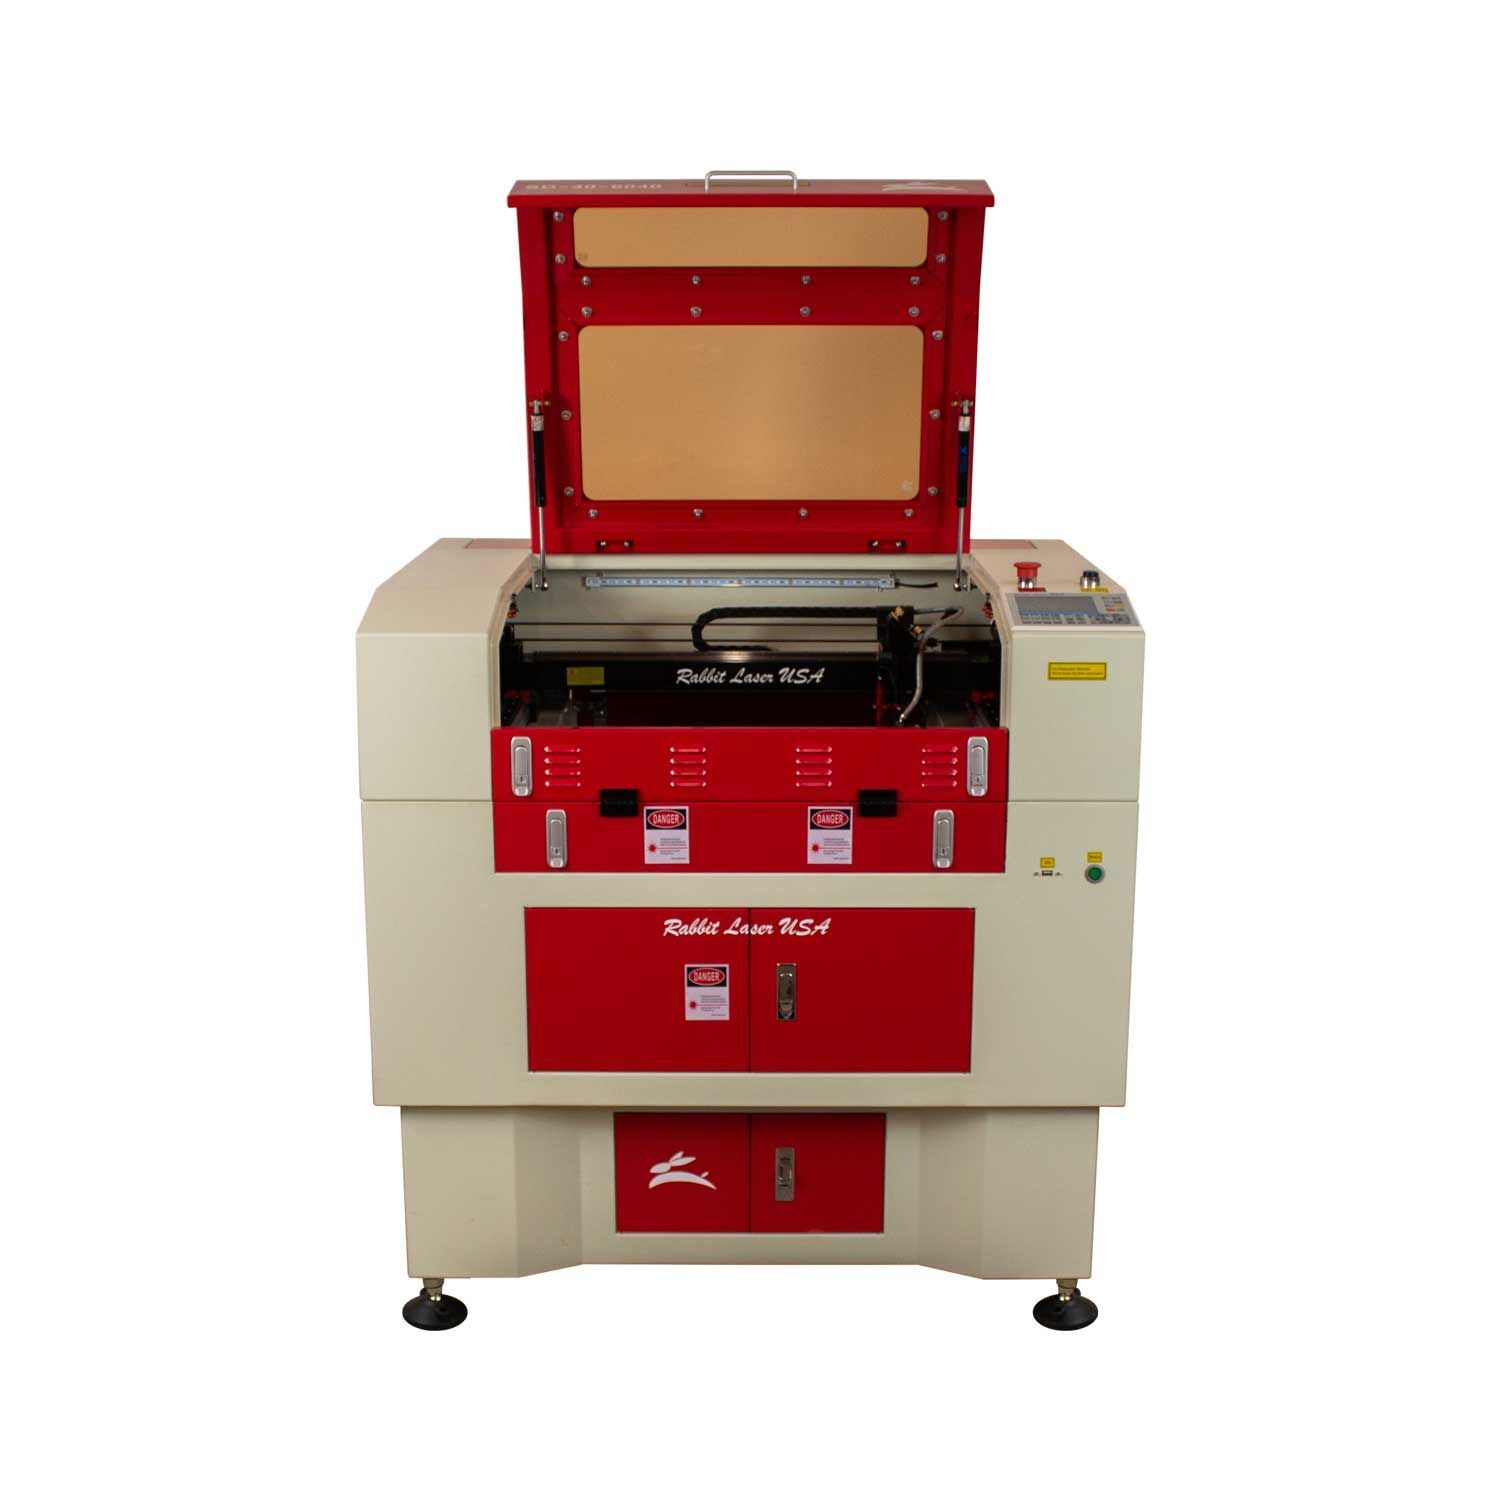
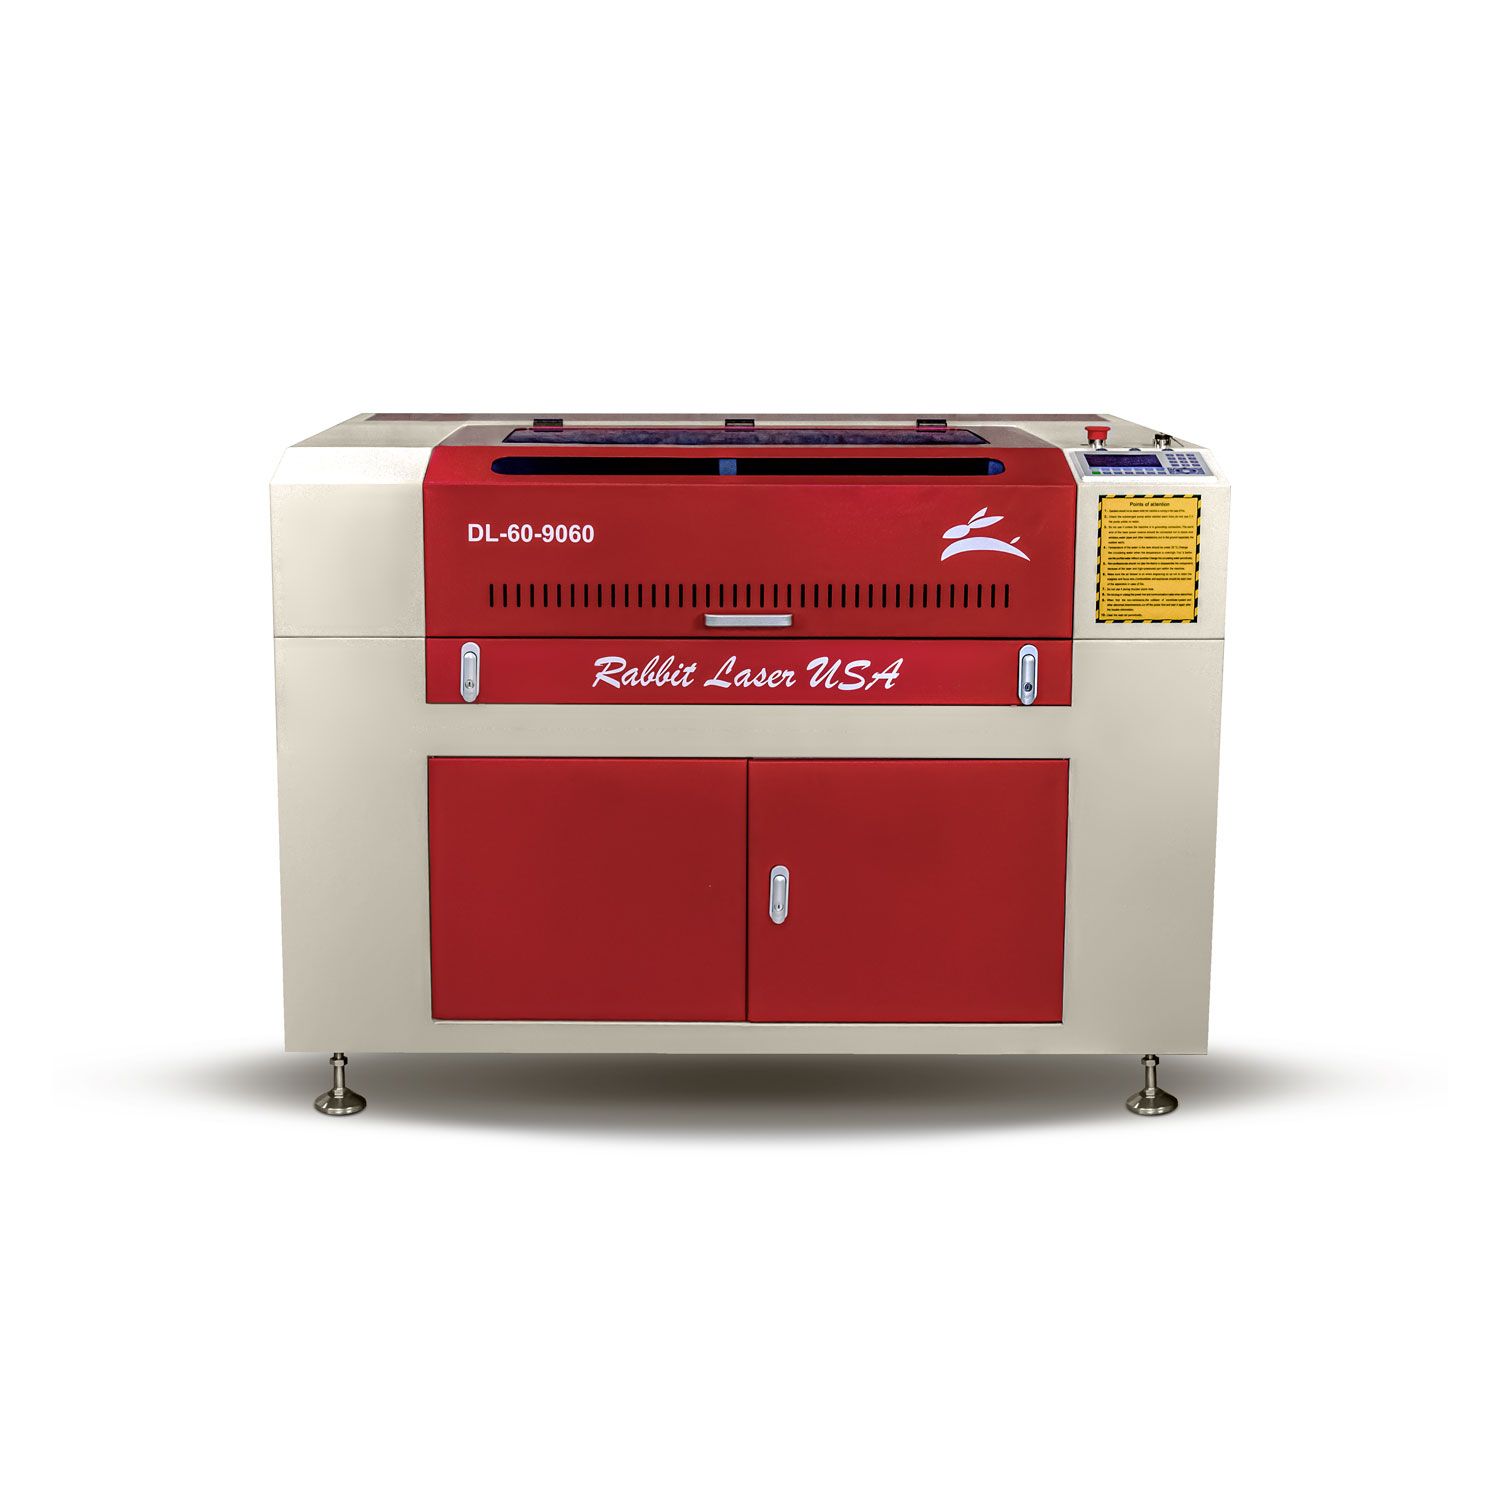
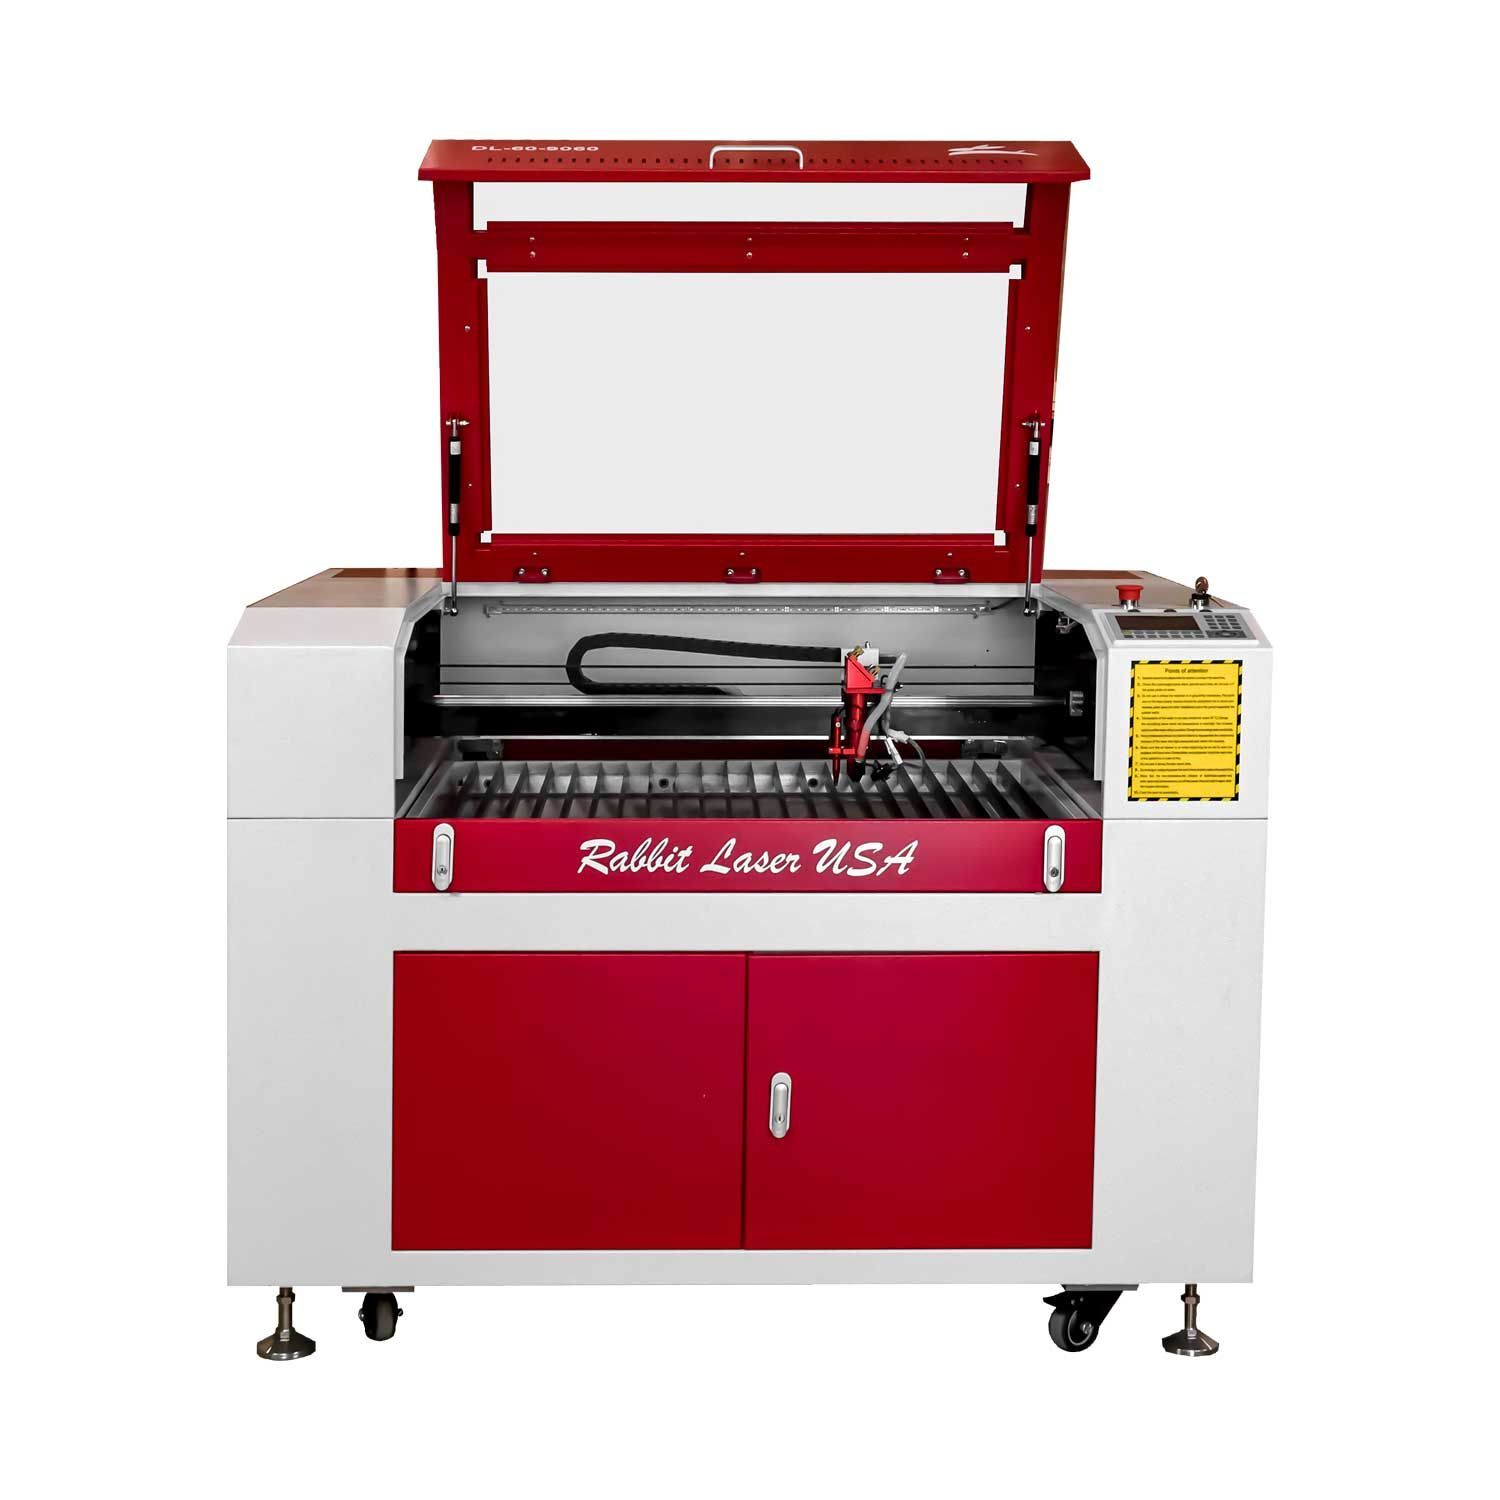
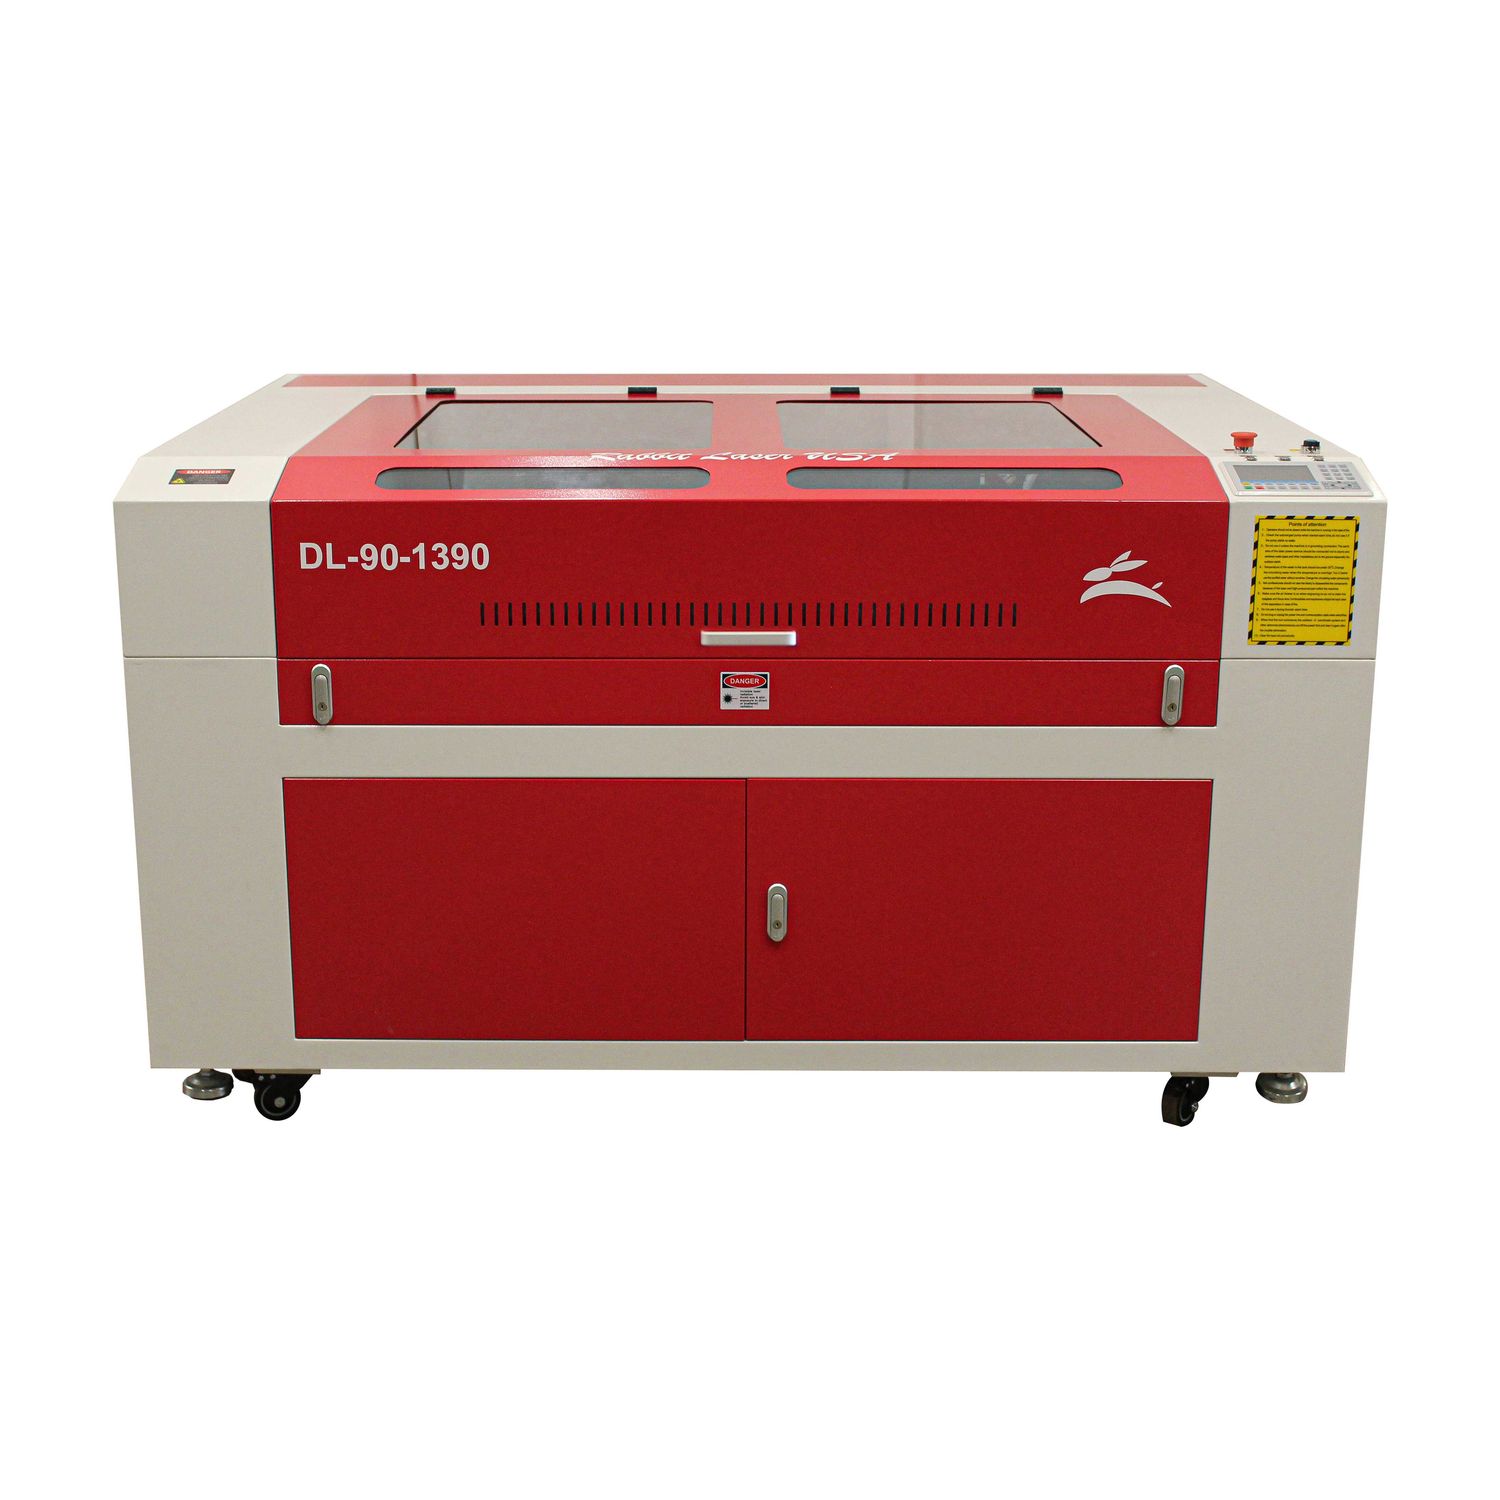
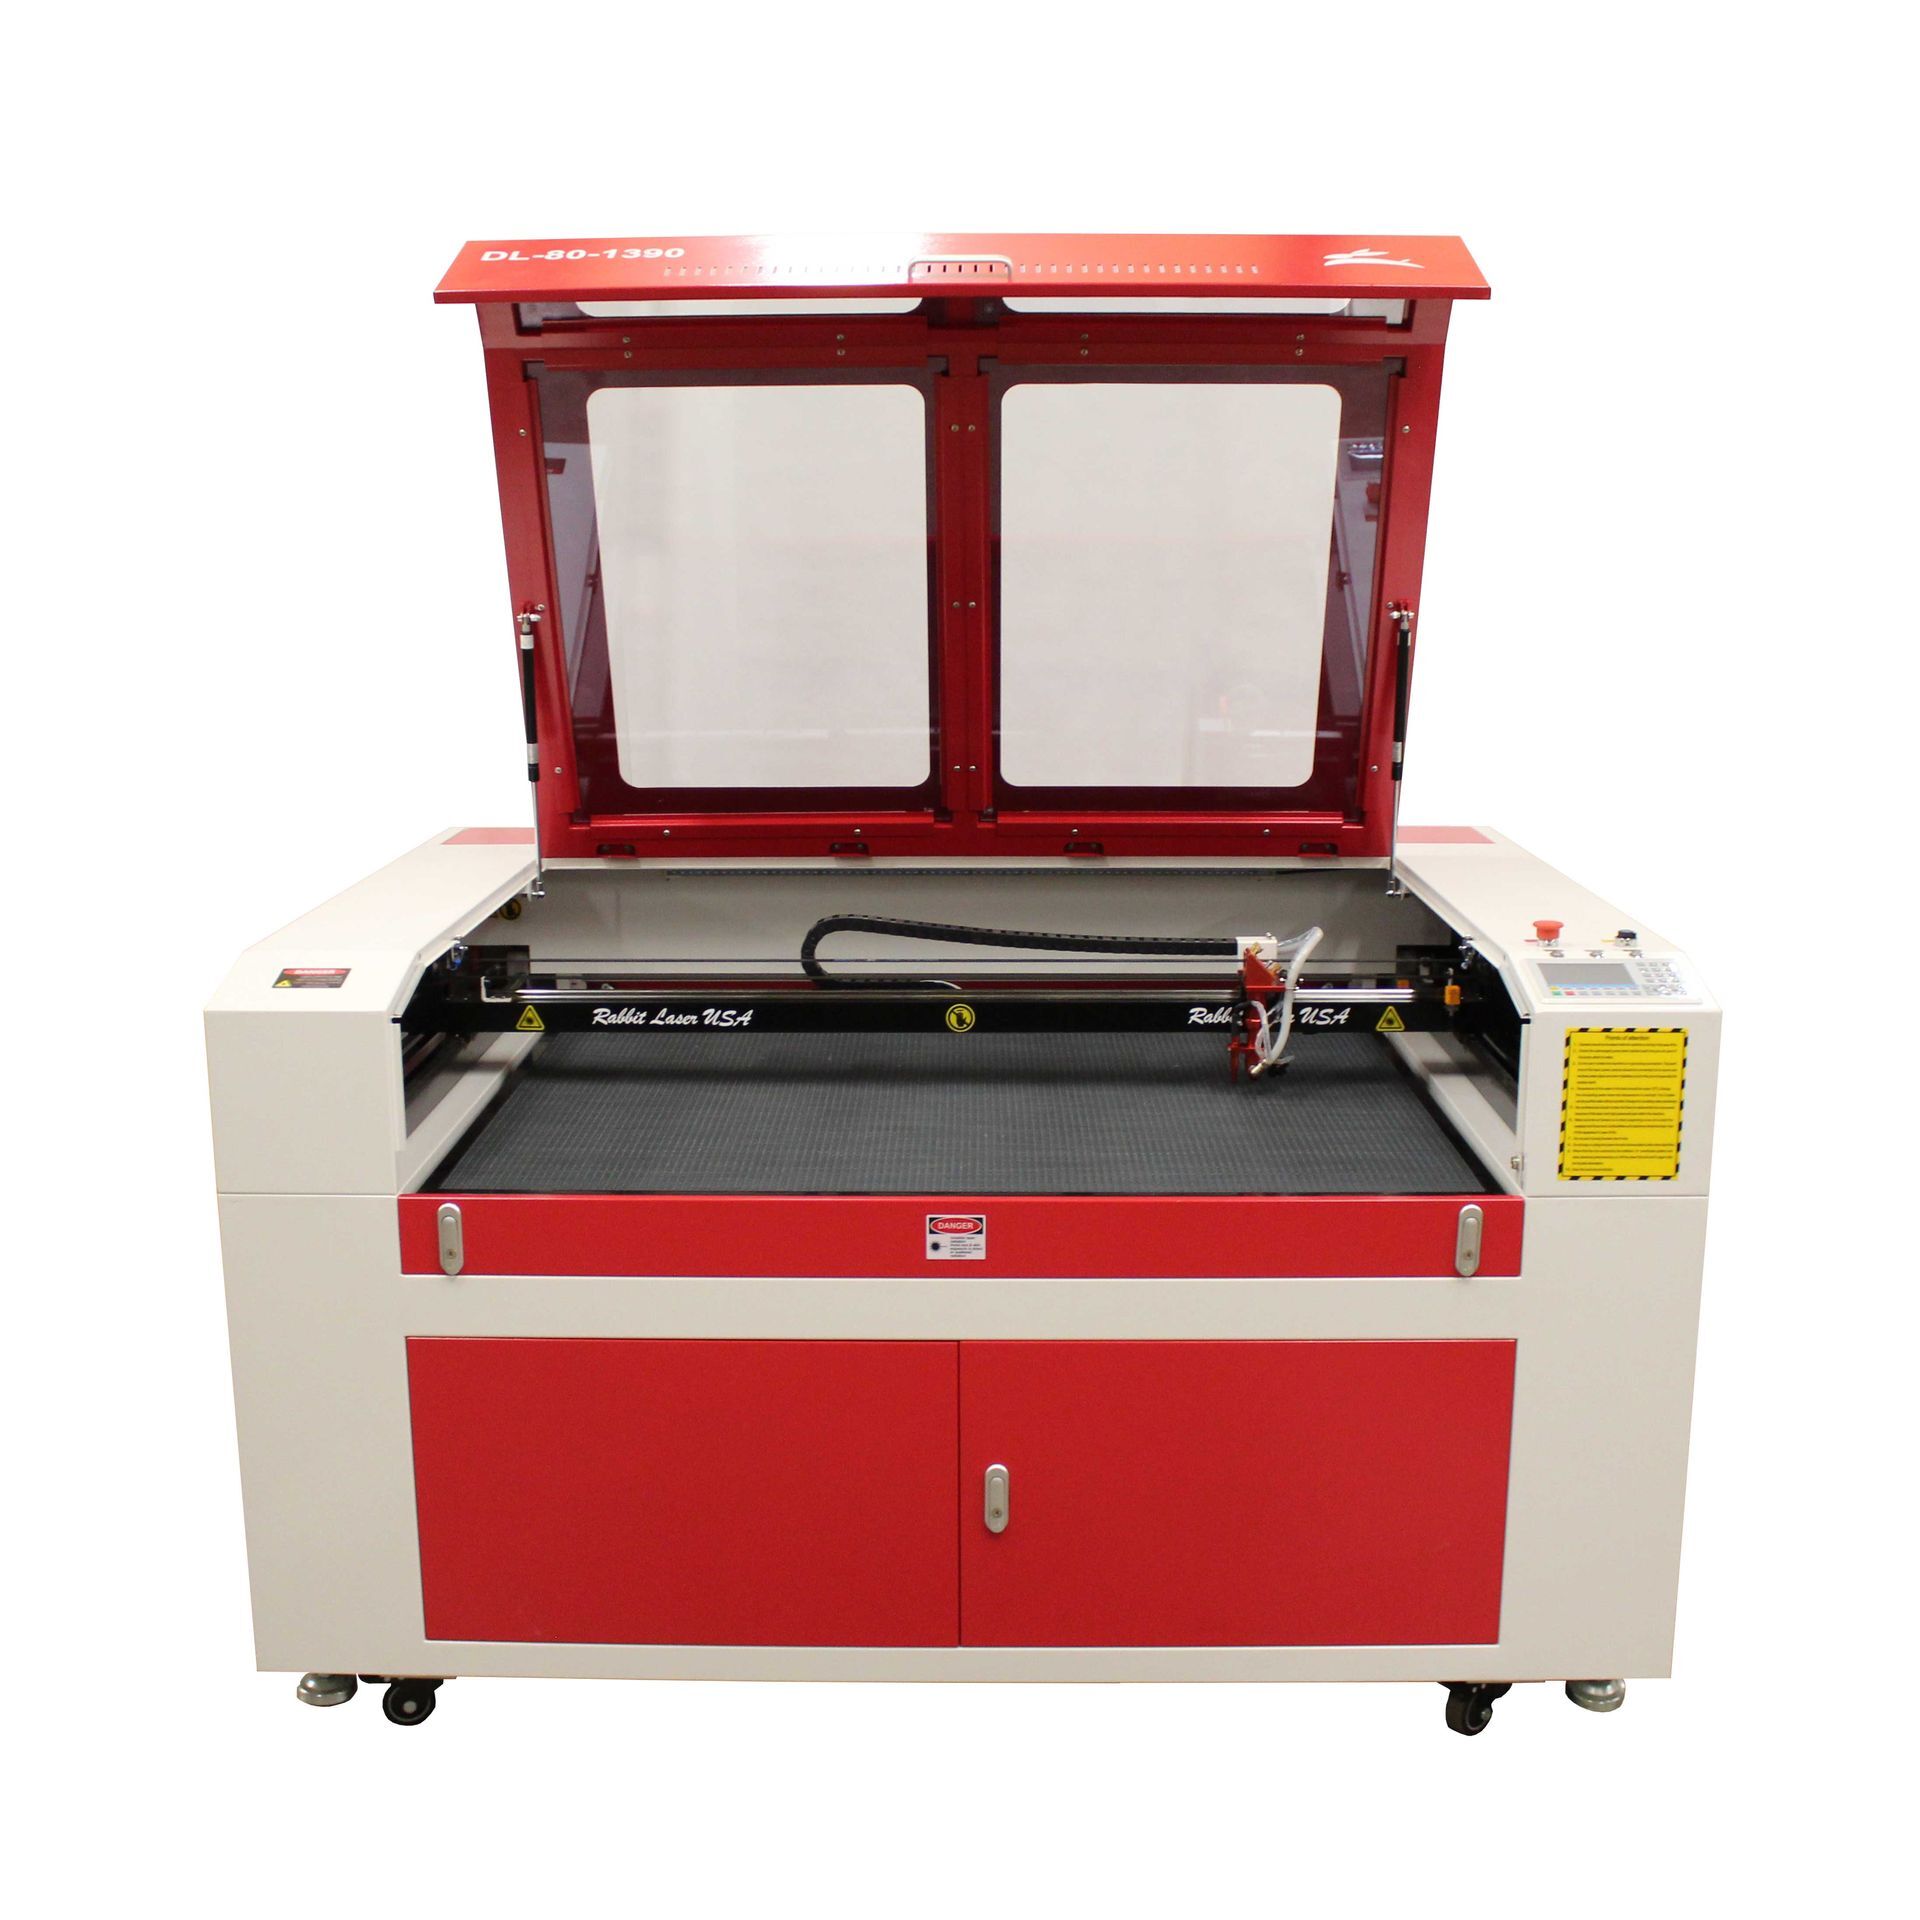
All Rabbit Laser USA machines come with built-in air assist—but there are differences:
- The DL series includes a larger air hose for better cutting performance
- We recommend oil-free compressors with a dryer for best results
Ask us if you’re unsure what works with your model.
Pro Tips for Air Assist Success
- Use low flow as your default for engraving jobs
- Switch to high flow for deep cuts and thick materials
- Always make sure your nozzle and air lines are clean
- Secure your compressor hose to avoid vibration or disconnection
The more control you have, the better your laser will perform.
Closing
Air assist isn’t just a background feature—it’s a performance tool. Whether you’re a hobbyist or production shop, knowing when and how to use air assist can make the difference between a decent result and a clean, professional one.
Need help troubleshooting your air setup or curious about an upgrade? Contact the Rabbit Laser USA team. We’re happy to walk you through it.
Cut. Create. Conquer.