Blog Layout

Unlocking the Magic: Discover LightBurn's Move Increments

Introducing LightBurn


Hey there, curious minds! Let's embark on an exciting journey to uncover a hidden gem within LightBurn – a magical feature that goes by the name of Move Increments.


What Are Move Increments?


Imagine you have a magical wand (well, LightBurn in this case) that helps you move objects on your computer screen in tiny, precise steps. These steps are what we call move increments.


How Do Move Increments Work?


Understanding the Basics


Think of move increments like the secret codes to unlock precise movement in LightBurn. By pressing different combinations of keys, you can control how far your objects move with each tap of the arrow keys.


Exploring the Options


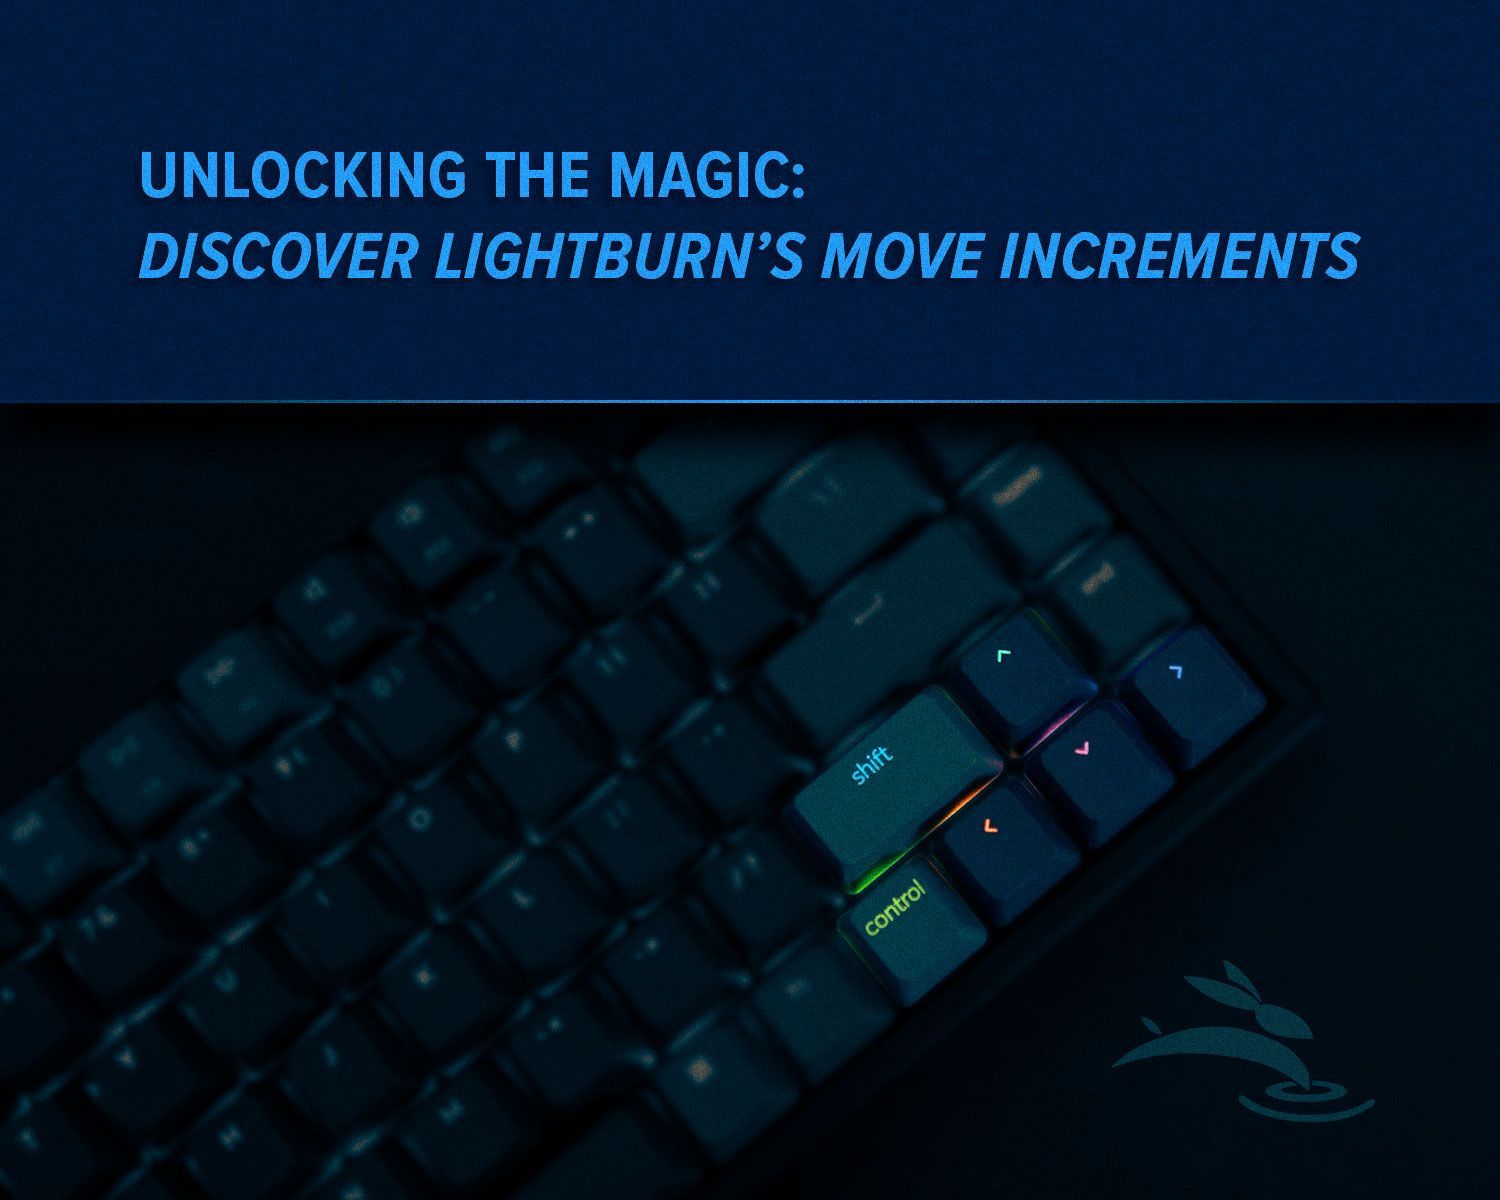
In LightBurn, you have a variety of move increments at your fingertips. Pressing the arrow keys alone moves objects by default distances. Adding Shift to the mix increases the distance, while Ctrl decreases it. And for ultra-fine adjustments, combining Ctrl and Shift gives you the smallest move increments available.


Why Should You Care About Move Increments?


Well, imagine trying to draw a straight line without a ruler. Move increments act like that ruler, helping you maintain precision and accuracy in your designs.


Tips and Tricks for Using Move Increments Effectively


Precision Control


Need to nudge an object ever so slightly? Use the arrow keys along with Ctrl for fine adjustments. It's like moving your design with a feather touch!


Speeding Up Workflow


By using move increments, you can streamline your design process and work more efficiently. No more endless tinkering – just smooth sailing from start to finish!


Real-Life Examples of Move Increments in Action


Picture this: You're crafting a masterpiece on your laser cutter, and suddenly, you realize that one tiny adjustment could make all the difference. Thanks to move increments, you make that adjustment with ease, and your creation turns out flawless.


Frequently Asked Questions (FAQs)


  • What are the default move increments in LightBurn?
    In LightBurn, pressing an arrow key moves objects by default distances. Shift increases the distance, Ctrl decreases it, and Ctrl + Shift provides the smallest move increments.
  • Do move increments affect the quality of my laser cuts?
    No, move increments only affect the positioning of objects on your screen and do not impact the quality of your final laser-cut output.
  • Are move increments similar to step sizes in CNC machines?
    Yes, move increments serve a similar purpose to step sizes in CNC machines, aiding users in making precise movements with ease.


Move Increments in LightBurn might seem like a small feature, but they pack a powerful punch when it comes to precision and efficiency in your designs. By mastering the art of move increments, you'll unlock a whole new level of control over your creations.


Ready to take your design skills to the next level? Download LightBurn now and start experimenting with move increments. Trust us, once you try them, you'll wonder how you ever lived without them!  In need of a laser? Check out our lineup here! 🐰

by Rod Boehm 30 Apr, 2024
Discover the crucial role of focal lens size in fiber laser marking machines. From achieving precision and clarity to optimizing marking speed, find out how the right lens size can revolutionize your engraving projects. Learn how to strike the perfect balance between speed and detail for seamless results. Dive into applications across industries and uncover the secrets to driving innovation forward with precision optics. Unlock the full potential of your laser engraver today!
desk with paper coffee and plant
by Rod Boehm 26 Apr, 2024
Unlock the potential of your laser engraving and cutting business with digital mockups. Enhance customer engagement, boost sales, and stand out from the competition. Discover how integrating digital mockups can revolutionize your sales strategy today!
blog cover close up of laser head with title of blog
by Rod Boehm 23 Apr, 2024
Unlock the full potential of laser cutting with these 5 pro tips! From choosing the right materials to perfecting your laser settings, this guide will help you achieve precision and efficiency in your projects. Safety measures and maintenance tips included. Start cutting like a pro today!
An illustrated hand grasping a laser beam with title text
by Rod Boehm 17 Apr, 2024
Discover the power and precision of Ruida controllers for CO2 laser machines. Explore advanced features, seamless integration, and intuitive user interface for enhanced laser cutting and engraving experiences. With Ruida, unlock industrial-grade functionality and unleash the full potential of your CO2 laser system.
by Rod Boehm 12 Apr, 2024
Crystal Clear: The Best Way to Keep Your Fiber Laser Marking System Spick and Span Hey there! Got a sec to chat about keeping your fiber laser marking system in tip-top shape? Let's dive in! Safety First, Always Okay, before we get into the nitty-gritty of cleaning, let's make sure we're all safe and sound. Power down that bad boy and let it cool off completely. Oh, and don't forget your safety gear – gloves and goggles are a must! Spruce Up the Outside Grab a soft cloth and give the exterior of your fiber laser marking system a good wipe-down. We're talking about getting rid of all that dust and grime that's been hanging out. And pay extra attention to those vents – we don't want any overheating mishaps! Clear Up Those Optics Now, onto the optics – the real MVPs of your marking system. Bust out those lens wipes and cleaning solutions recommended by the manufacturer. Gently does it – we don't want any scratches on those delicate surfaces. Tidy Up Your Workspace Take a look around your workspace – any clutter getting in the way? Clear it out! You want a clean, tidy area to work in. Sweep up any debris and keep things spic and span. Don't Forget the Air Filtration Let's show some love to the air filtration system. Check those filters and swap them out when needed. And hey, don't neglect those vents – give 'em a good clean to keep that airflow going strong. Keep an Eye Out Make a habit of giving your marking system a once-over regularly. Spot any wear and tear? Fix it up before it becomes a bigger problem. And a little lubrication here and there never hurt anyone! Spread the Knowledge Got all these cleaning tips down? Awesome! Share the love with your team. Document the process and make sure everyone's on the same page. Oh, and don't forget to update that manual whenever there's something new to add! In Conclusion With a little TLC, your fiber laser marking system will be running like a dream for years to come. So, take the time to give it some love – you'll thank yourself later when you're cranking out those crystal-clear markings without a hitch! 🐰
by Rod Boehm 02 Apr, 2024
Unlock the secrets of DPI in laser engraving! Dive into our comprehensive guide to understand how dots per inch (DPI) can take your creations from pixelated to perfection. With friendly banter, relatable anecdotes, and practical tips, we'll help you find the optimal DPI setting for your next engraving project. Let's turn your ideas into stunning works of art – one dot at a time!
by Rod Boehm 27 Mar, 2024
Uncover the hidden truths behind laser machine retailers who utilize drop shipping in this informative article. Learn about the benefits and risks associated with this practice, and discover how to protect yourself as a consumer. Stay informed to avoid getting burned by subpar products and shipping delays.
by Rod Boehm 22 Mar, 2024
Discover the crucial role of air-assist technology in optimizing laser engraving/cutting processes. Learn how air-assist enhances visibility, prevents material damage, and ensures consistent quality. Explore maintenance tips and real-world applications to maximize performance and efficiency.
by Rod Boehm 20 Mar, 2024
Dive into our comprehensive guide on focal lenses for laser cutting and engraving. Learn the differences between larger and smaller focal lengths, and discover how they impact cutting depth, precision, and versatility in your laser projects.
Comic Style title
by Rod Boehm 15 Mar, 2024
When considering laser engraving rotaries, the choice between roller and chuck options significantly impacts precision and efficiency. Roller rotaries offer versatility, stability, and quick setup times, making them ideal for various cylindrical objects. On the other hand, chuck rotaries provide a secure grip and exceptional precision, especially for intricate designs. Understanding these differences aids in selecting the right rotary for specific engraving needs, maximizing productivity and quality.
illustration of clipboard with diagram
by Rod Boehm 11 Mar, 2024
Learn the key strategies to become a laser cutting expert with these four essential tips. From continuous learning to prioritizing safety, unlock your potential in laser cutting mastery.
by Rod Boehm 08 Mar, 2024
Unlock the full potential of your laser machine with LightBurn Software's rotary attachment integration. This comprehensive guide navigates you through setup, from physical installation to calibration. Ensure compatibility and input accurate parameters for optimal performance. Embrace creativity and precision in cylindrical engraving and cutting projects. With LightBurn as your ally, explore new possibilities and leave a lasting impression in the world of laser craftsmanship.
More posts
Share by: