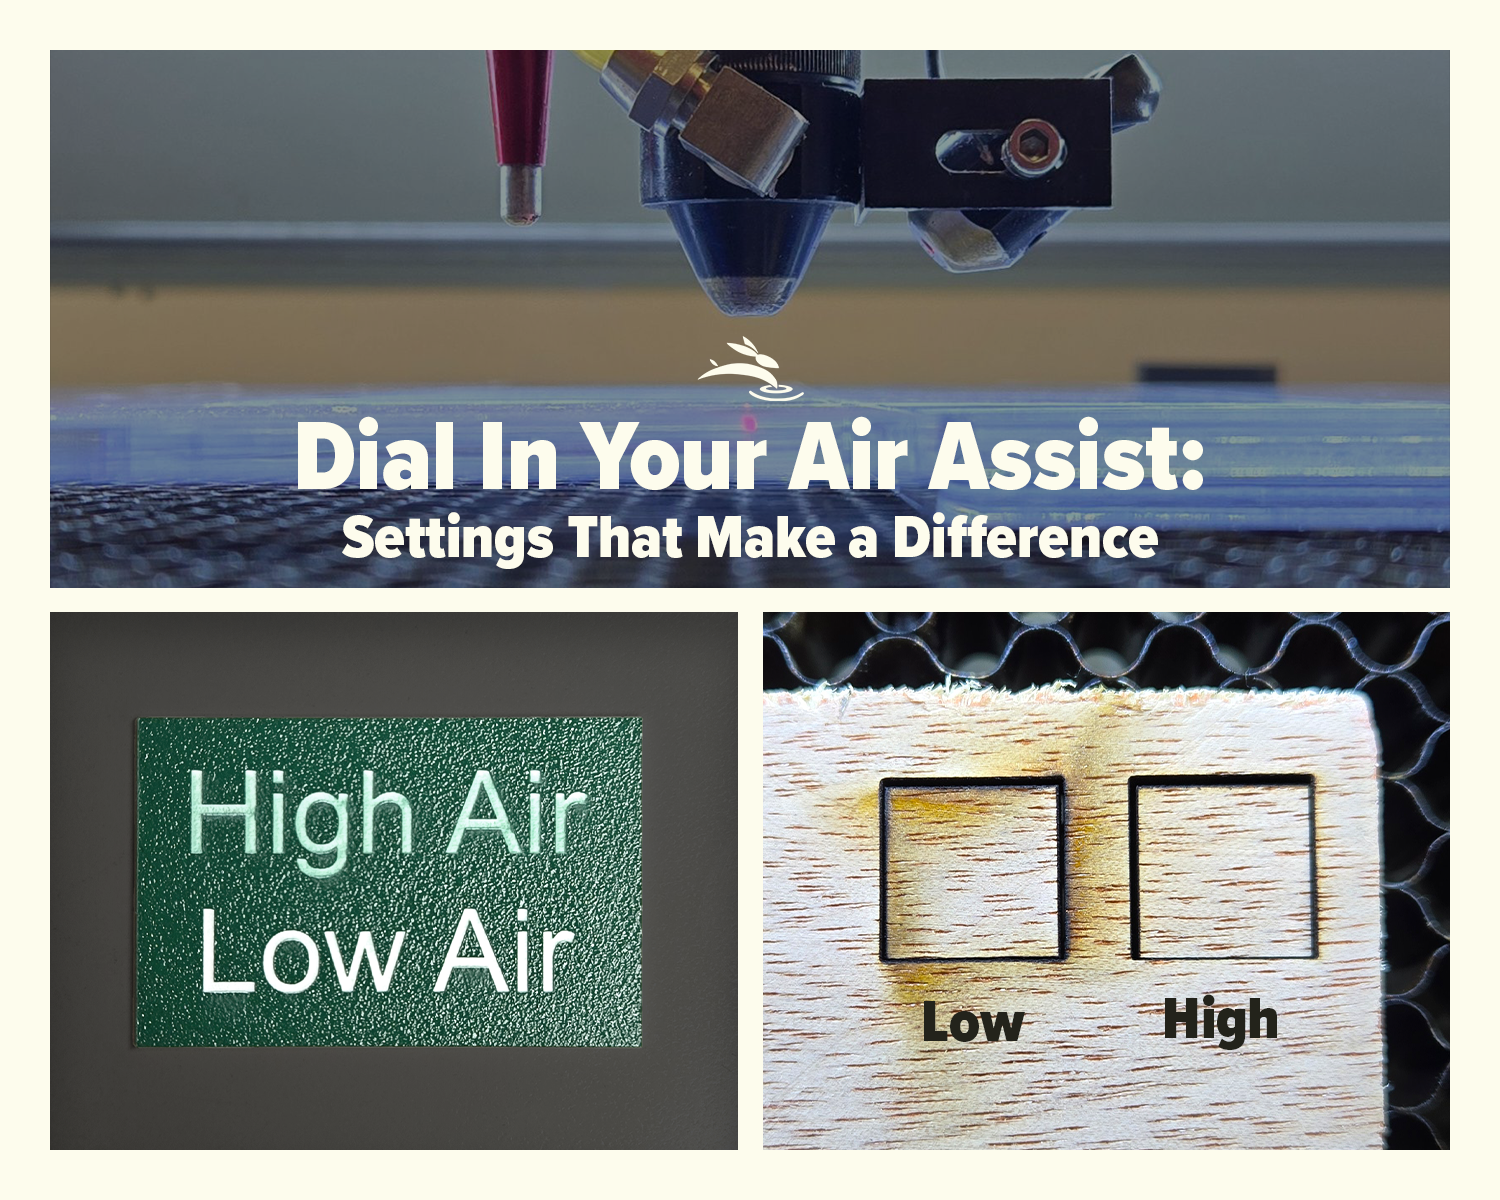
Unlock Perfect Laser Cuts: The Ultimate Speed & Power Guide!
When it comes to laser cutting and engraving, understanding the intricacies of speeds and power is essential. Whether you're an educator introducing students to the wonders of laser technology or a professional aiming to optimize your workflow, mastering these parameters can significantly enhance your outcomes. Let's dive into the essentials of speeds and power and how they can make a world of difference in your laser cutting and engraving projects.
What Are Speeds and Power?
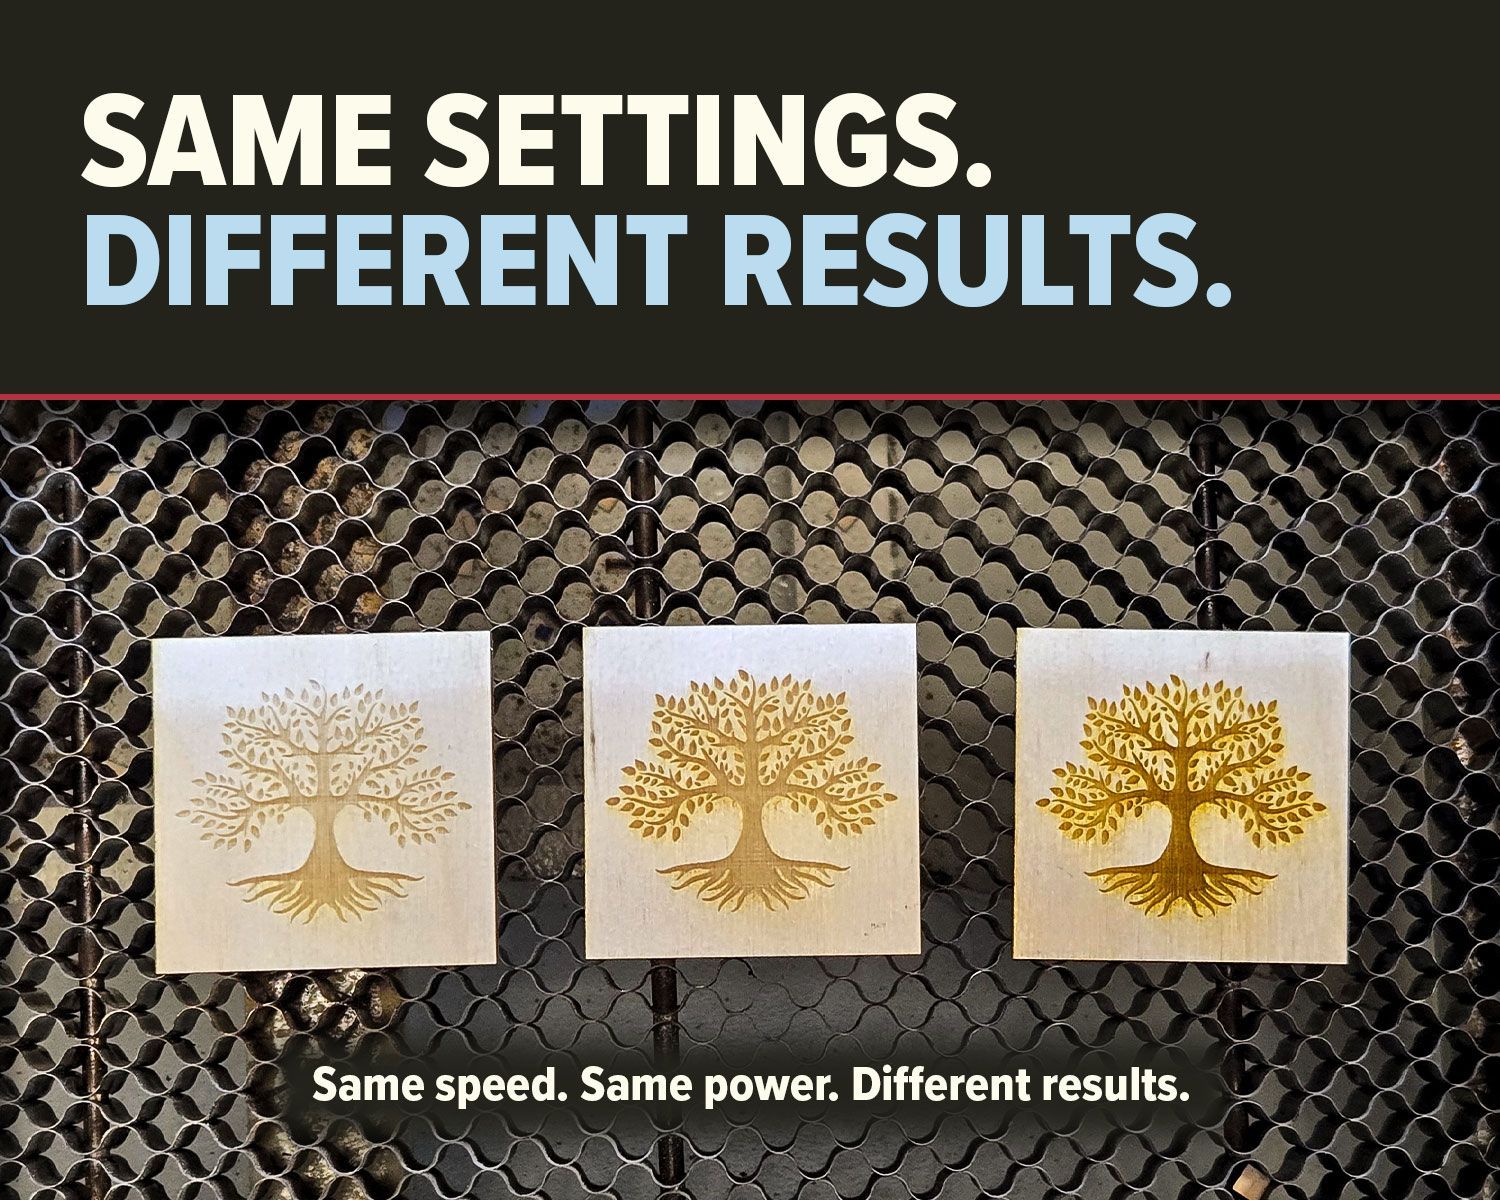
In the realm of laser cutting and engraving, "speed" refers to how fast the laser head moves over the material. "Power," on the other hand, pertains to the intensity of the laser beam. Balancing these two factors is crucial for achieving precise cuts and detailed engravings.
Why Are They Important?
Speeds and power directly influence the quality, efficiency, and accuracy of your laser work. Incorrect settings can lead to a range of issues, from burnt edges and incomplete cuts to wasted materials and increased wear on your machine. By fine-tuning these parameters, you ensure that your projects are completed to the highest standard, maximizing both your productivity and the lifespan of your laser cutter.
Tips for Optimal Settings
- Know Your Material: Different materials react differently to laser cutting and engraving. For instance, wood and acrylic have distinct properties and require unique speed and power settings. Always refer to material-specific guidelines and perform test cuts to find the sweet spot.
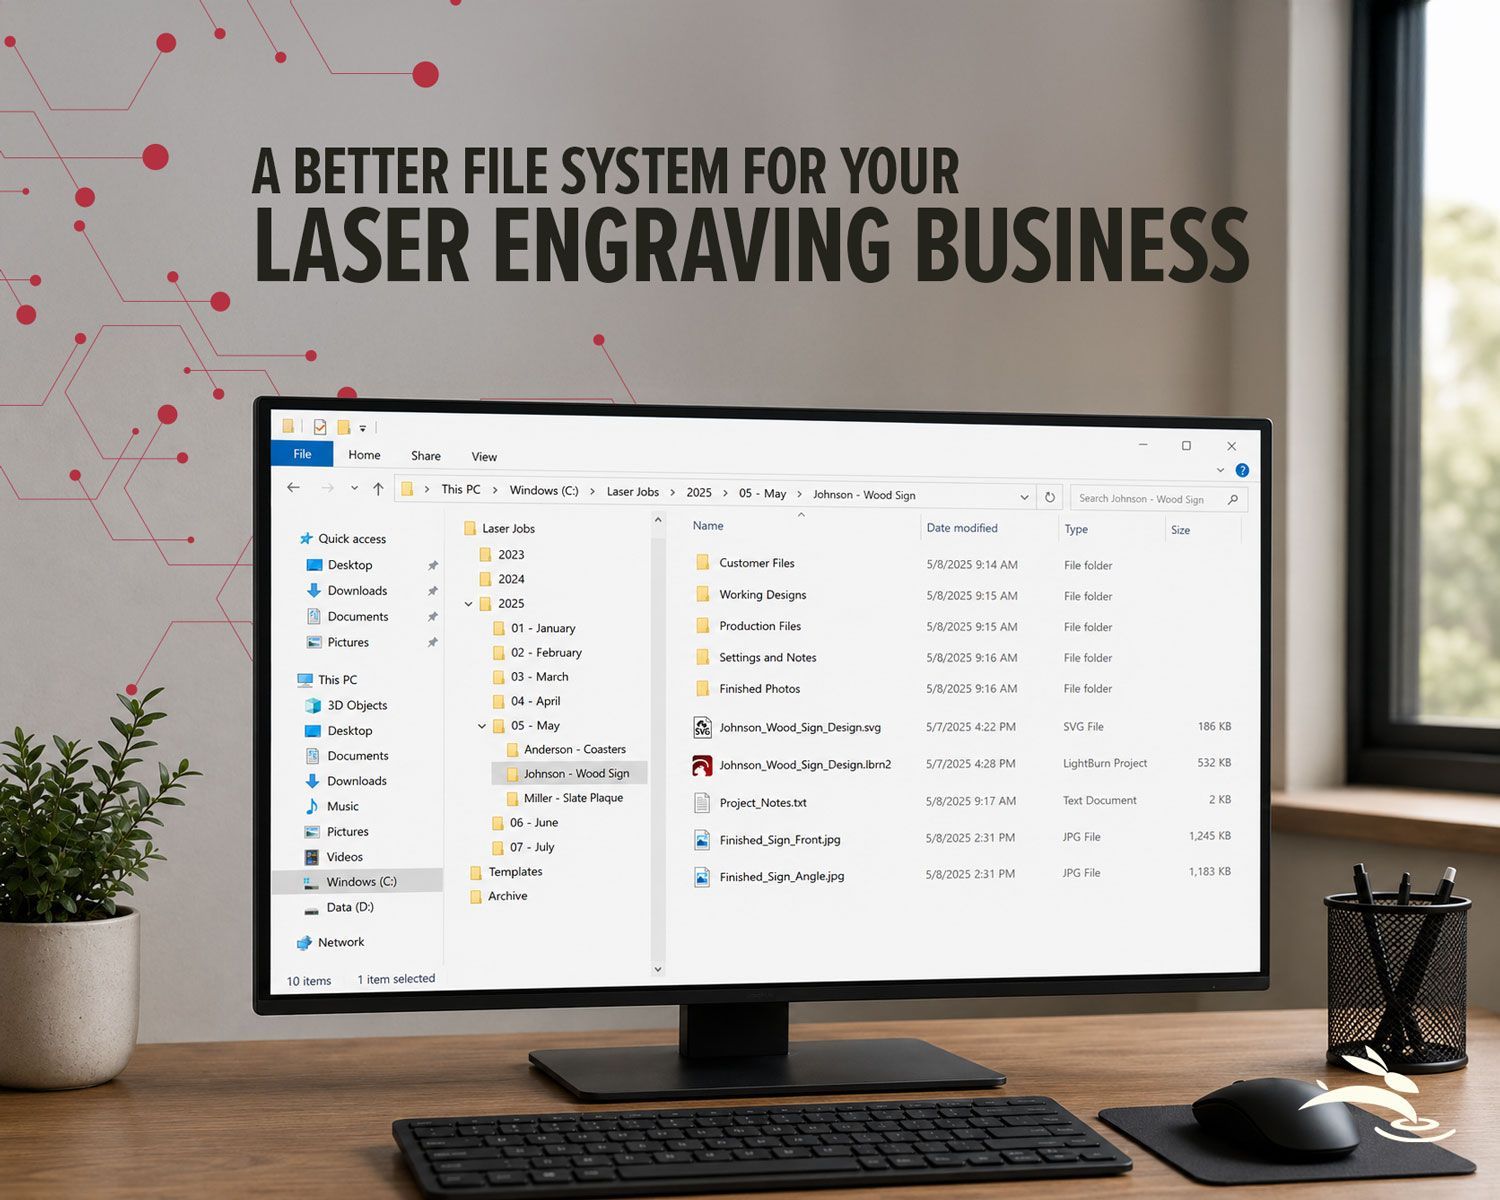
- Experiment and Adjust: While guidelines provide a good starting point, each project may require slight adjustments. Keep a record of your settings and results for future reference.
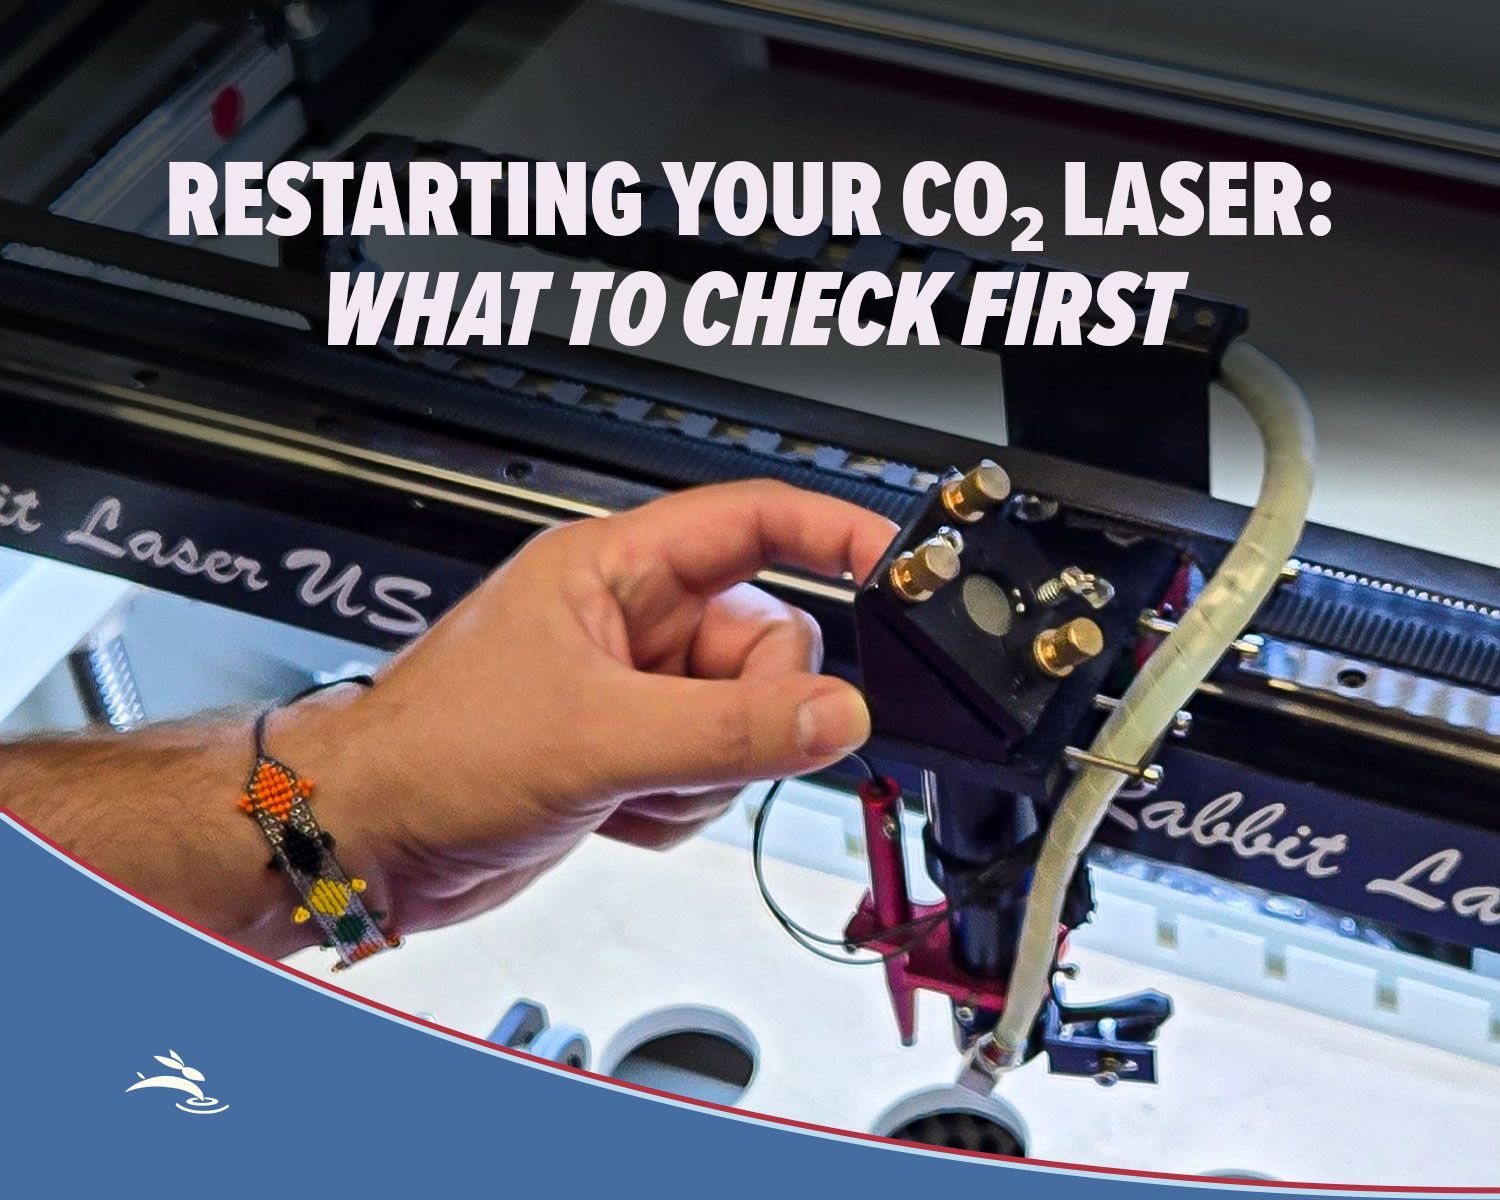
- Focus on the Focal Point: Ensuring the laser is correctly focused on the material surface is crucial. An out-of-focus laser can lead to suboptimal results, regardless of your speed and power settings.
- Consider Layer Thickness: For multi-layered materials or thicker pieces, adjust your speed and power to ensure the laser cuts through each layer cleanly without excessive burning or melting.
Common Pitfalls and How to Avoid Them
- Burnt Edges: Often caused by too slow a speed or too high a power setting. Adjusting these can help achieve cleaner edges.
- Incomplete Cuts: If your cuts aren't going through the material, try slowing down the speed or increasing the power slightly.
- Overlapping Lines: Ensure your design files are optimized to prevent the laser from making multiple passes over the same area unnecessarily.
Leveraging Technology for Better Results
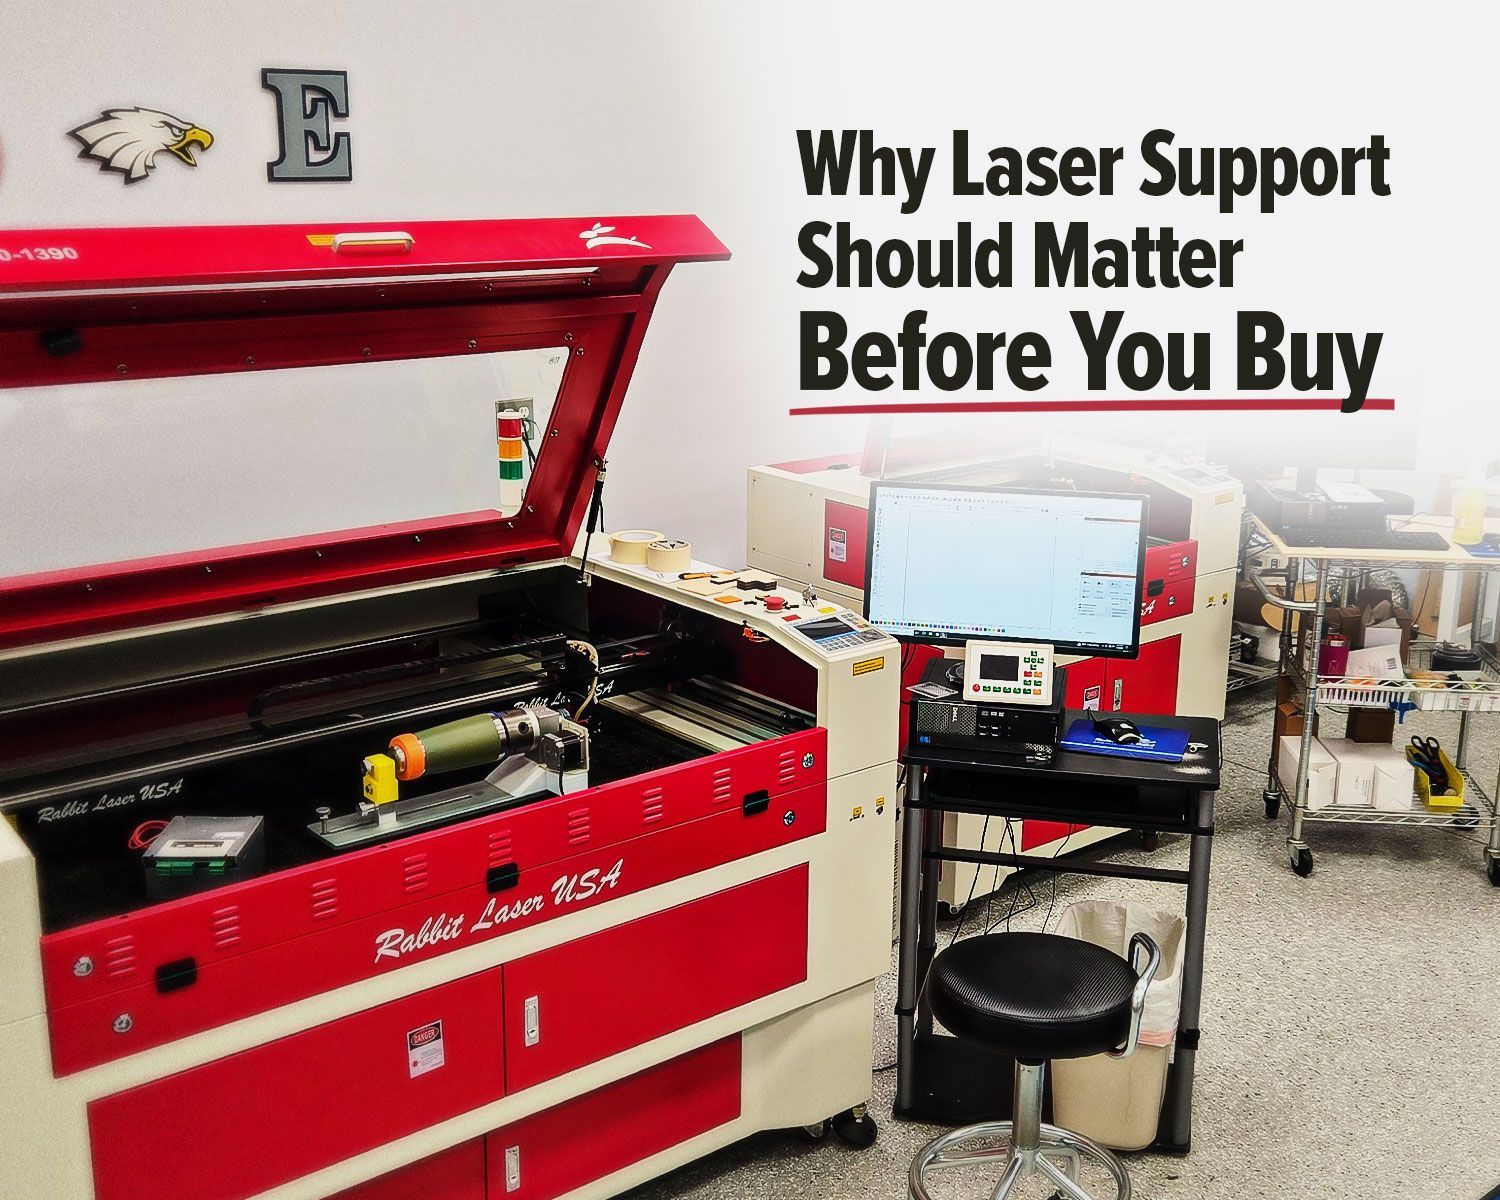
Many modern laser cutters, like those from Rabbit Laser USA, come equipped with advanced software that can help automate and optimize speed and power settings. Utilizing these tools can save time and improve consistency across projects.
Educational Applications
For educators, understanding and teaching the principles of speeds and power can empower students to achieve professional-grade results in their projects. Encouraging students to experiment with different settings and document their findings fosters a deeper understanding of material properties and laser technology.
Conclusion
Mastering speeds and power is a journey of continuous learning and adjustment. By paying close attention to these parameters, you can elevate the quality of your laser cutting and engraving work, whether in a classroom, a workshop, or a professional setting.
For more detailed guidelines and specific settings, check out the Speeds and Feeds Guide provided by Rabbit Laser USA. Happy laser cutting! 🐰