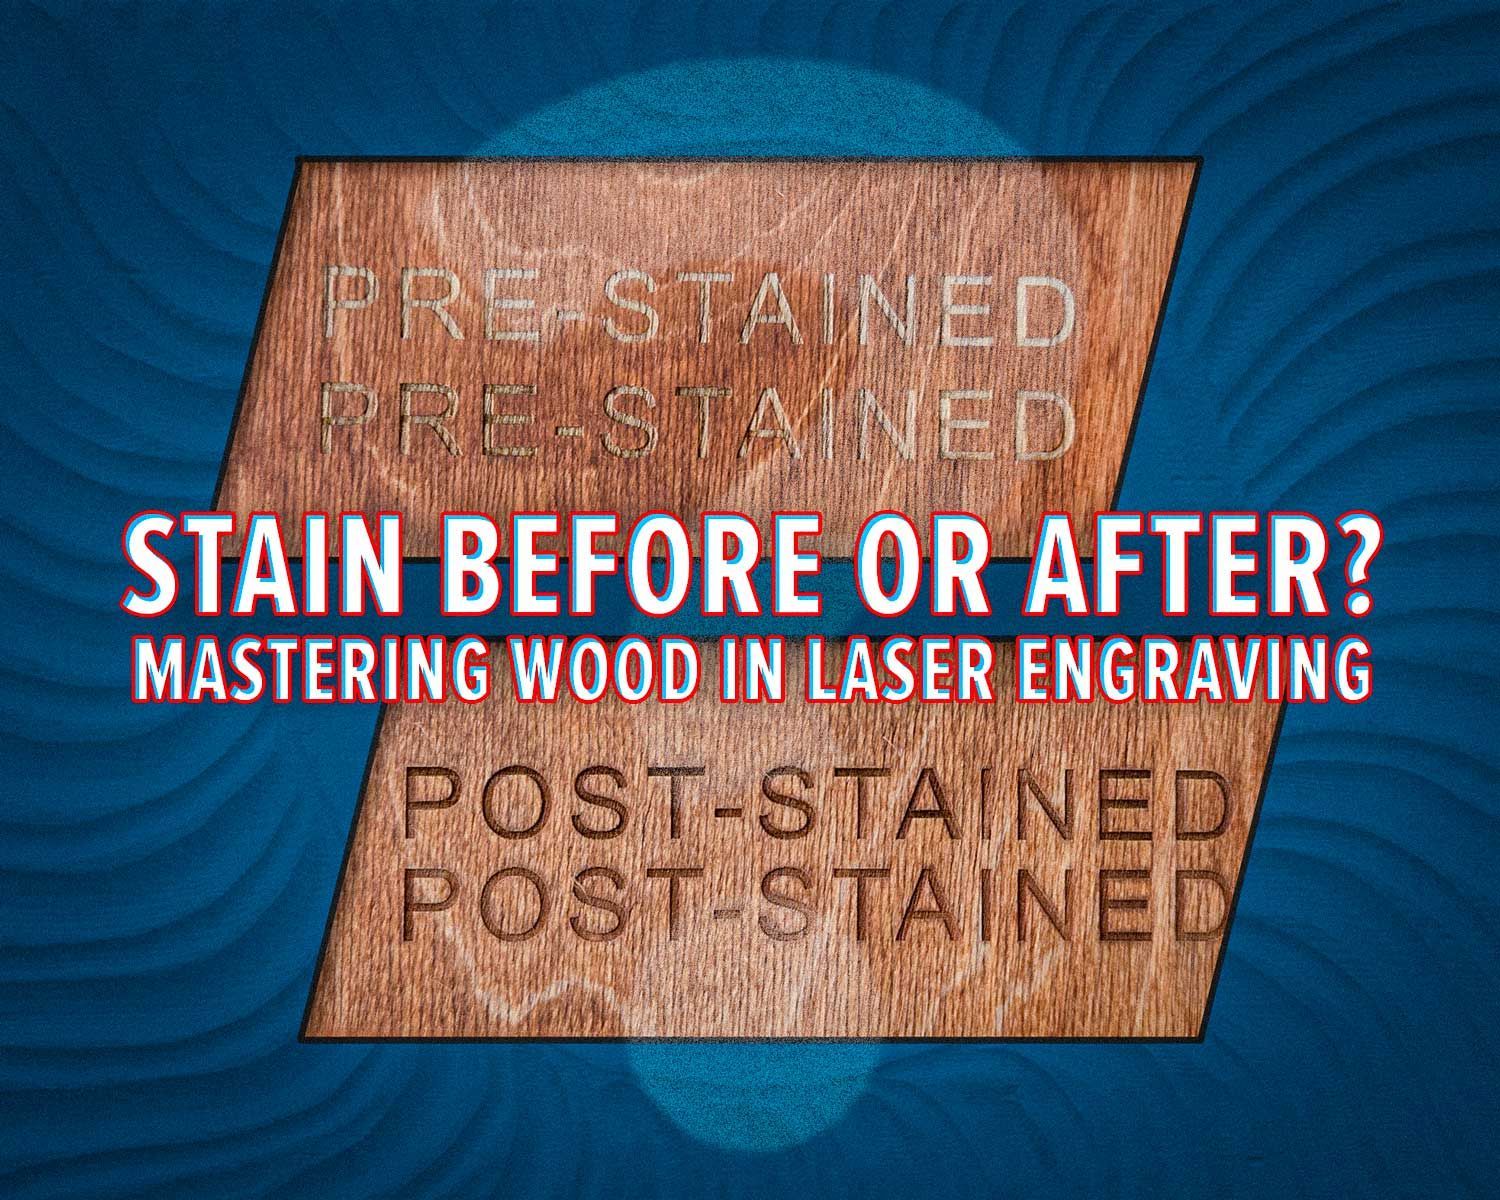
Stain Before or After Laser Engraving? The Clear Answer
In most cases, engrave the wood first and stain it afterward.
Engraving bare wood gives the laser a predictable surface to work with and helps keep fine details sharp. Once the engraving is finished, stain can be applied carefully to the surface for a cleaner, more controlled result.
There are exceptions, but staining first should be a deliberate choice—not the default.
Why Engraving First Usually Works Better
Engraving unfinished wood gives you the most control over the result.
You are working with the natural surface instead of asking the laser to cut through stain, sealer, or another finish. That makes it easier to dial in speed and power and reduces the chance of unexpected color changes or residue.
Benefits include:
- cleaner detail
- more predictable engraving
- easier material testing
- less risk from unknown coatings or finishes
Once the engraving is complete, stain the surrounding surface carefully and wipe away excess before it soaks too deeply into the engraved area.
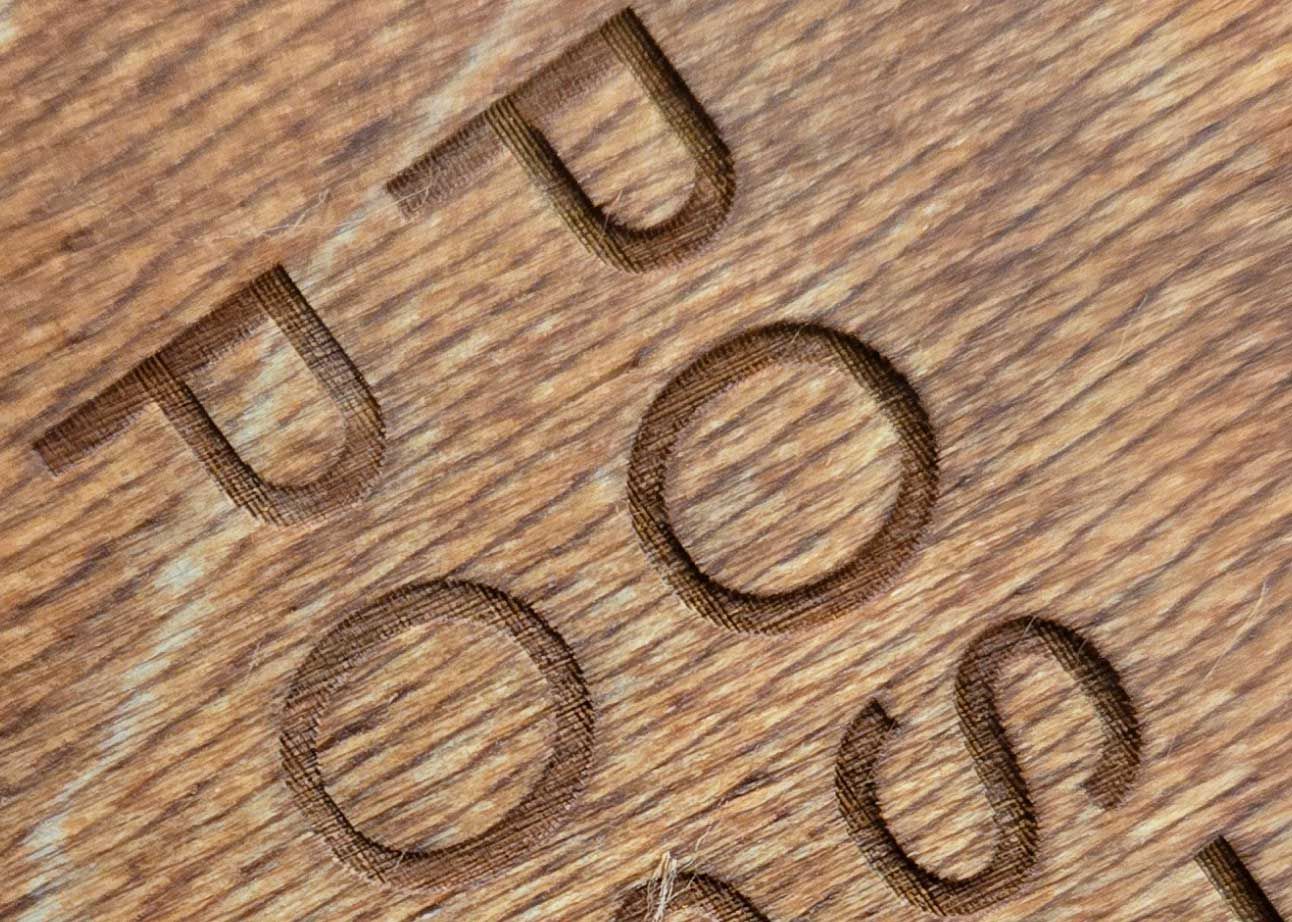
What Happens If You Stain Before Engraving?
You can engrave stained wood, but the stain changes the surface the laser is hitting.
Dark stains, pigments, oils, and sealers can change how much laser energy the surface absorbs. That may affect engraving color, depth, smoke, or residue.
Staining first can make sense when:
- you specifically want the exposed engraving to contrast against a dark surface
- you have already tested that exact wood and stain combination
- the stain is fully cured and you have confirmed its ingredients are safe to laser
If you do not know what is in the stain, sealer, or finish, check the manufacturer’s information or SDS before putting it under the laser.
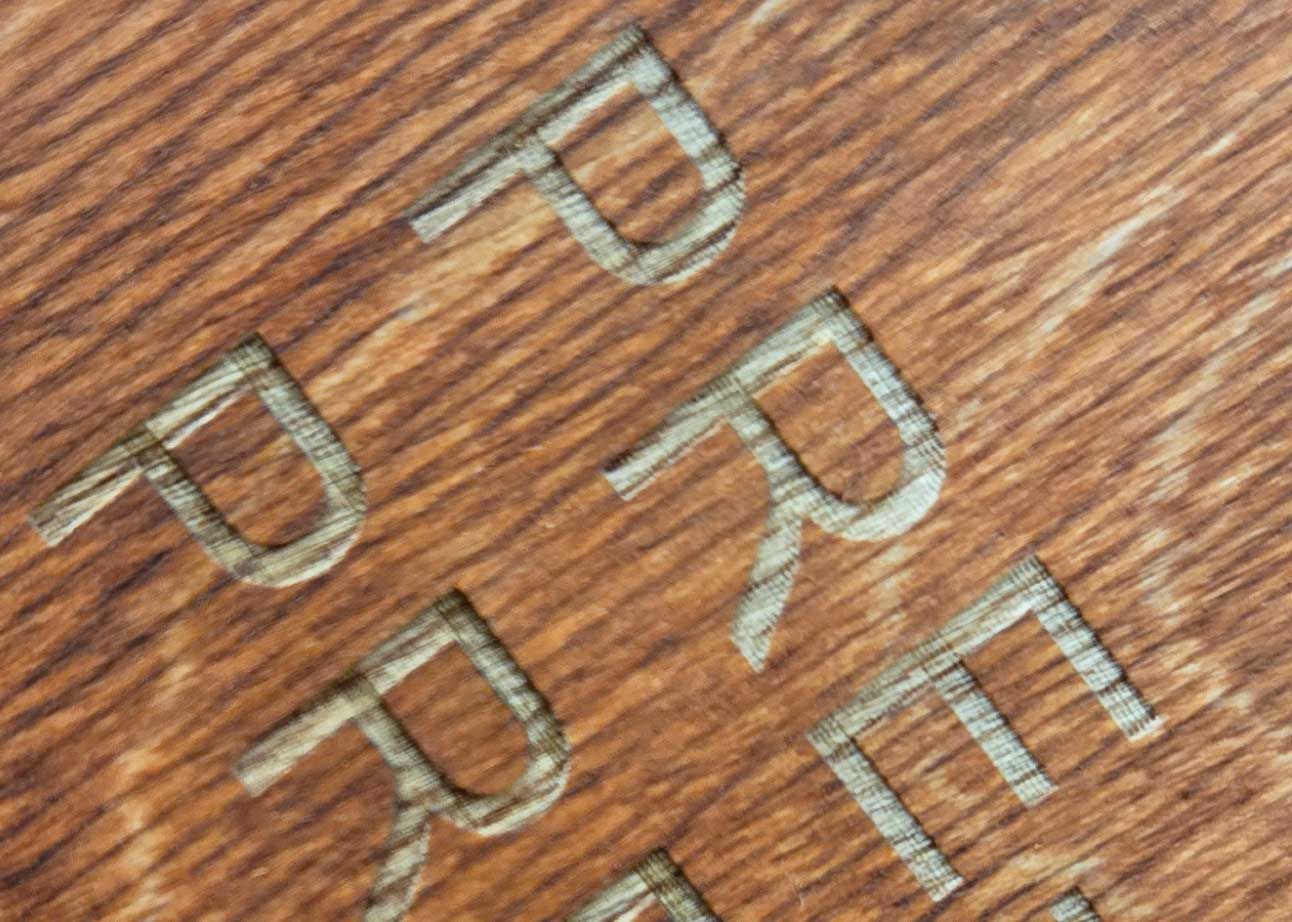
Stain Can Bleed Into the Engraving
Wood grain can pull liquid stain into engraved areas, especially with deep engraving or porous woods.
To reduce bleeding:
- use a light coat
- wipe excess stain quickly
- test on scrap first
- apply stain with more control around fine details
Best Workflow for Most Projects
For signs, logos, text, and most customer-facing projects, use this order:
- Sand and prepare the bare wood.
- Run a material test.
- Laser engrave the design.
- Remove smoke residue if needed.
- Apply stain carefully.
- Let the stain dry fully.
- Apply a compatible clear finish if desired.
When Staining First Can Work
Staining first can work when you intentionally want the laser to remove or darken a finished surface for contrast.
For example, a dark stained board with a lighter engraved design can create a strong visual effect.
Test first. Different stains, woods, and coatings can react very differently under a CO₂ laser.
Wood Type Matters
Different woods absorb stain differently, which changes how clean the finished engraving looks.
- Maple: usually gives clean, fine engraving
- Birch: light color gives strong contrast
- Oak: open grain can pull stain into engraved areas
- Pine: soft grain can stain unevenly
- Plywood: test first because veneers and glue layers vary
Working with reclaimed or composite materials? See our guide to [laser engraving reclaimed and composite wood] for additional things to check before engraving.
Choosing the right CO₂ laser for woodworking projects? Explore our CO₂ laser machines.
For most laser engraving projects, engrave first and stain afterward. It gives you better control over the laser result and lets you finish the wood once the engraving is complete.
If you want to stain before engraving, test the exact wood and stain combination first and make sure the finish is safe to laser.