
Producing identical items in bulk? Absolute Coordinates align your design with your machine’s home position, ensuring each piece is exactly the same every time. Just set up your jig once and swap out materials easily.

Mastering Job Origins in LightBurn: Take Control of Your Projects
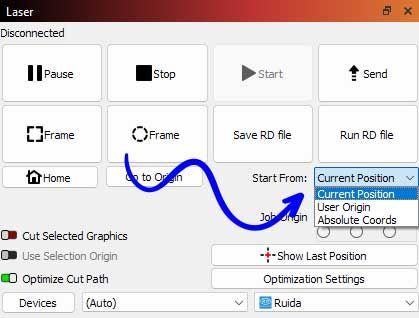
LightBurn's job origin settings are like your laser's steering wheel. Knowing when to use Absolute Coordinates, User Origin, or Current Position can dramatically boost your productivity and precision. Here’s how to pick the best option for your projects:
Absolute Coordinates: Perfect Precision for Large Jobs

User Origin: Flexible for Custom Orders
Creating custom, personalized pieces? User Origin lets you adjust your starting position on the fly, giving you the flexibility needed for unique or varied items.
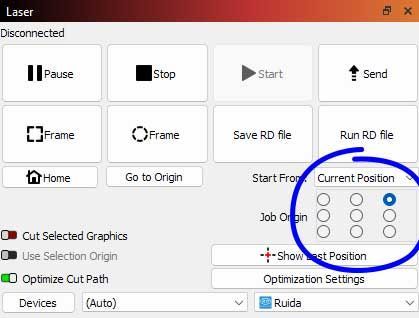
Current Position: The Scrap-Material Hero

Turn scraps into valuable items. Current Position lets you place small designs exactly where your laser head is positioned—perfect for utilizing leftover materials efficiently.
Quick Tips for Choosing the Right Origin:
- Check Twice, Cut Once: Use LightBurn’s preview frame function to confirm your design alignment.
- Stay Consistent: Keep your origin choice consistent for similar project types to avoid mistakes.
- Test First: Always run tests on scraps before committing to your final material.
Where to Find Job Origin Settings in LightBurn
You'll find the origin options in the
Laser window, typically located in the
lower right-hand corner of the screen by default. If you don’t see it, go to the
top menu bar, click on
Window, and make sure
Laser is checked. Once the panel is visible, you can choose between
Absolute Coordinates,
User Origin, and
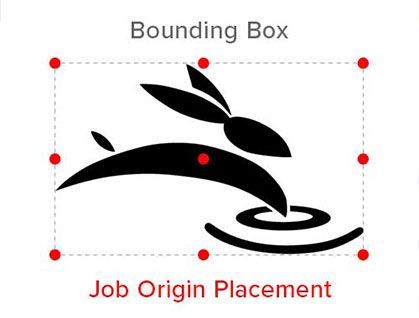
Current Position, along with your preferred start point using the 9-point grid.
Ready to Take Control?
Choosing the right job origin setting isn’t just a technical detail—it’s the difference between guesswork and great results. Now that you know how each one works and where to find them in LightBurn, it’s time to put that knowledge to work.
- Open up LightBurn
- Check your Laser window
- Try each origin type on your next project
Got questions or want to share how you’re using these settings? Drop us a comment or tag us on social—let’s keep learning and creating together. 🐰
Cut. Create. Conquer.
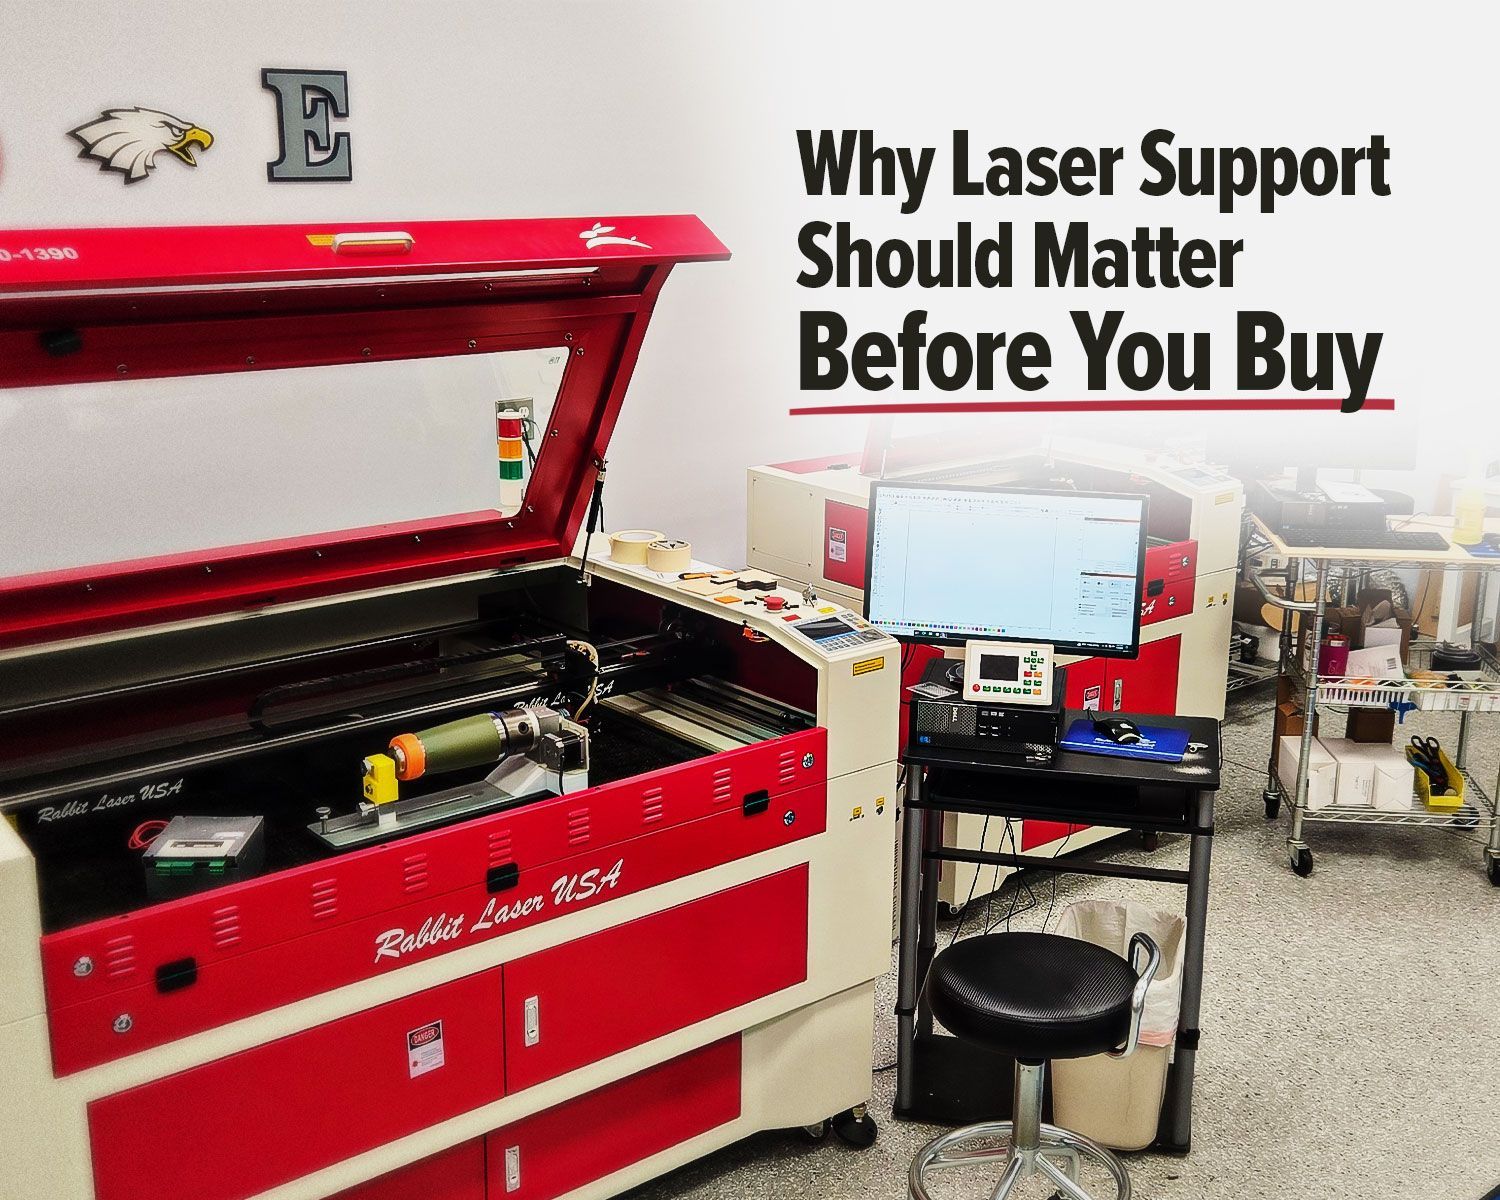
Rabbit Laser USA CO2 laser with support workstation for troubleshooting.
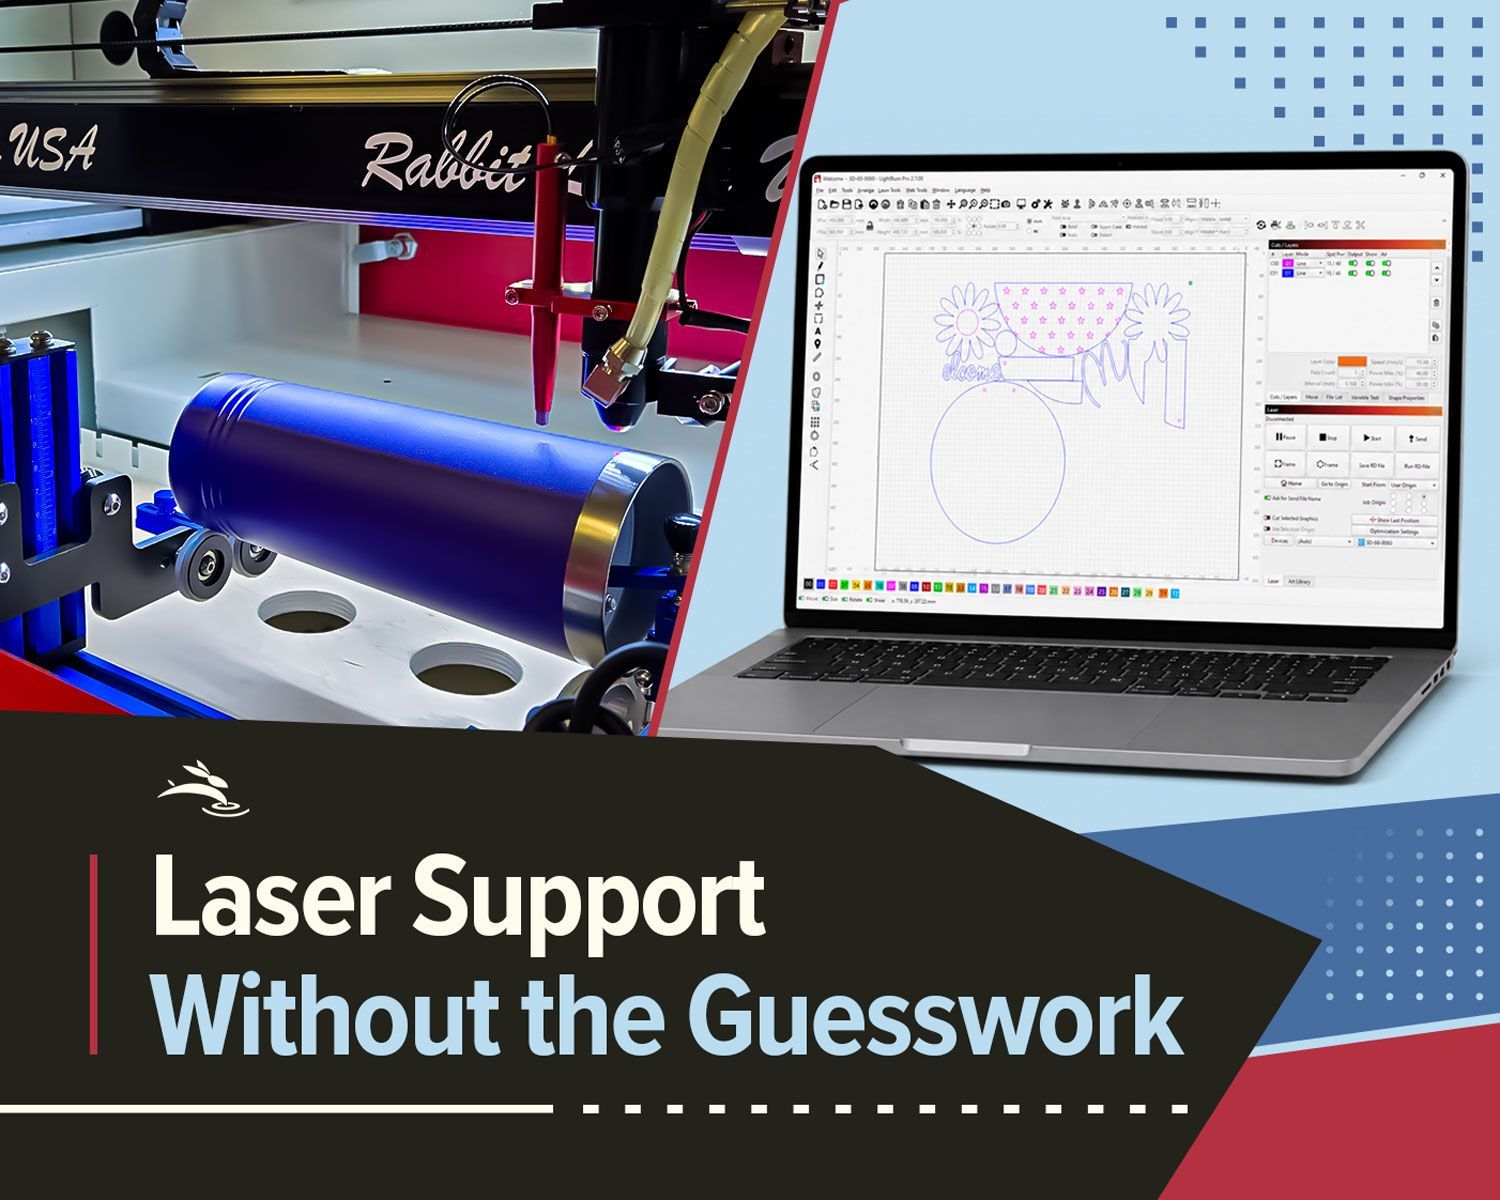
Remote laser support can help with software, settings, troubleshooting, alignment, parts questions, and service needs.
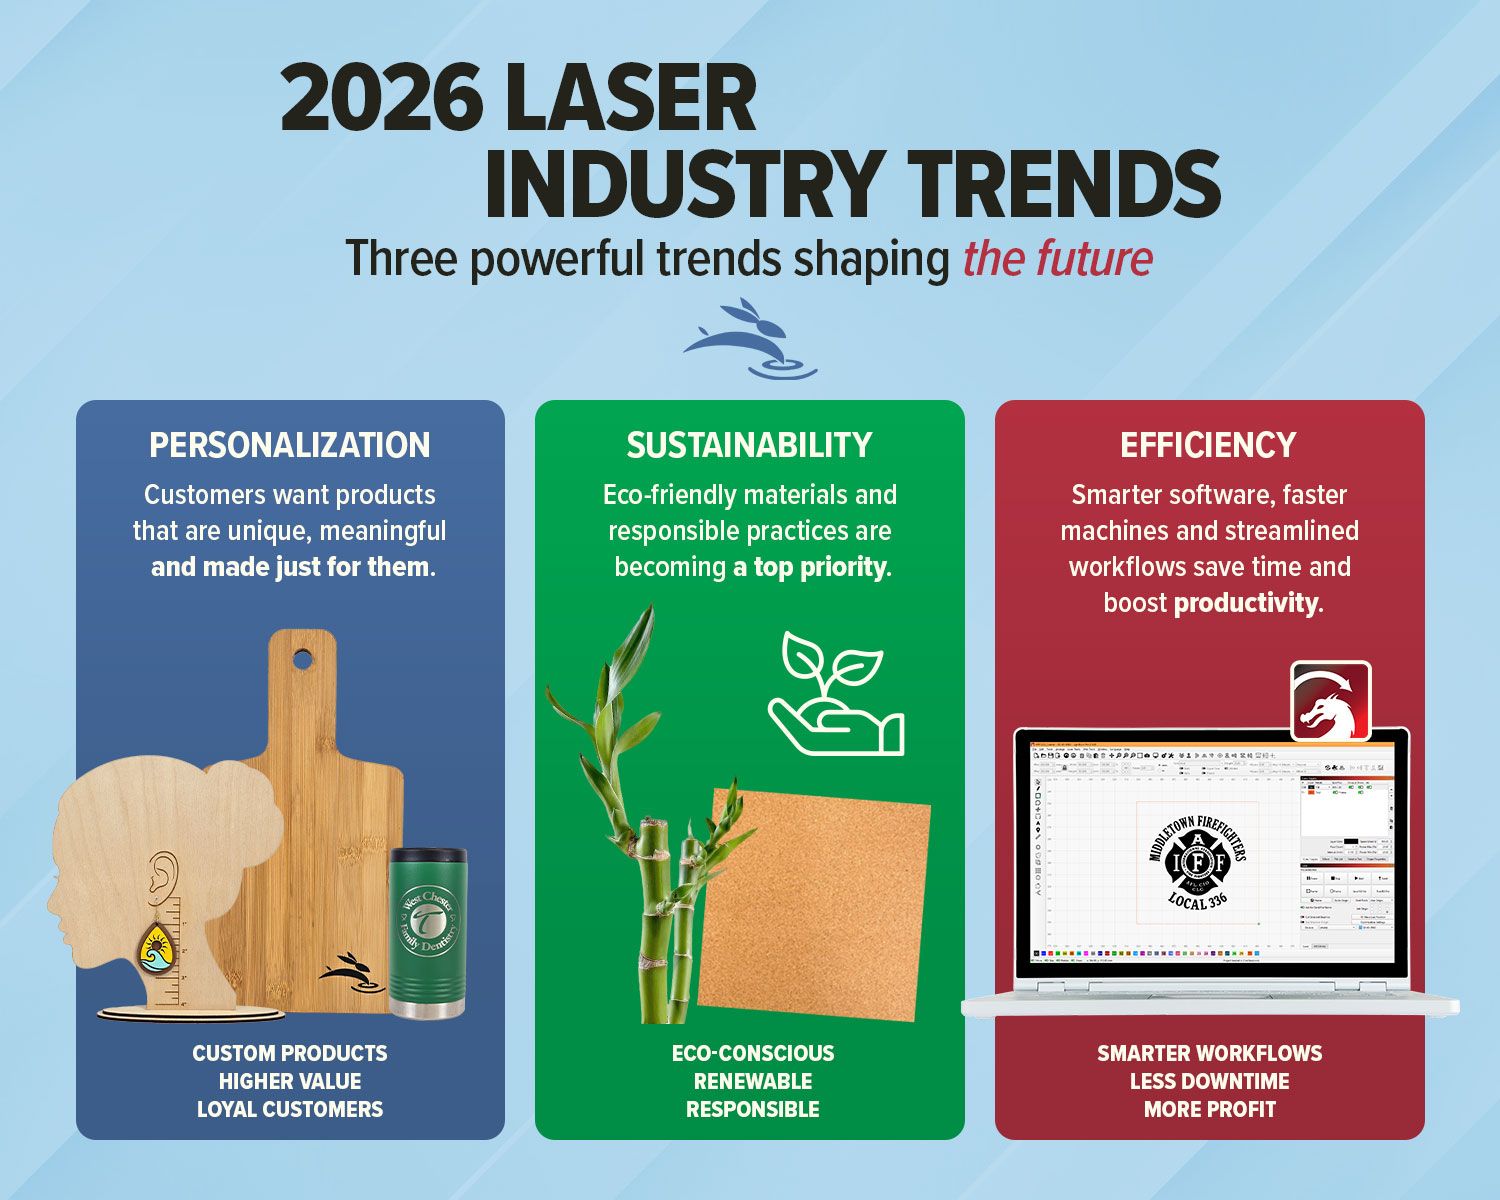
Explore 2026 laser engraving trends, including custom products, eco-friendly materials, efficient workflows, and business growth ideas.
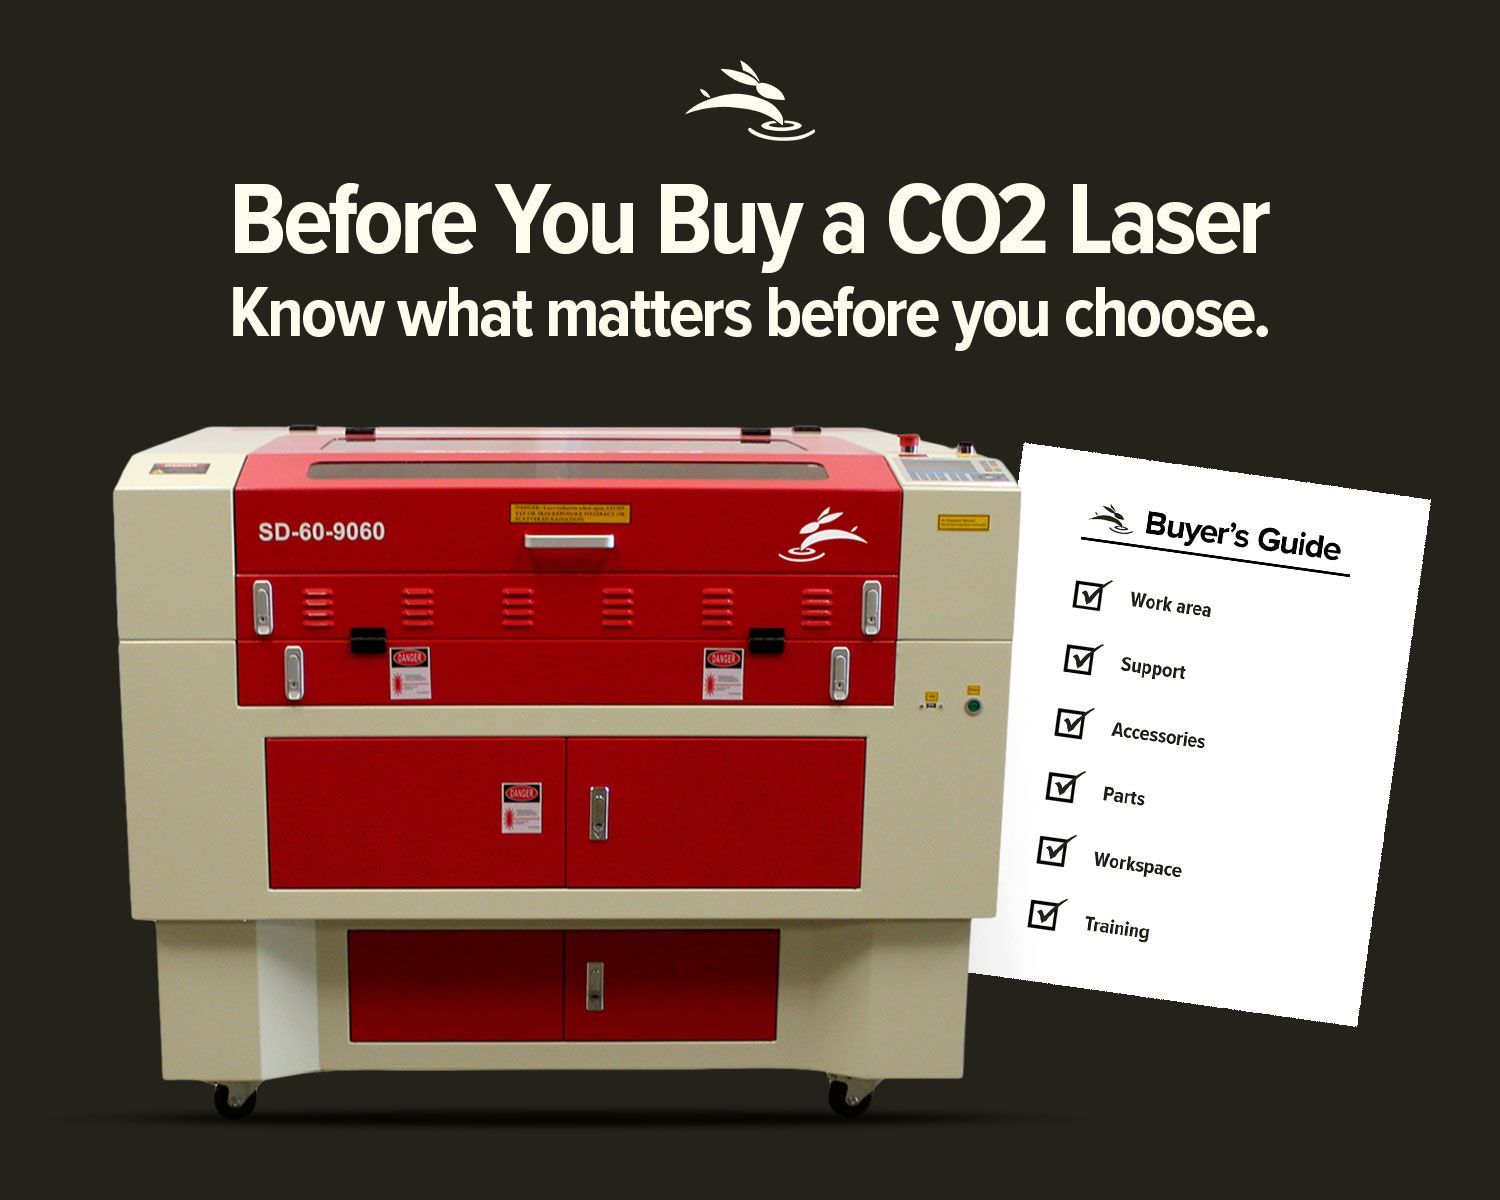
Avoid common CO2 laser buying regrets. Learn what to know about size, support, parts, accessories, setup, and long-term value before you buy.
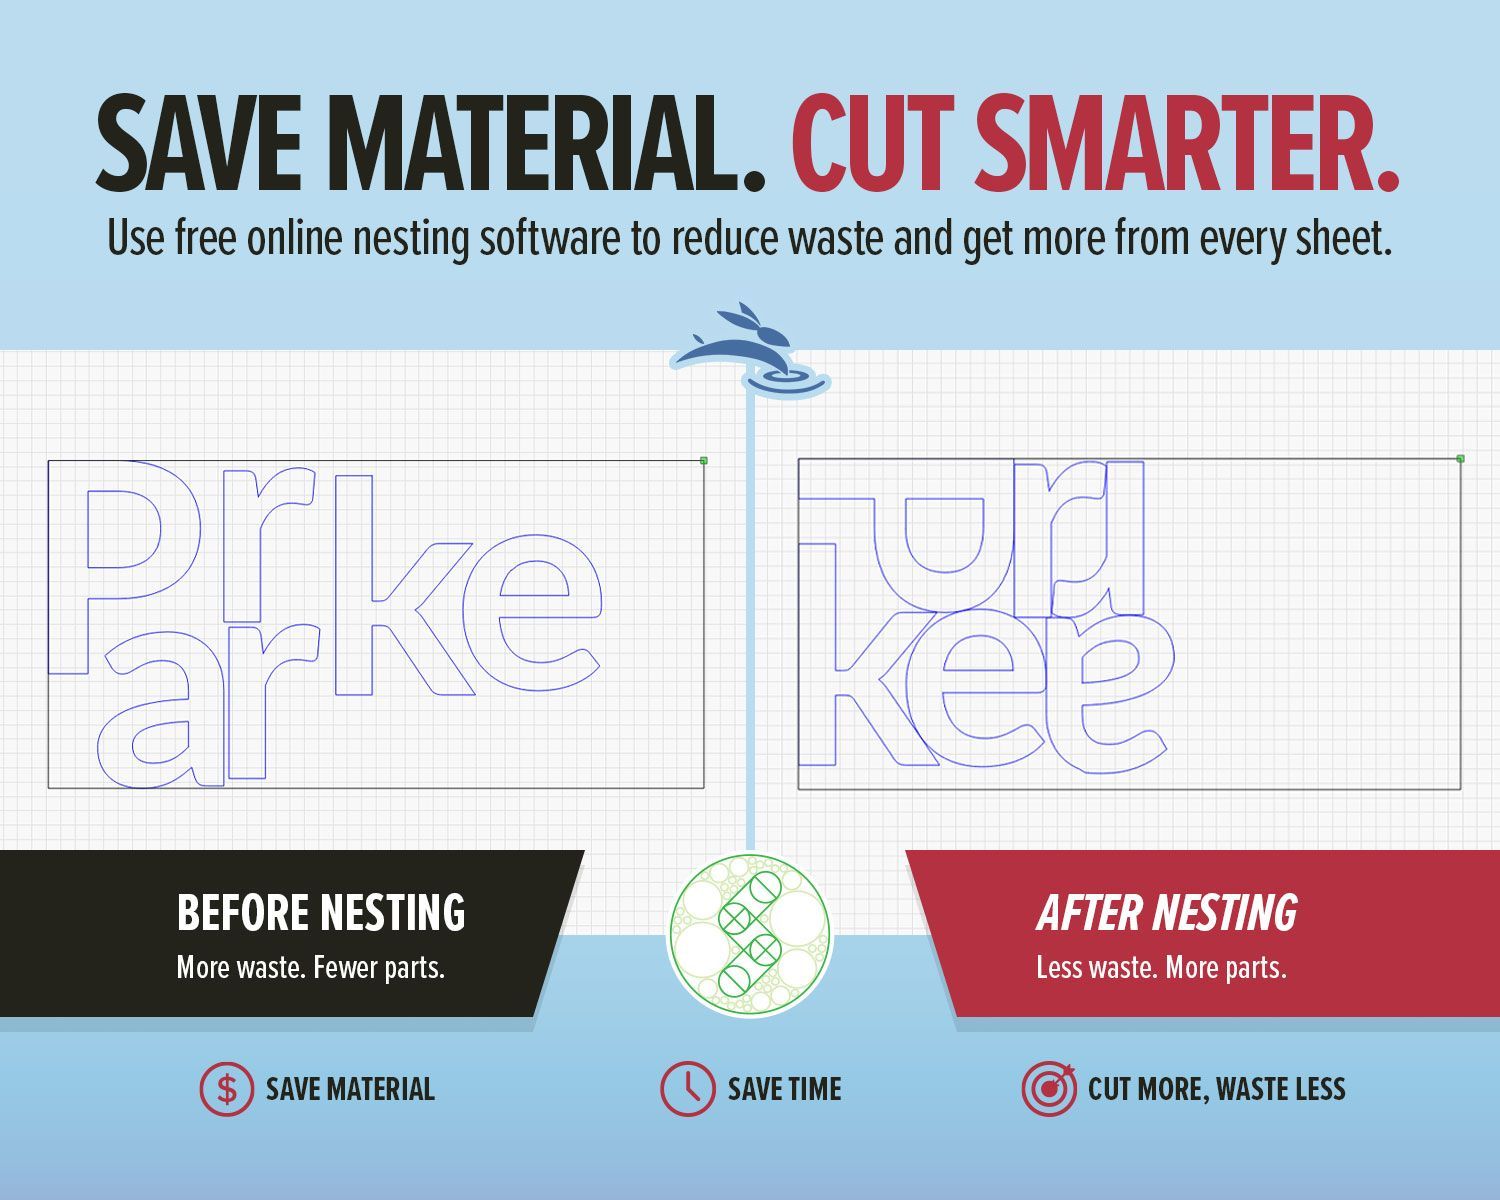
Use free online nesting software like SVGnest to arrange laser cutting files, reduce material waste, and improve your LightBurn workflow.
New to laser engraving or cutting? Avoid common mistakes that cause poor results, wasted material, and frustration. Learn what to fix fast.
High-speed laser engraving demands motion control. Learn how overscan, acceleration, and momentum impact precision and usable workspace.
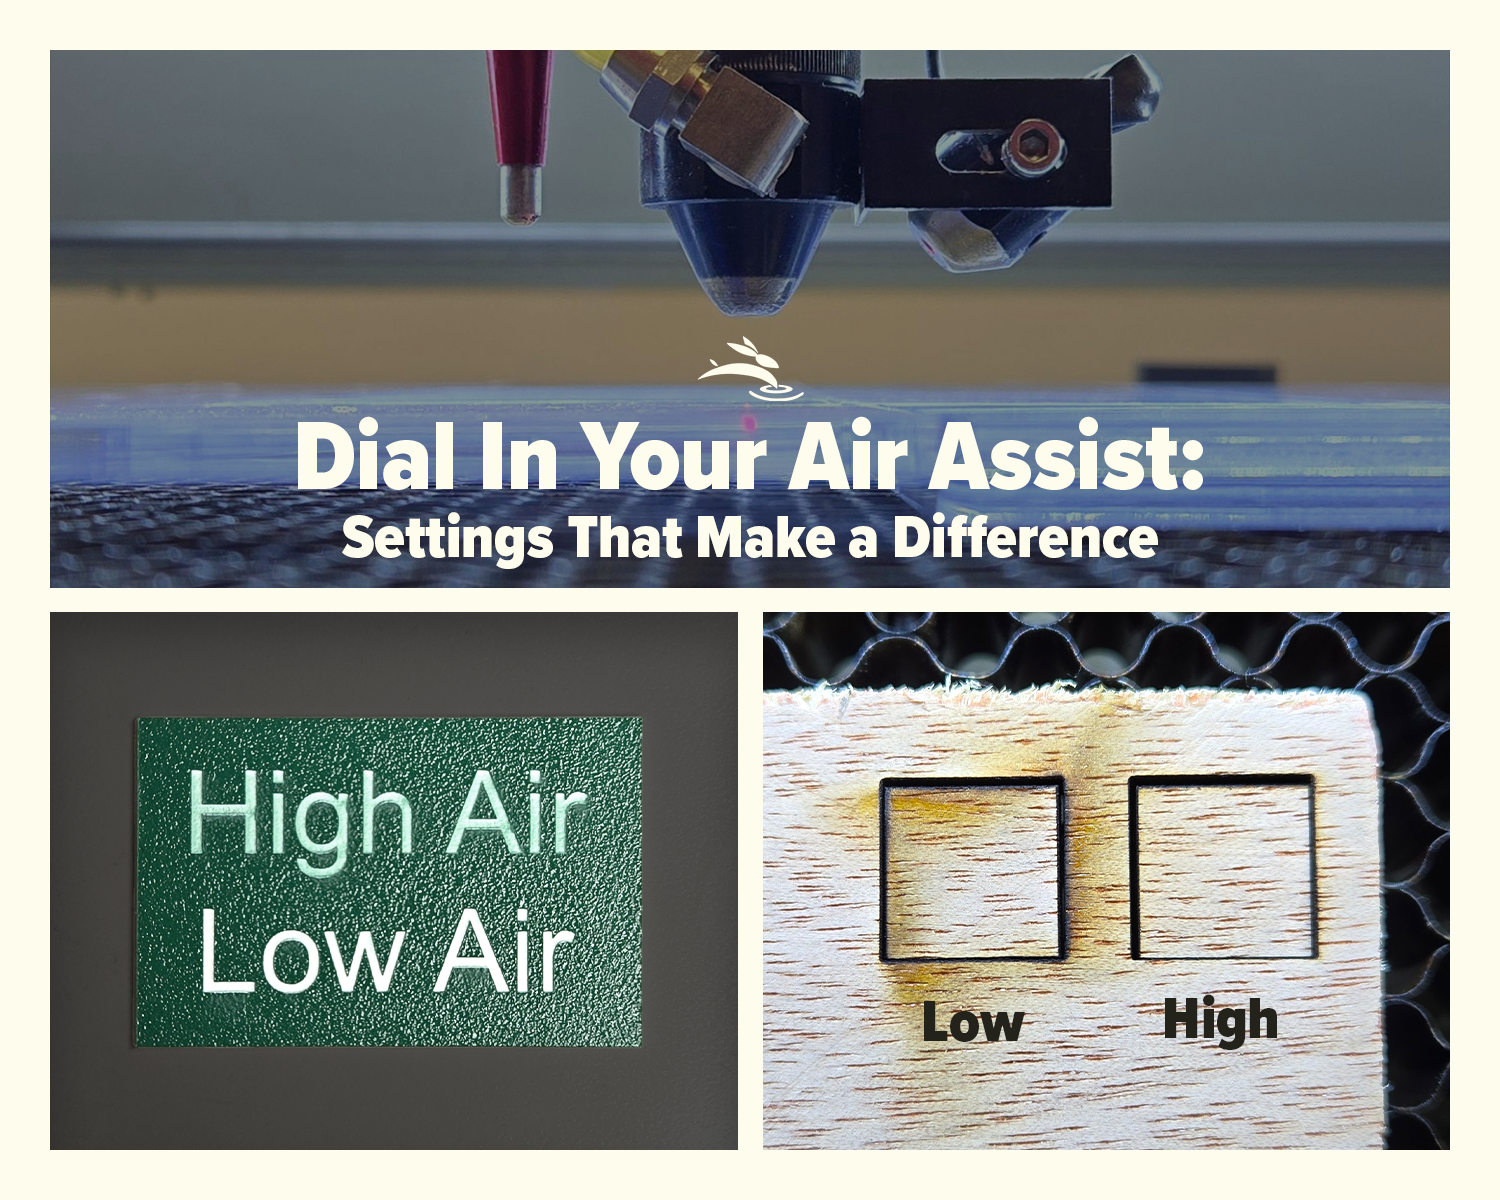
Dial In Your Air Assist: Settings That Make a Difference Air Assist Isn’t Just an Add-On If you’ve ever smelled smoke during a job or noticed charred edges on your laser-cut pieces, chances are your air assist wasn’t doing its job—or it wasn’t set right for your application. While it might seem like a minor detail, air assist plays a critical role in the performance and lifespan of your CO2 laser machine. In this post, we’ll break down the difference between low flow and high flow air assist, when to use each, and how to get the best results from your setup.
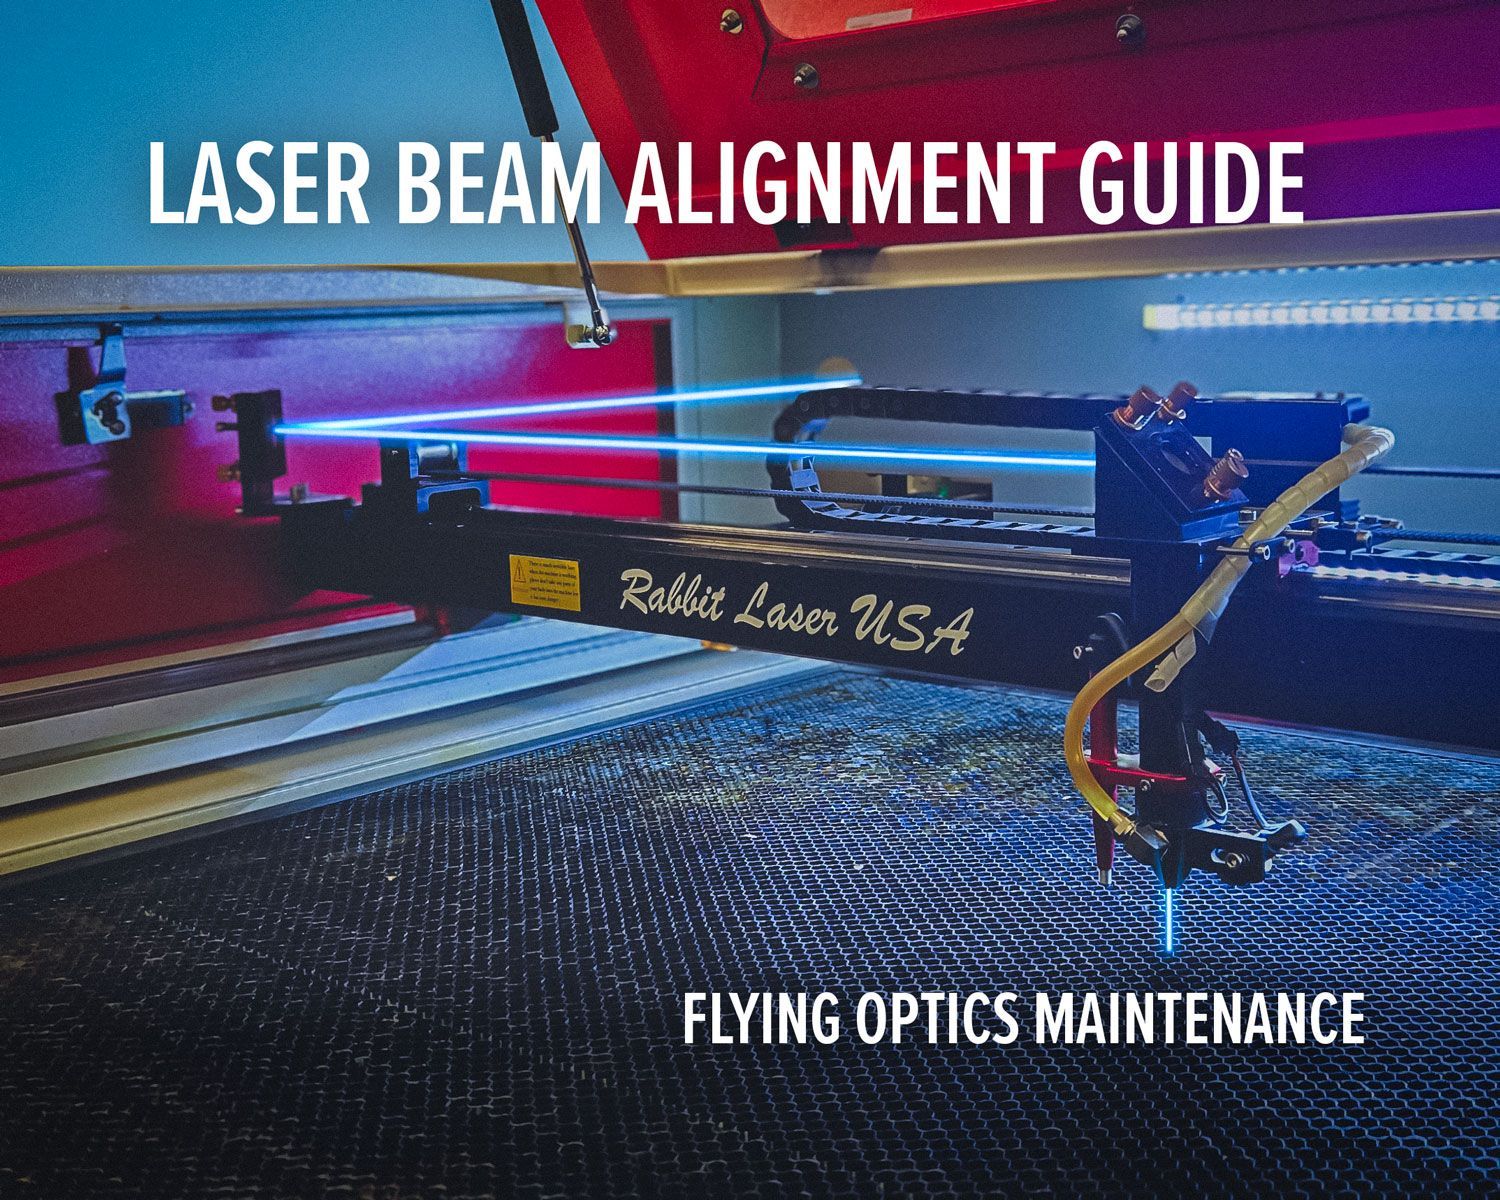
Laser beam alignment guide for flying optics laser machines. Step-by-step maintenance tutorial to restore accuracy, cutting power, and engraving performance.
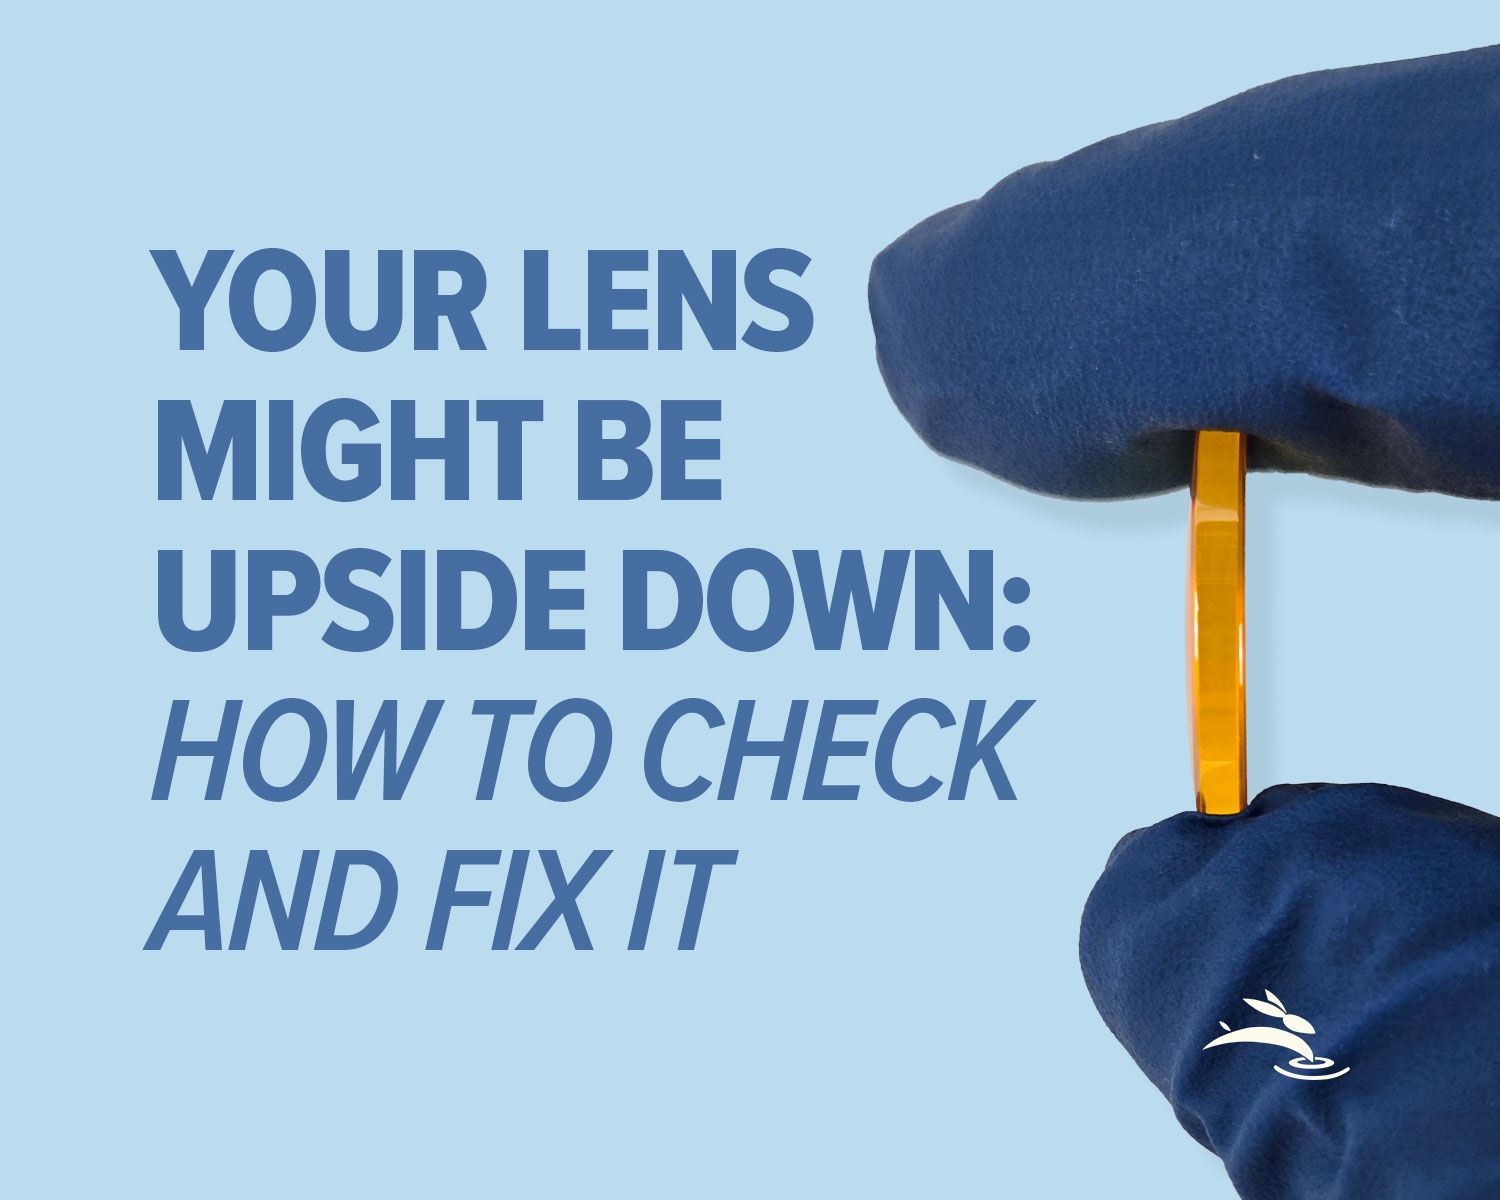
Blurry engraving or weak cuts? Learn the correct CO2 laser lens orientation and how to fix one of the most common laser setup mistakes.
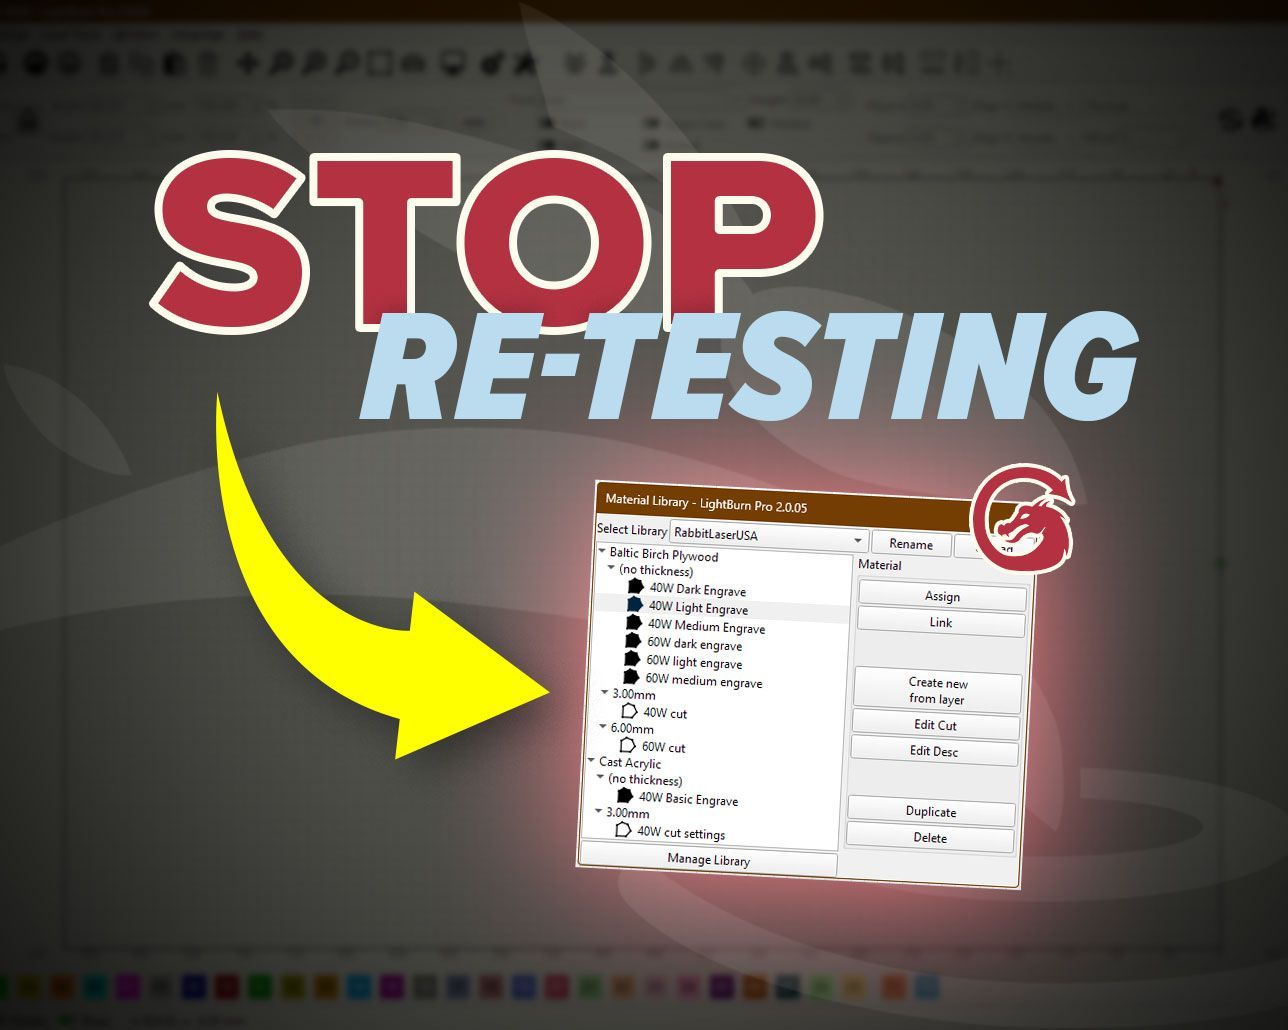
Stop re-testing. Save proven engraving and cutting settings in LightBurn’s Material Library and apply them fast on future projects.
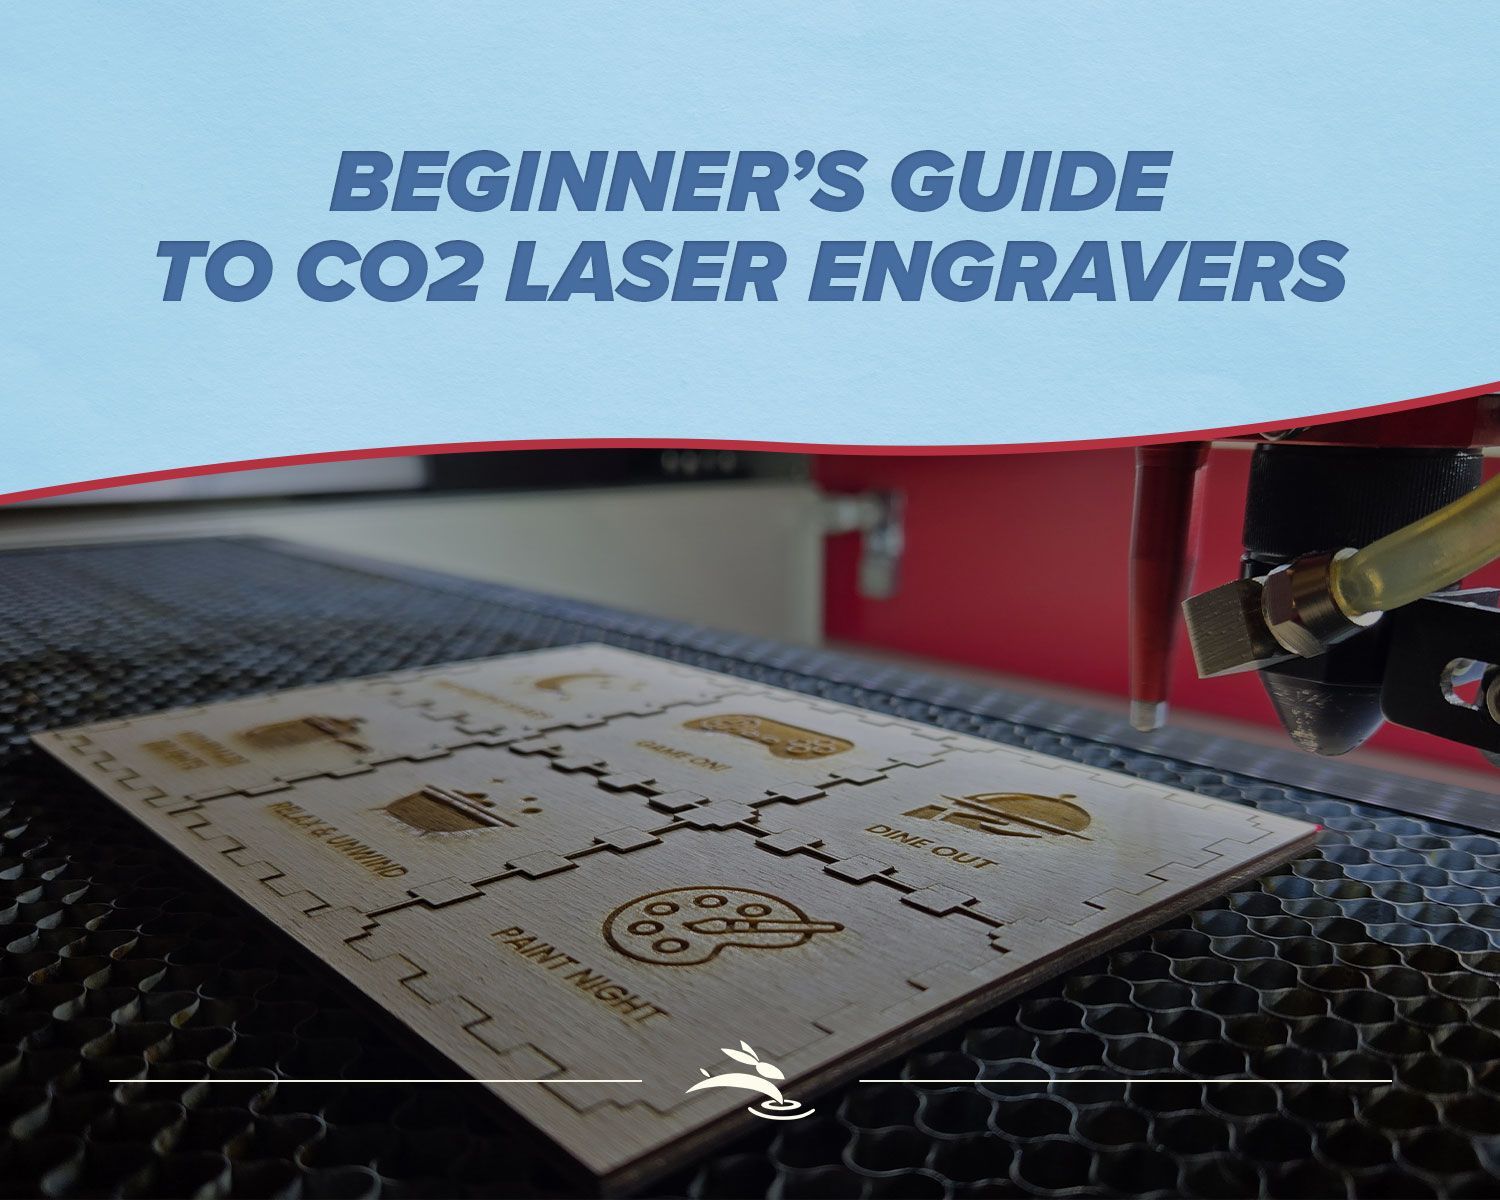
New to CO2 laser engraving? Learn how to choose bed size, wattage, safety features, and support so your first industrial laser is ready to make money.