
- Produces clean, polished edges when cut
- Engraves with a frosted white appearance
- More forgiving with speed and power settings
- Ideal for signs, awards, display pieces, and decorative projects
Mastering Acrylic Cutting: A Comprehensive Guide
Laser cutting acrylic can look effortless in videos—but in real life, the results depend on details. The right material, airflow, setup, and settings make the difference between clean, glossy edges and cloudy, melted cuts.
This guide breaks acrylic cutting down in a practical, no-nonsense way. Whether you’re new to laser cutting or just want more consistent results, this will help you dial things in with confidence.
Understanding Acrylic (And Why It Matters)
Before cutting anything, it’s important to know what acrylic actually is—and what it isn’t.
Acrylic is commonly confused with plexiglass or polycarbonate. While they may look similar, they behave very differently under a laser. Acrylic cuts cleanly and predictably. Polycarbonate does not. Cutting the wrong material can create excessive smoke, poor results, and even damage your machine.
Always confirm the material before cutting.
Types of Acrylic You’ll Encounter
Not all acrylic cuts or engraves the same. The two most common types you’ll work with are cast acrylic and extruded acrylic, and knowing the difference will save you time, material, and frustration.
One of the easiest ways to tell them apart is by looking at the masking and engraving result:
- Cast acrylic usually has paper masking and engraves to a frosted white finish.
- Extruded acrylic typically has plastic film masking and engraves clear rather than frosted.
Cast acrylic
Cast acrylic is the preferred choice for laser engraving and cutting.
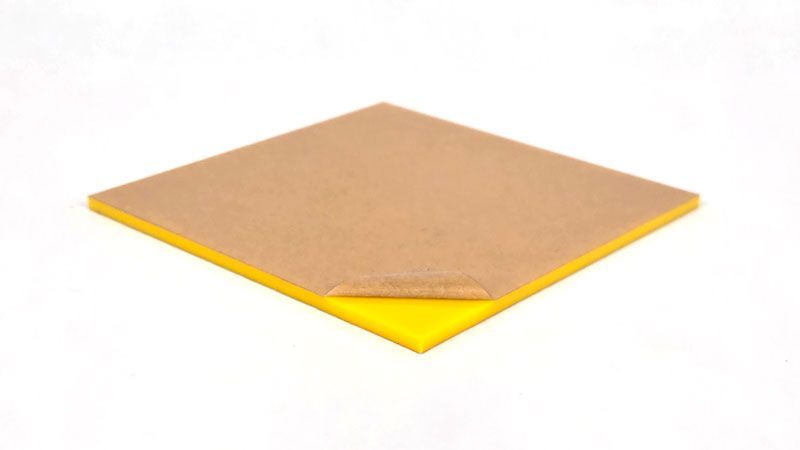
If you care about edge quality and engraving contrast, cast acrylic is usually the better option.
Extruded acrylic
Extruded acrylic behaves differently under a laser and requires more control.
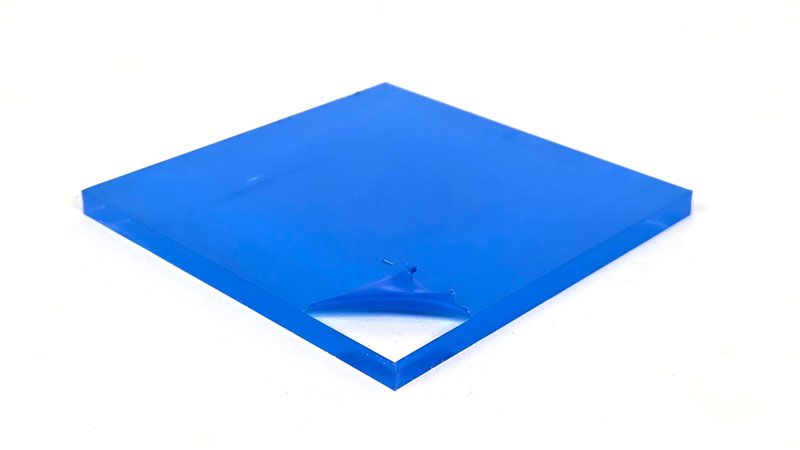
- Often less expensive than cast acrylic
- More prone to melting and edge smear
- Engraves clear instead of frosted
- Better suited for fabrication projects that require bending or forming
Because it melts more easily, extruded acrylic demands tighter control of speed, power, and airflow to avoid rough edges.
If you’re ever unsure which type you’re working with, run a small engraving or test cut first. The masking and engraving result will usually tell you exactly what you have.
Airflow: One of the Most Overlooked Factors
Good airflow is critical when cutting acrylic. It helps remove heat, clears debris from the cut path, and improves edge quality.
A vacuum table or effective exhaust system helps pull smoke away from the material while keeping the cutting area cool. Proper airflow also reduces flare-ups and keeps cuts consistent across the entire sheet.
More airflow isn’t always better. Too much air can shift small parts or cool the cut too aggressively. The goal is steady, controlled movement of air—not a blast.
Elevate the Material to Prevent Flashback
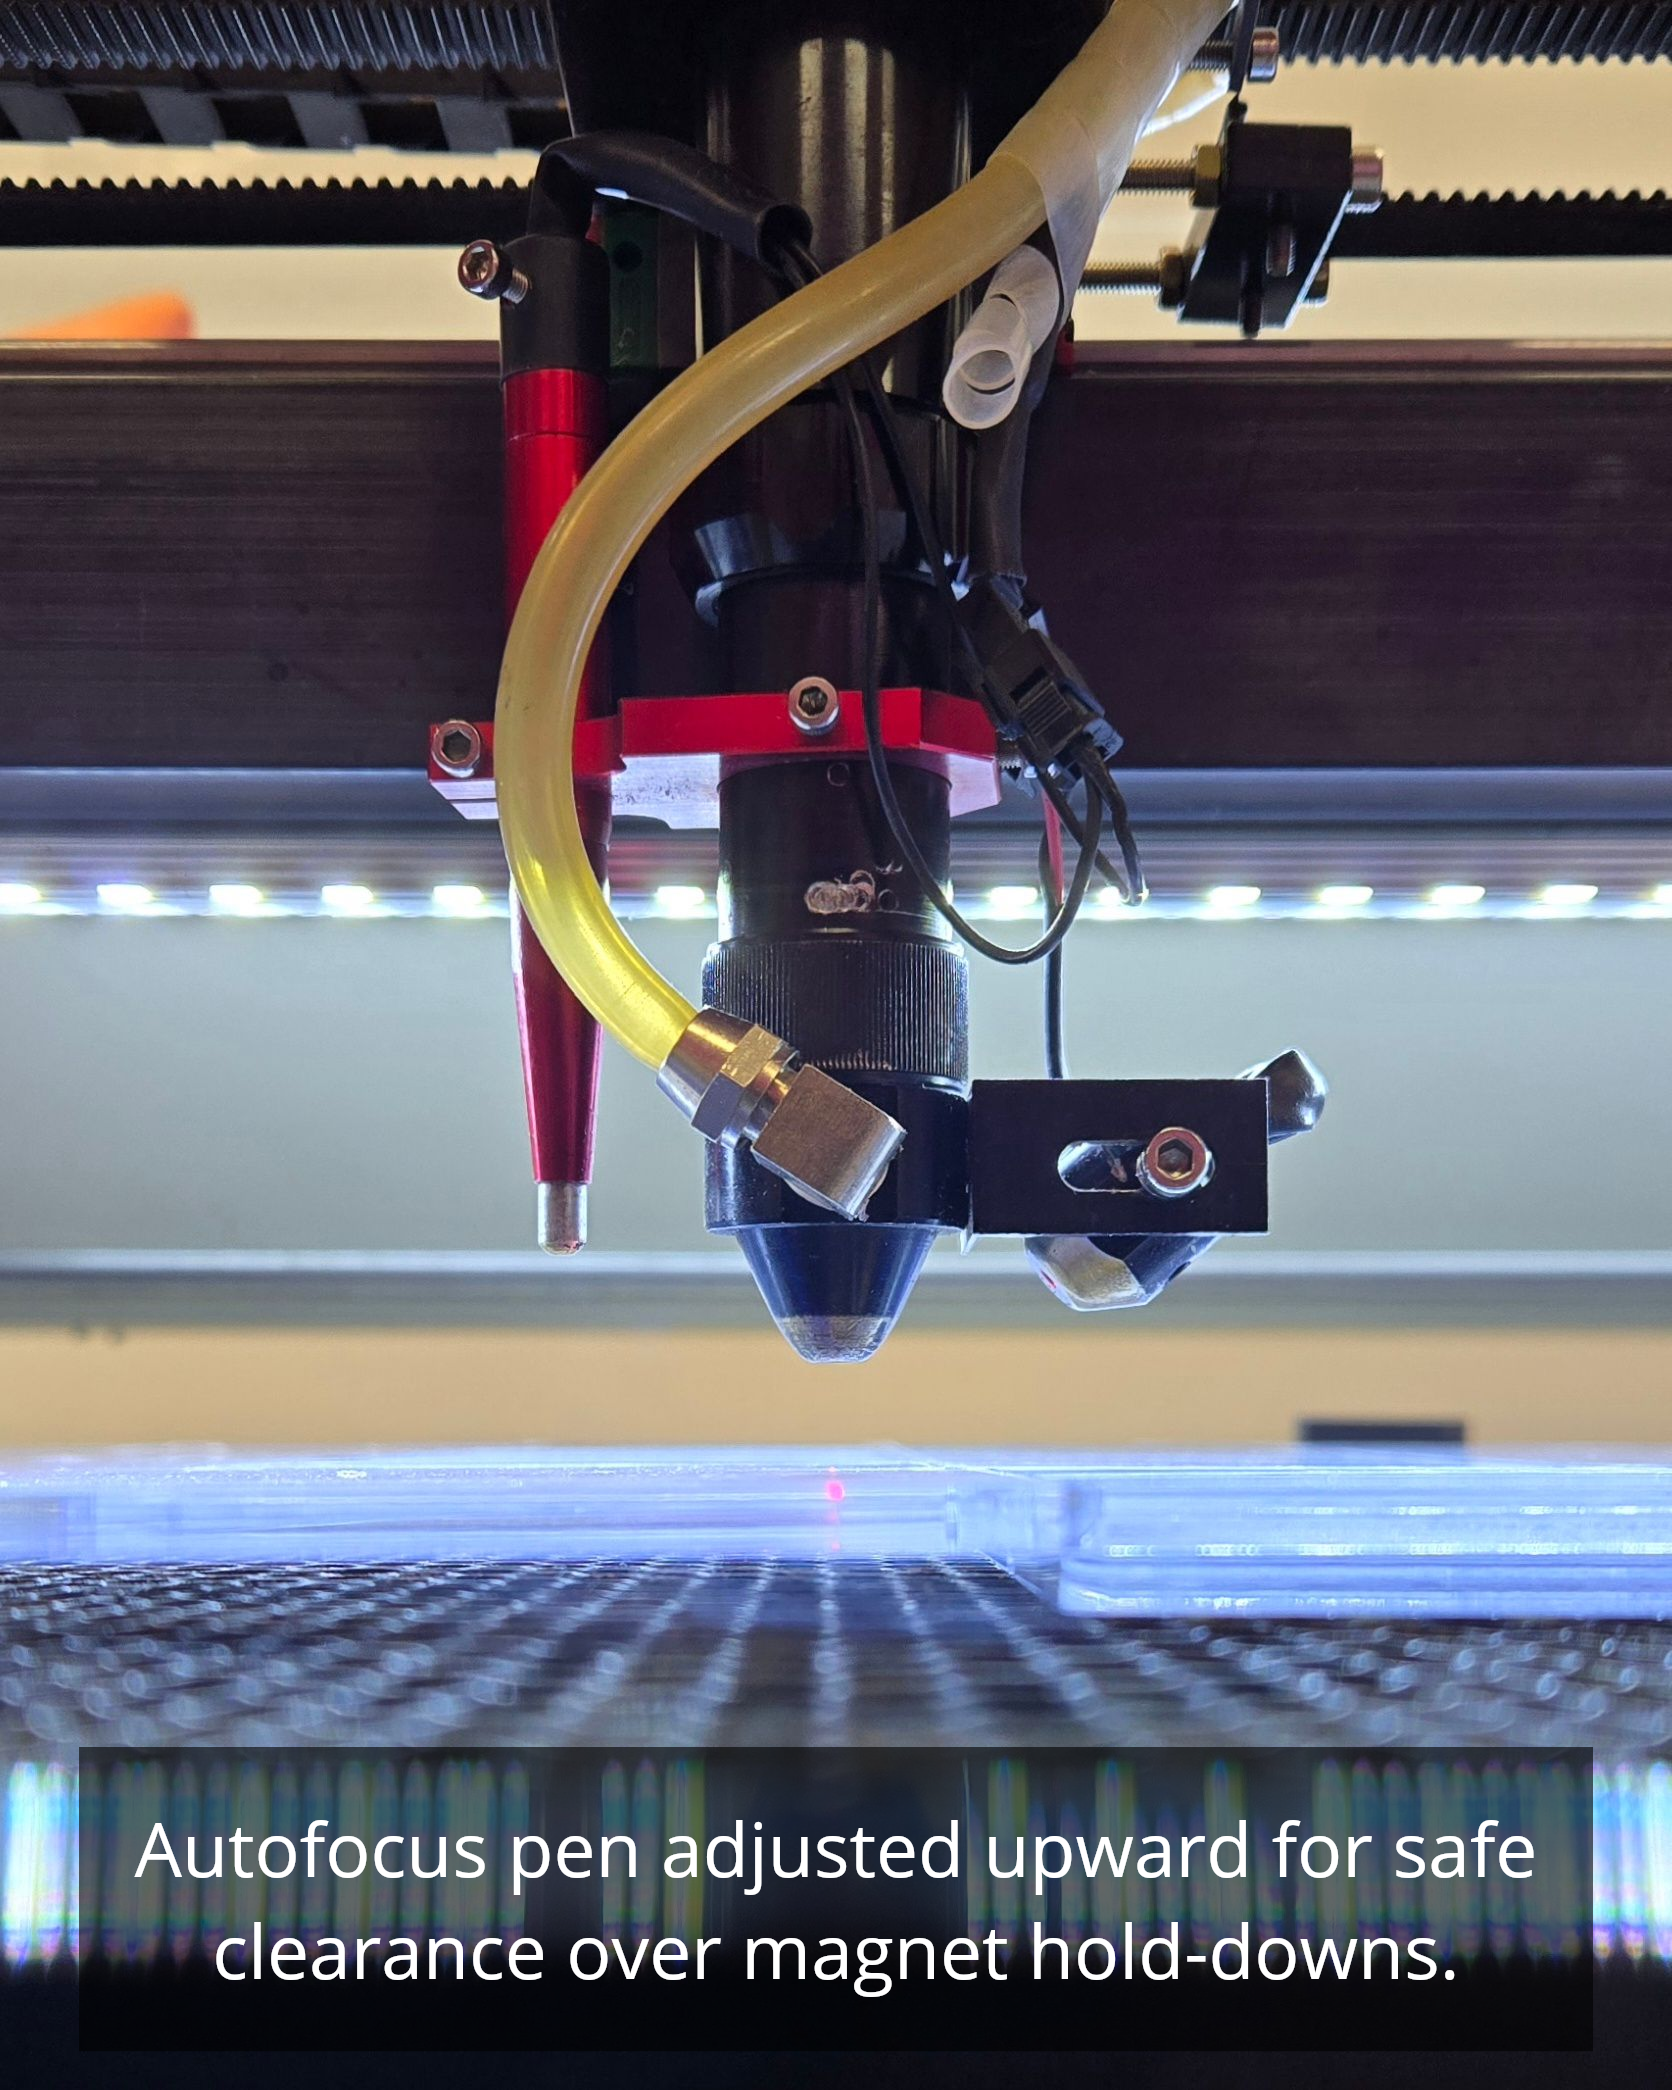
Flashback happens when the laser beam reflects off the honeycomb bed and marks the underside of your acrylic. This can leave haze, lines, or burn marks on an otherwise clean piece.
The solution is simple: lift the acrylic slightly off the bed.
Using small spacers, scrap acrylic, or egg-crate material allows the beam to pass cleanly through without reflecting back into the material.
This one adjustment can dramatically improve the bottom edge quality.
Dialing in Speed and Power
There’s no universal speed and power setting for acrylic. Thickness, color, machine wattage, and lens choice all play a role.
A good approach is to:
- Start slower than you think you need
- Make small adjustments
- Run test cuts before committing to the final job
If edges look melted or cloudy, reduce power or slow down.
If cuts don’t go through cleanly, increase power slightly or reduce speed.
Consistency comes from testing—not guessing.
Masking and Surface Protection
Leaving the protective paper or plastic film on acrylic during cutting can help prevent smoke residue and surface marks.
Masking is especially helpful for:
- Light-colored or clear acrylic
- Pieces with engraved details
- Jobs where surface finish matters
Just remember to remove masking after cutting for best visual clarity.
Quick Checklist Before You Cut
Before hitting “Start,” run through this quick checklist:
- Confirm material is acrylic
- Mask protective film if you want cleaner surfaces
- Check airflow + vacuum table setup
- Lift material off bed to avoid flashback
- Do a small test cut
- Adjust settings based on test results
These steps take minutes and save wasted material.
Common Acrylic Cutting Questions
Why do my edges look cloudy?
This usually means too much heat. Reduce power slightly or increase cutting speed.
Should I cut acrylic in multiple passes?
Single-pass cuts are preferred when possible. Multiple passes can re-melt edges and reduce clarity.
How thick can acrylic be cut?
That depends on laser wattage, lens choice, and airflow. Testing is always the best indicator.
Final Thoughts
Acrylic is one of the most rewarding materials to laser cut—but only when the setup is right. Small adjustments in airflow, elevation, and settings can turn frustrating cuts into clean, professional results.
Take the time to test, pay attention to edge quality, and build settings that work for your machine. Once dialed in, acrylic becomes one of the most reliable materials in your shop. 🐰
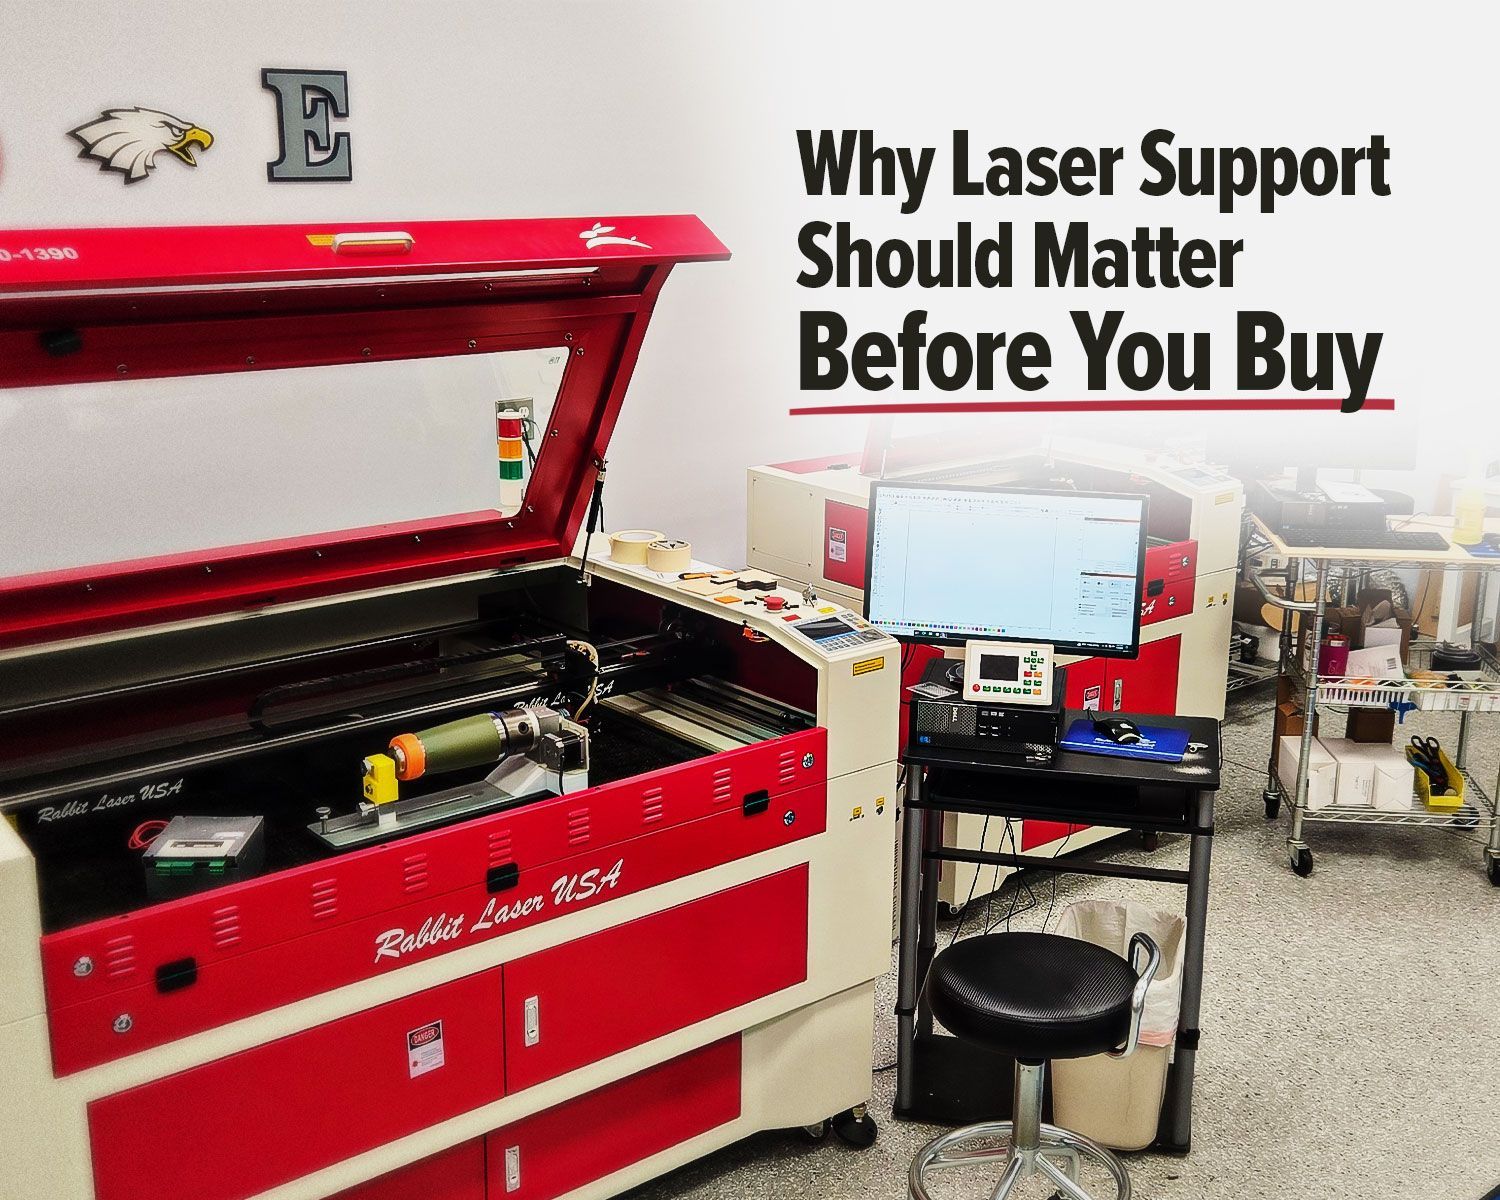
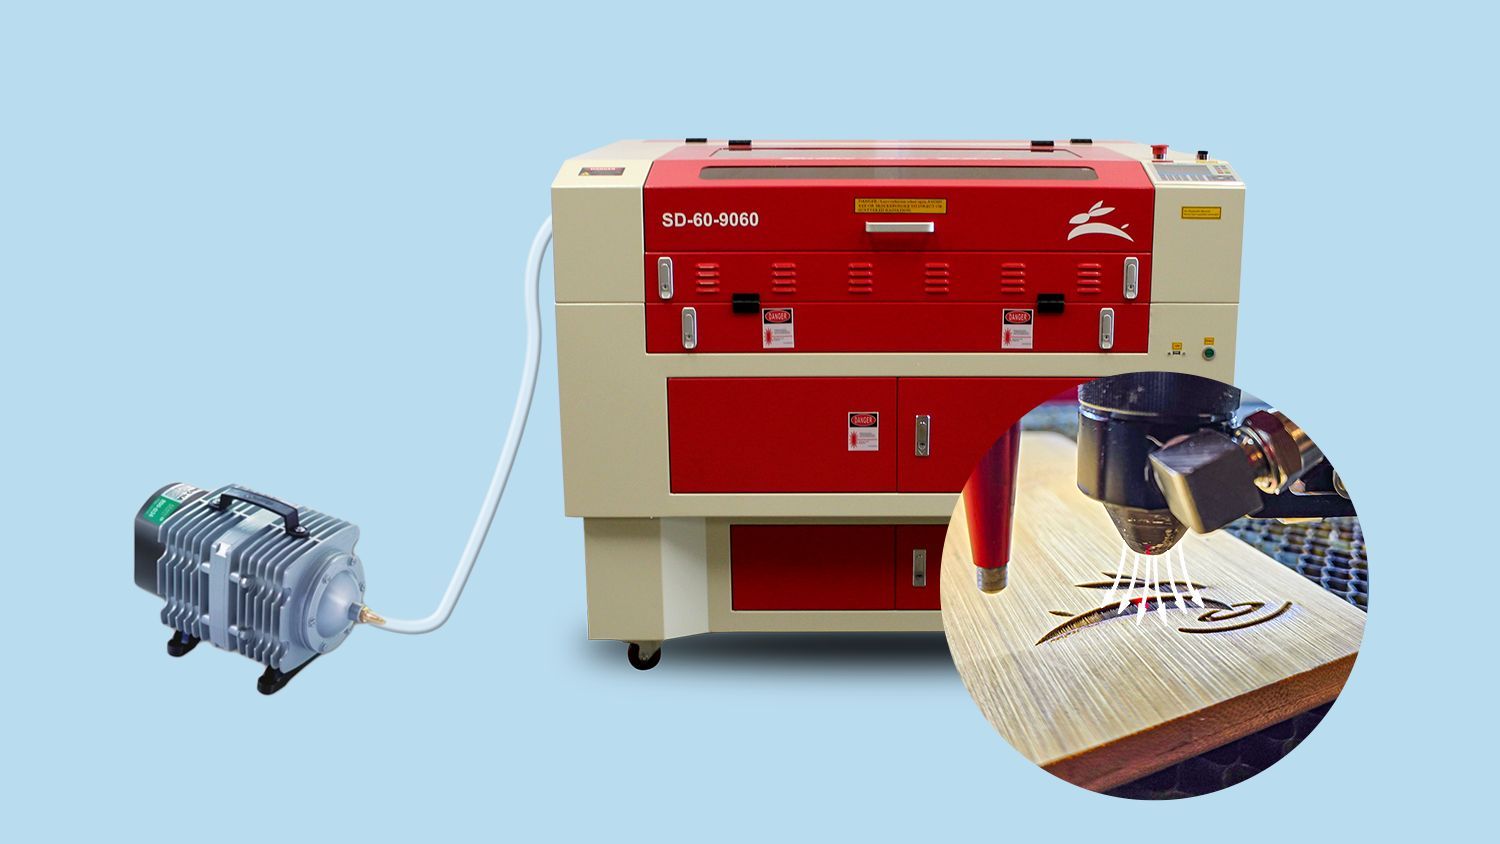
Rabbit Laser USA CO2 laser with support workstation for troubleshooting.
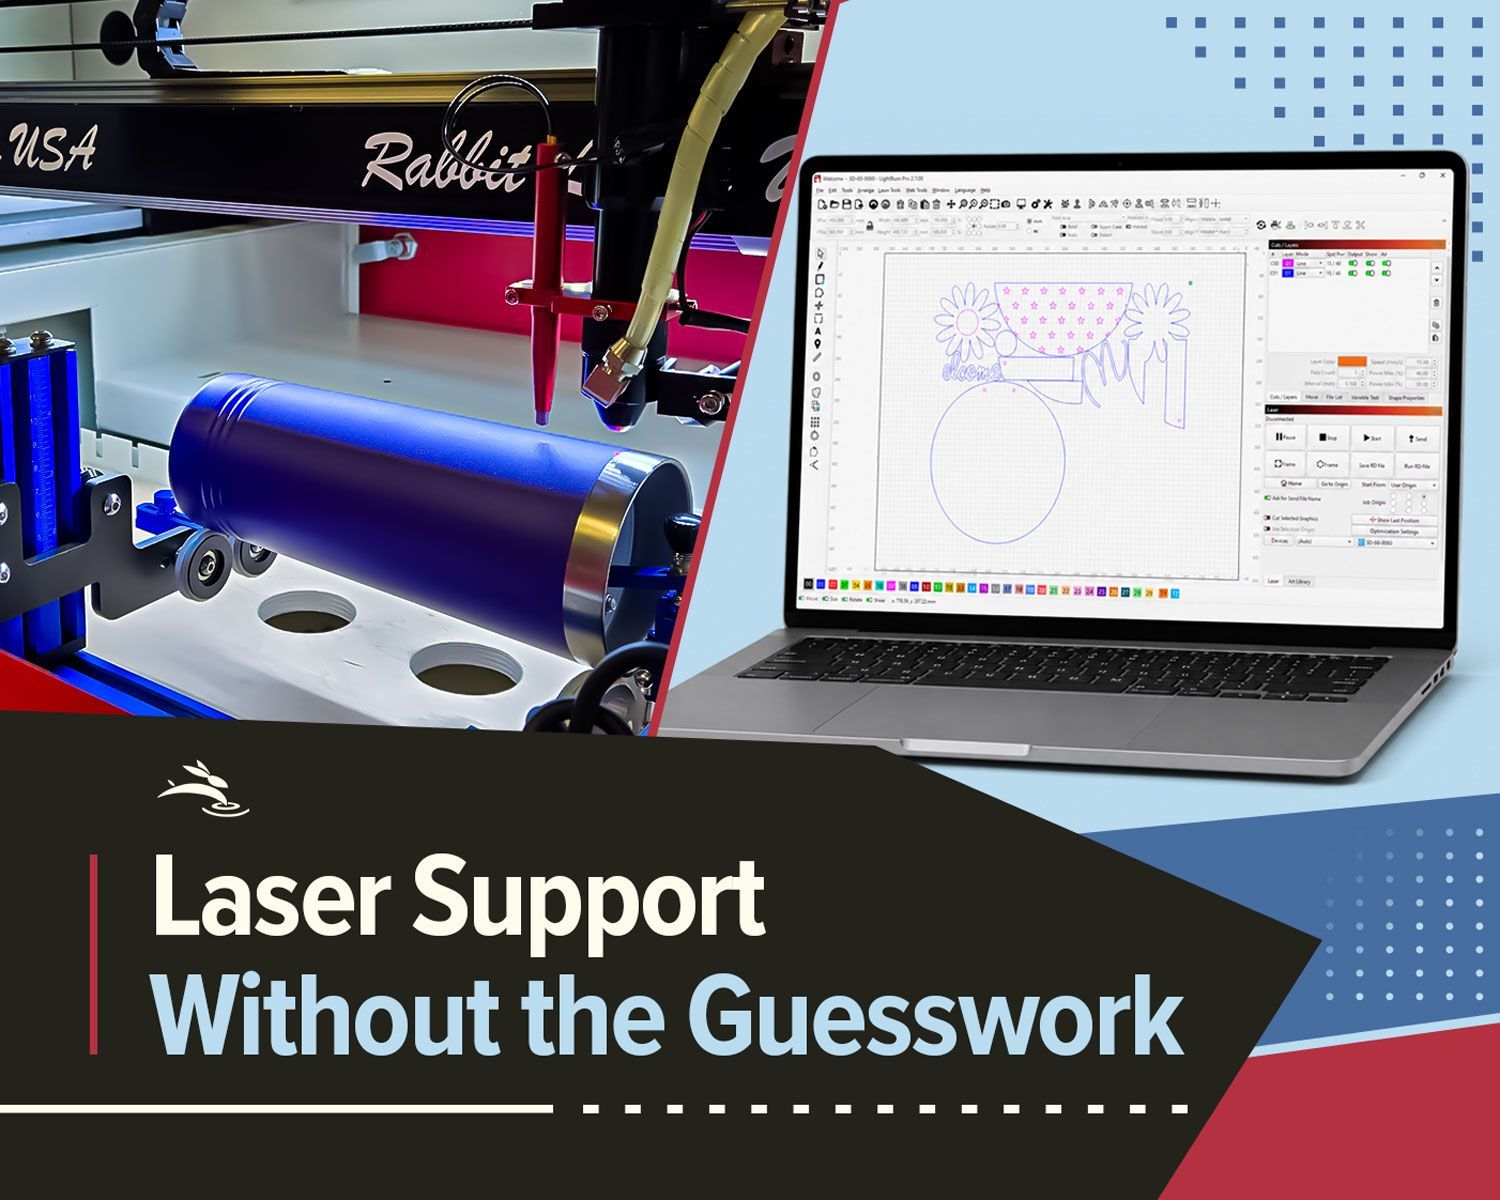
Remote laser support can help with software, settings, troubleshooting, alignment, parts questions, and service needs.
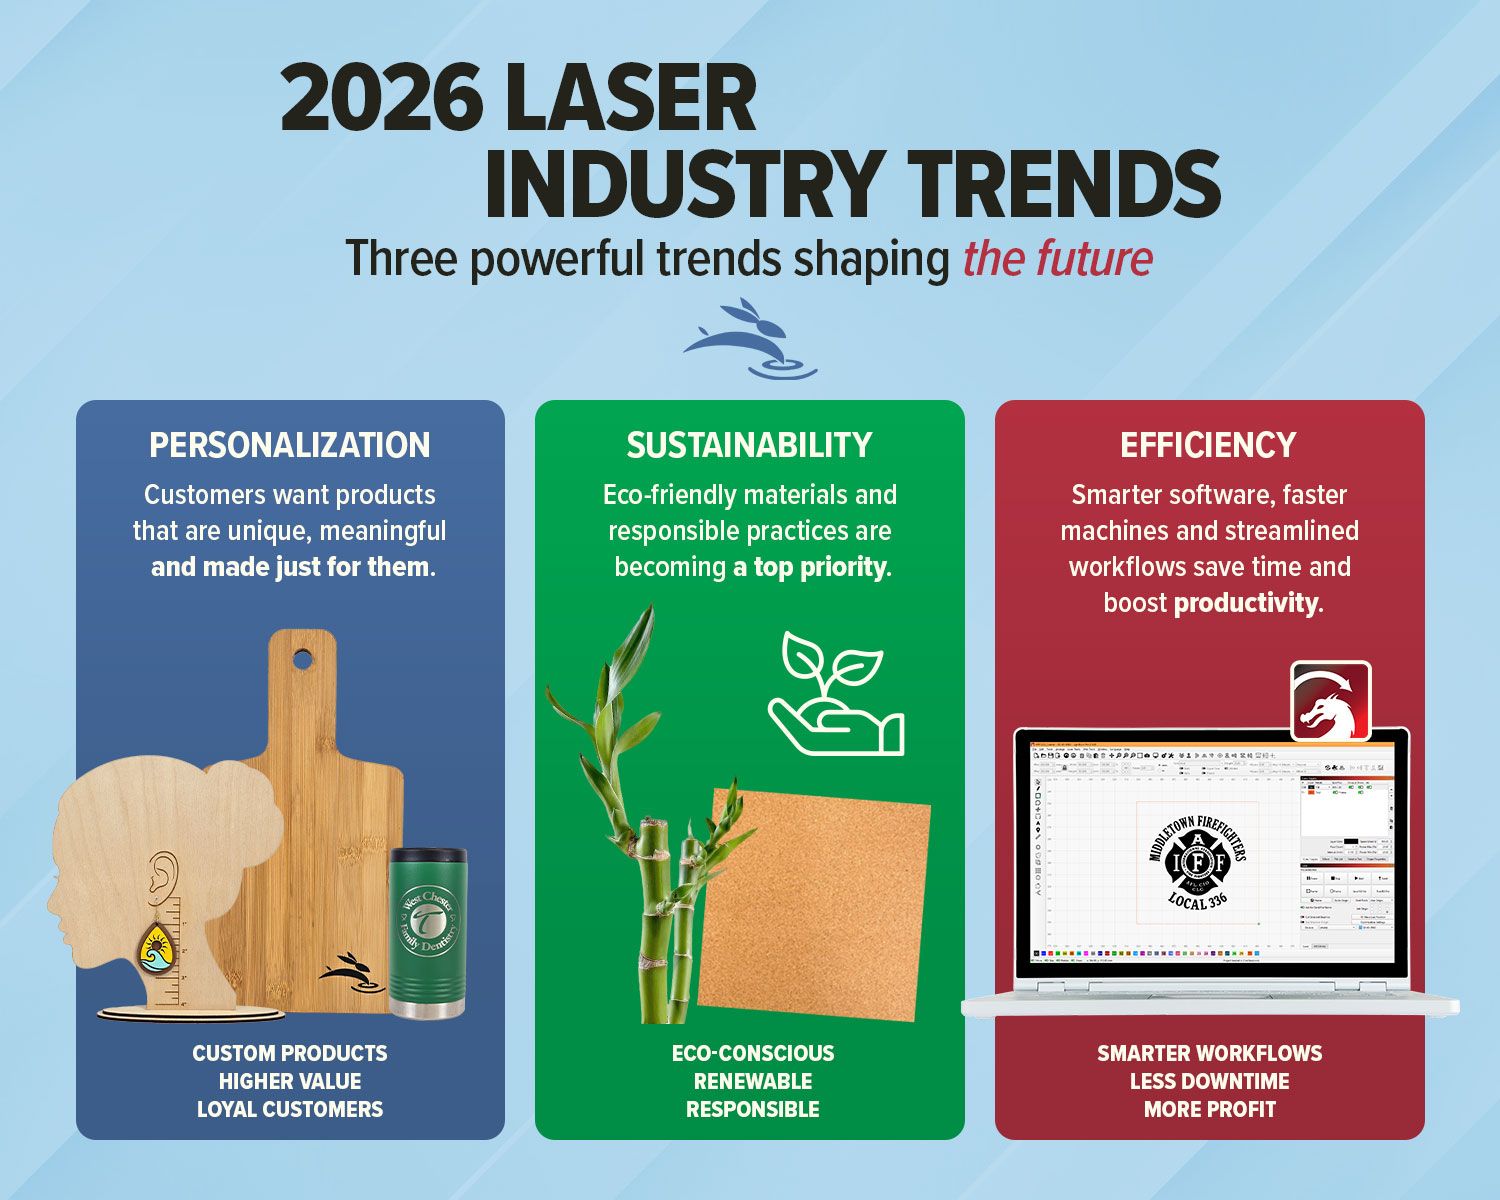
Explore 2026 laser engraving trends, including custom products, eco-friendly materials, efficient workflows, and business growth ideas.
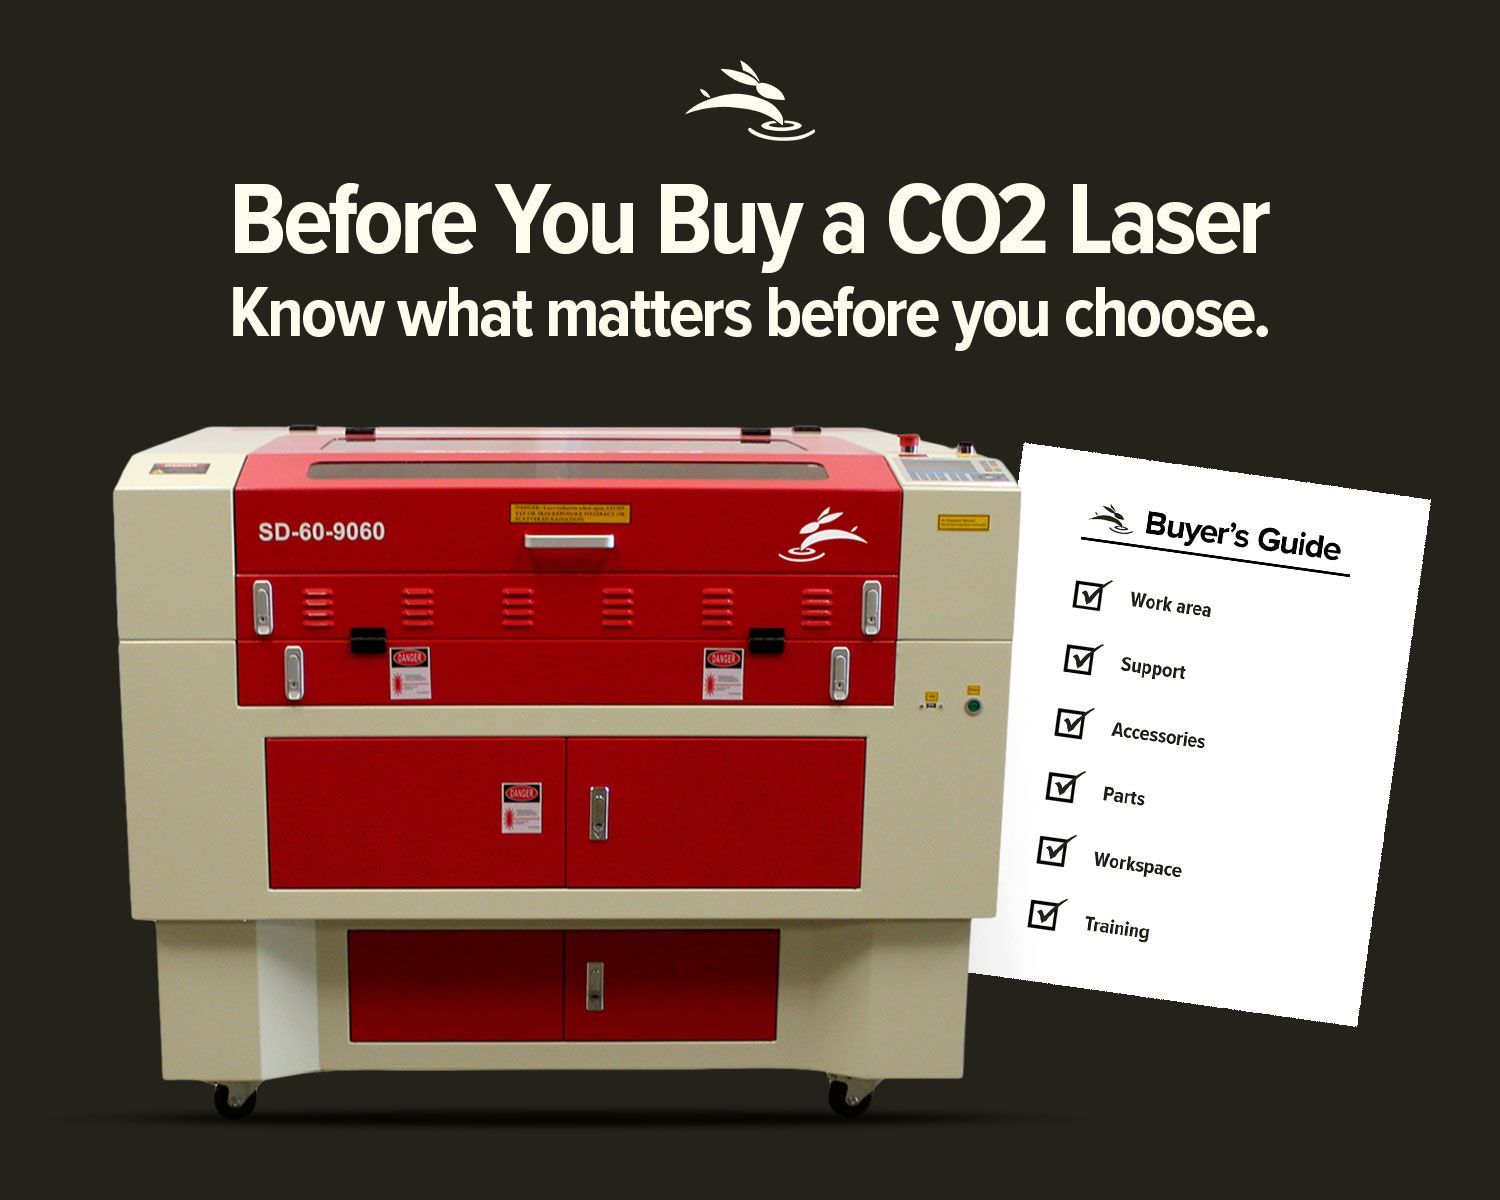
Avoid common CO2 laser buying regrets. Learn what to know about size, support, parts, accessories, setup, and long-term value before you buy.
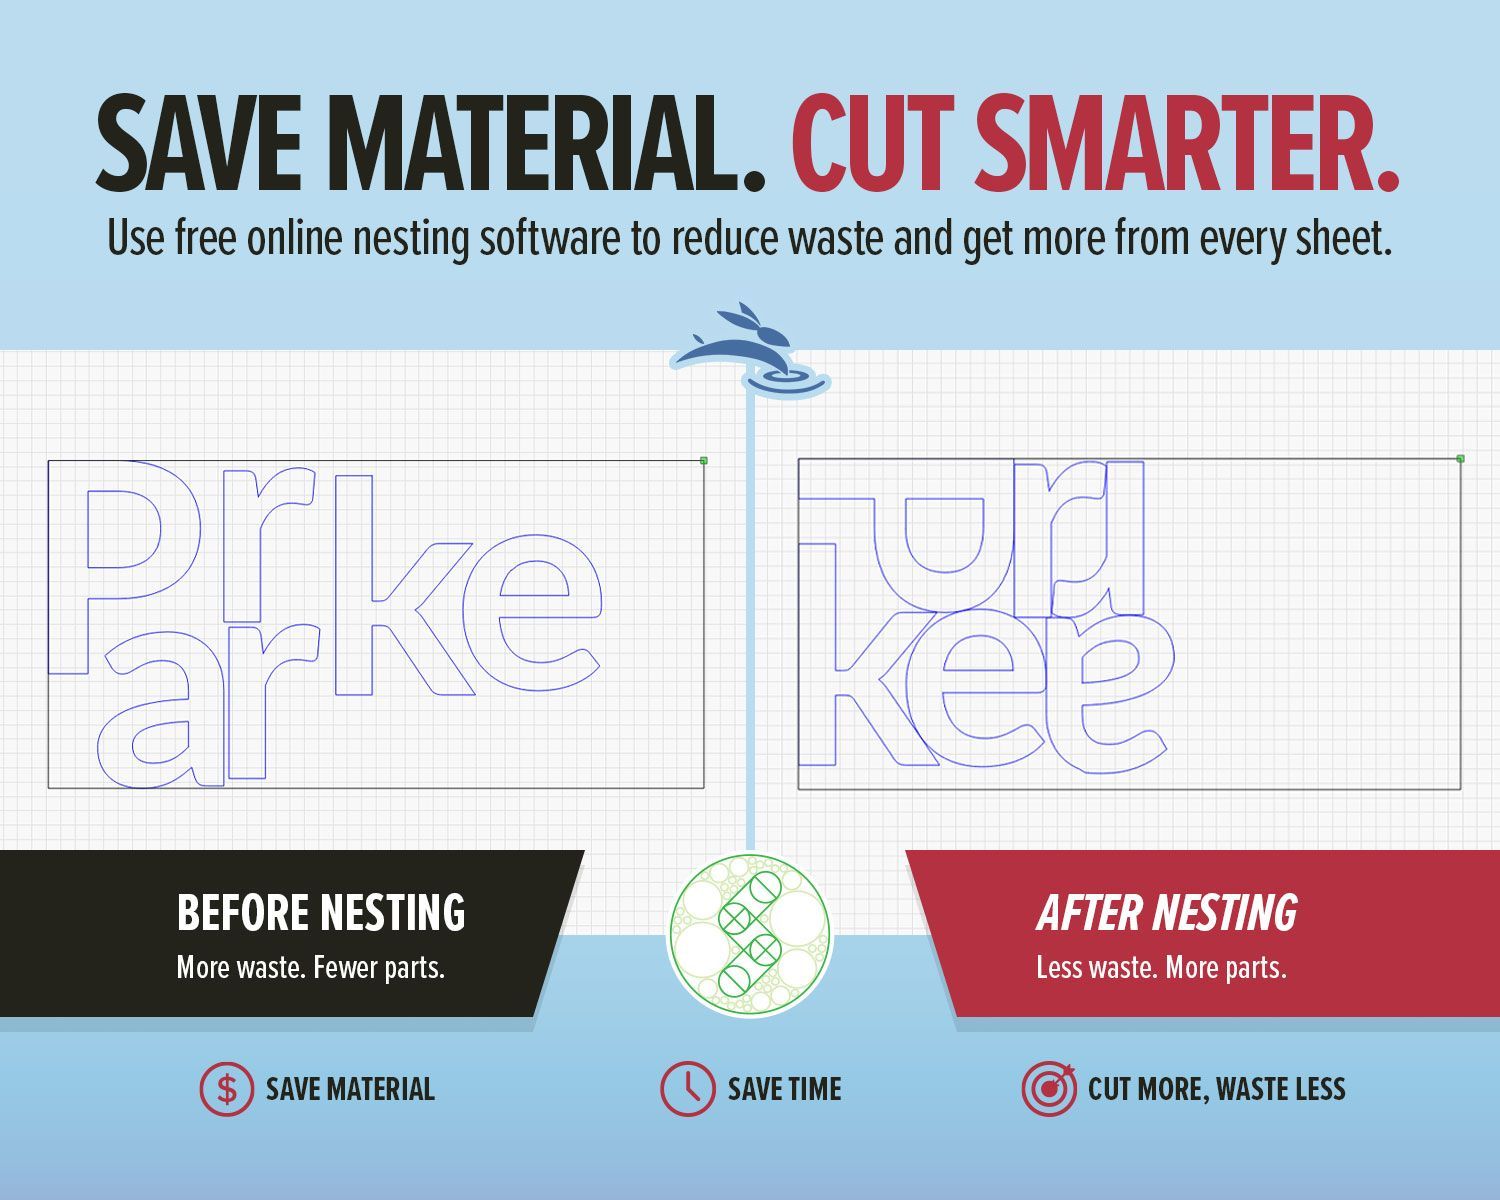
Use free online nesting software like SVGnest to arrange laser cutting files, reduce material waste, and improve your LightBurn workflow.
New to laser engraving or cutting? Avoid common mistakes that cause poor results, wasted material, and frustration. Learn what to fix fast.
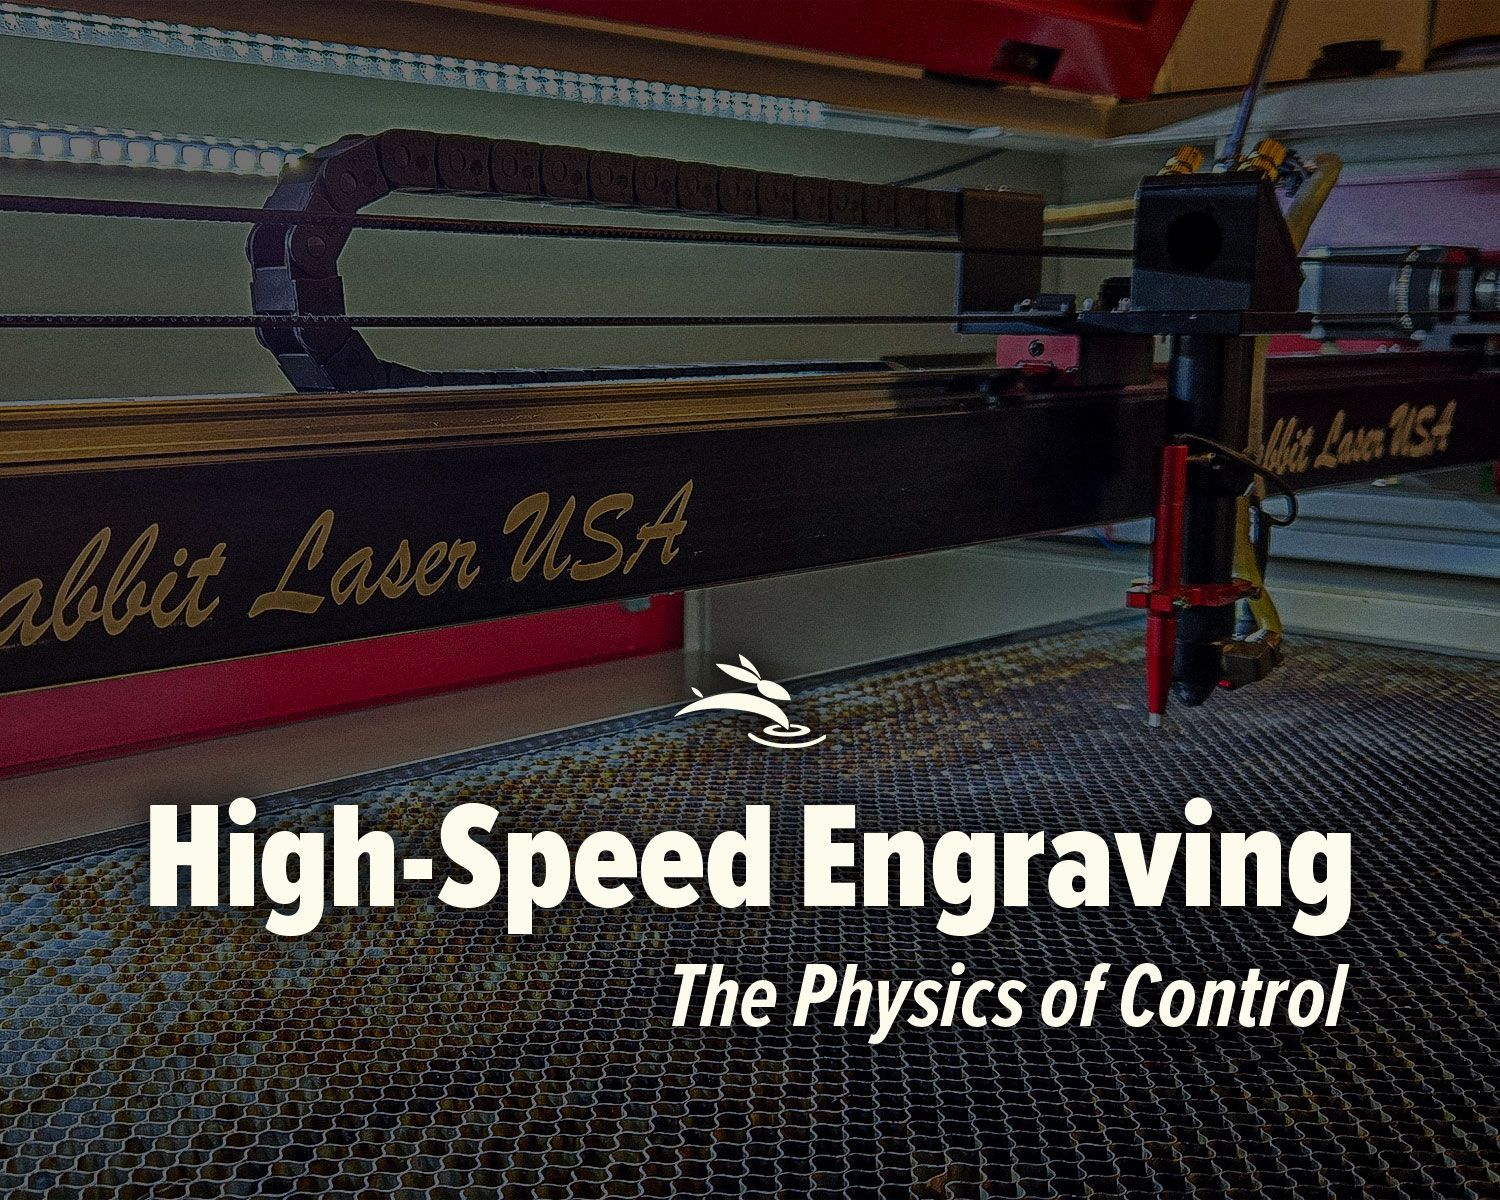
High-speed laser engraving demands motion control. Learn how overscan, acceleration, and momentum impact precision and usable workspace.
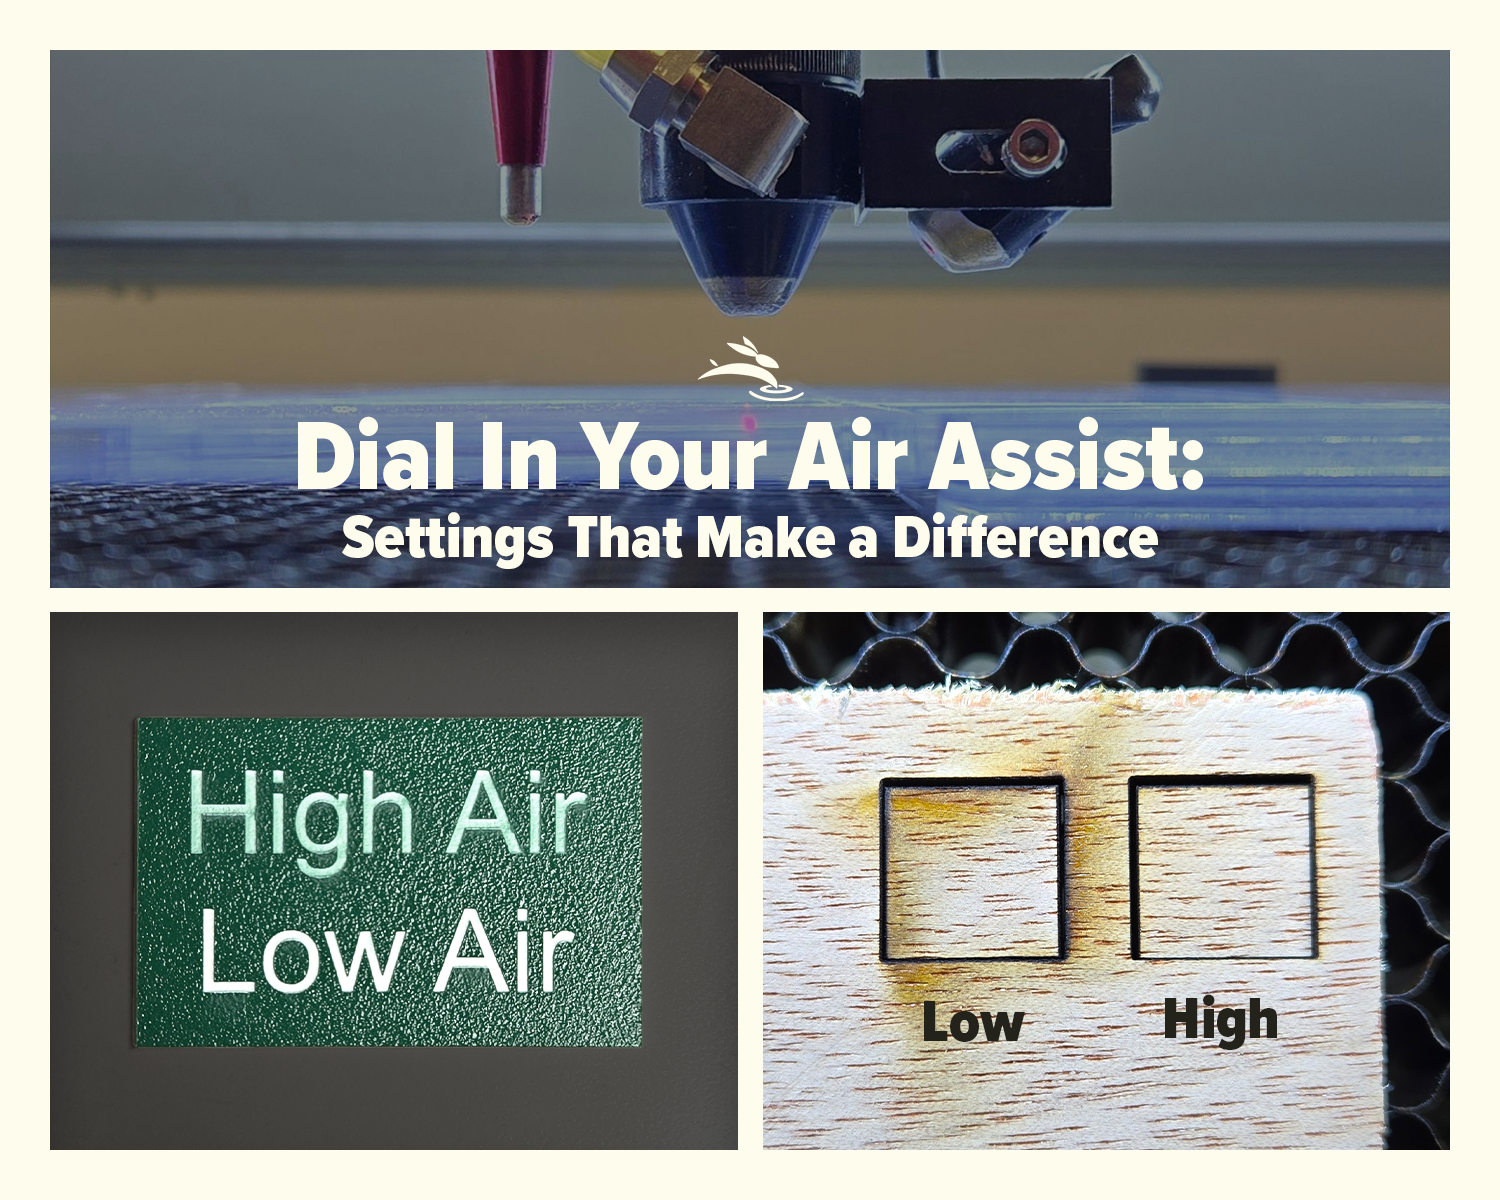
Dial In Your Air Assist: Settings That Make a Difference Air Assist Isn’t Just an Add-On If you’ve ever smelled smoke during a job or noticed charred edges on your laser-cut pieces, chances are your air assist wasn’t doing its job—or it wasn’t set right for your application. While it might seem like a minor detail, air assist plays a critical role in the performance and lifespan of your CO2 laser machine. In this post, we’ll break down the difference between low flow and high flow air assist, when to use each, and how to get the best results from your setup.
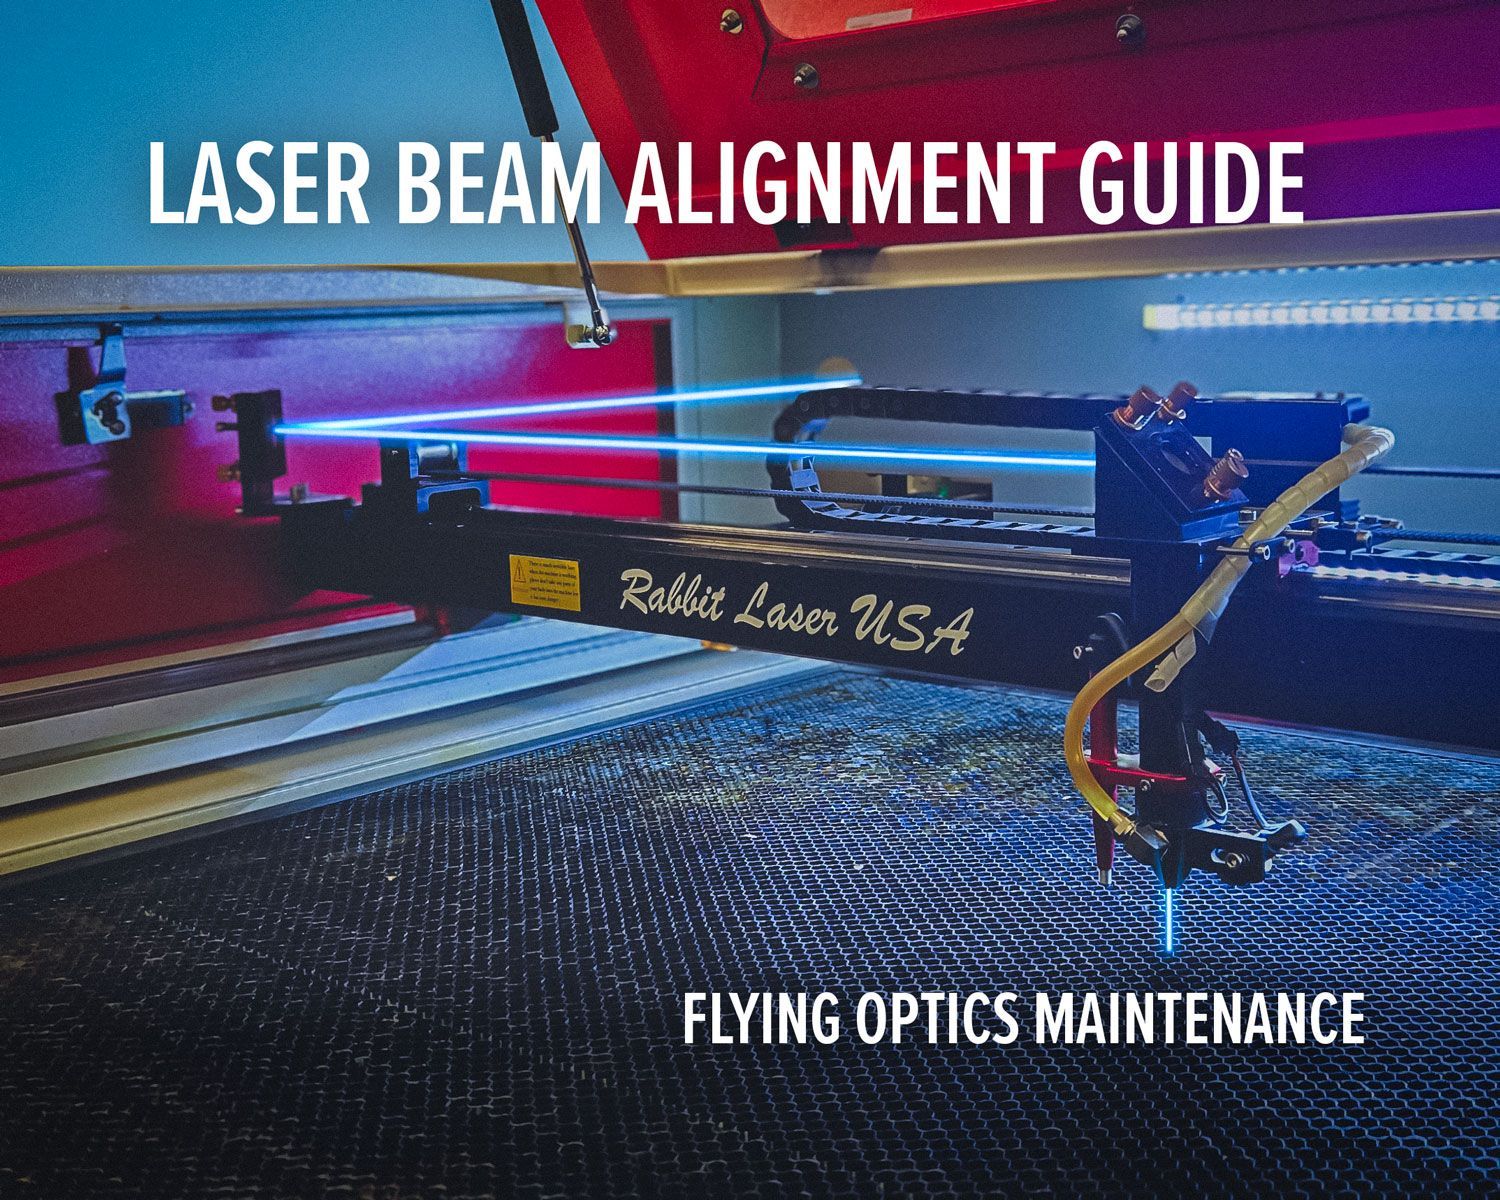
Laser beam alignment guide for flying optics laser machines. Step-by-step maintenance tutorial to restore accuracy, cutting power, and engraving performance.
Blurry engraving or weak cuts? Learn the correct CO2 laser lens orientation and how to fix one of the most common laser setup mistakes.
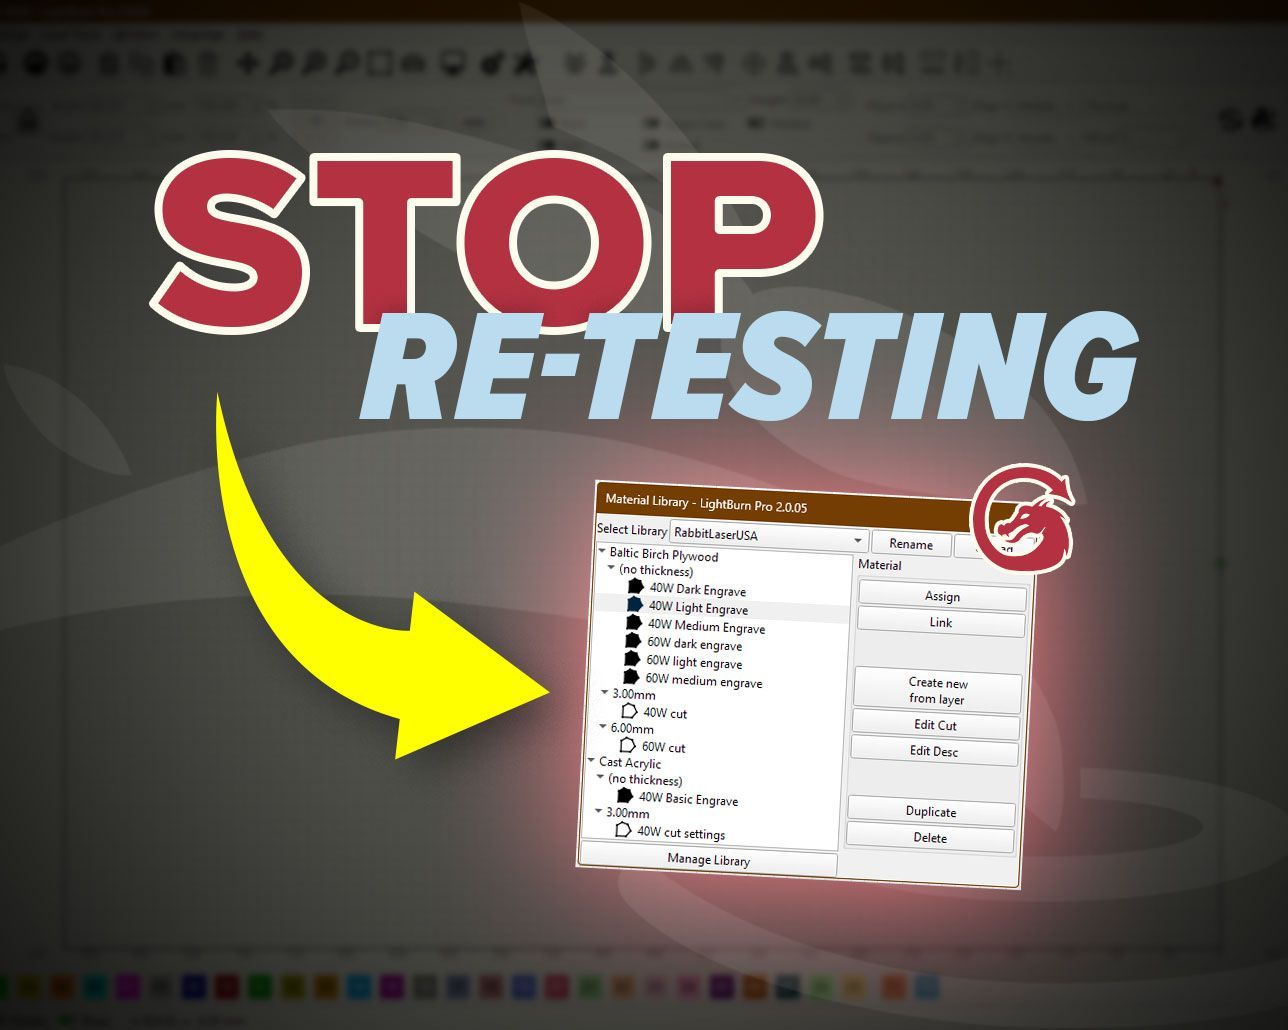
Stop re-testing. Save proven engraving and cutting settings in LightBurn’s Material Library and apply them fast on future projects.
New to CO2 laser engraving? Learn how to choose bed size, wattage, safety features, and support so your first industrial laser is ready to make money.