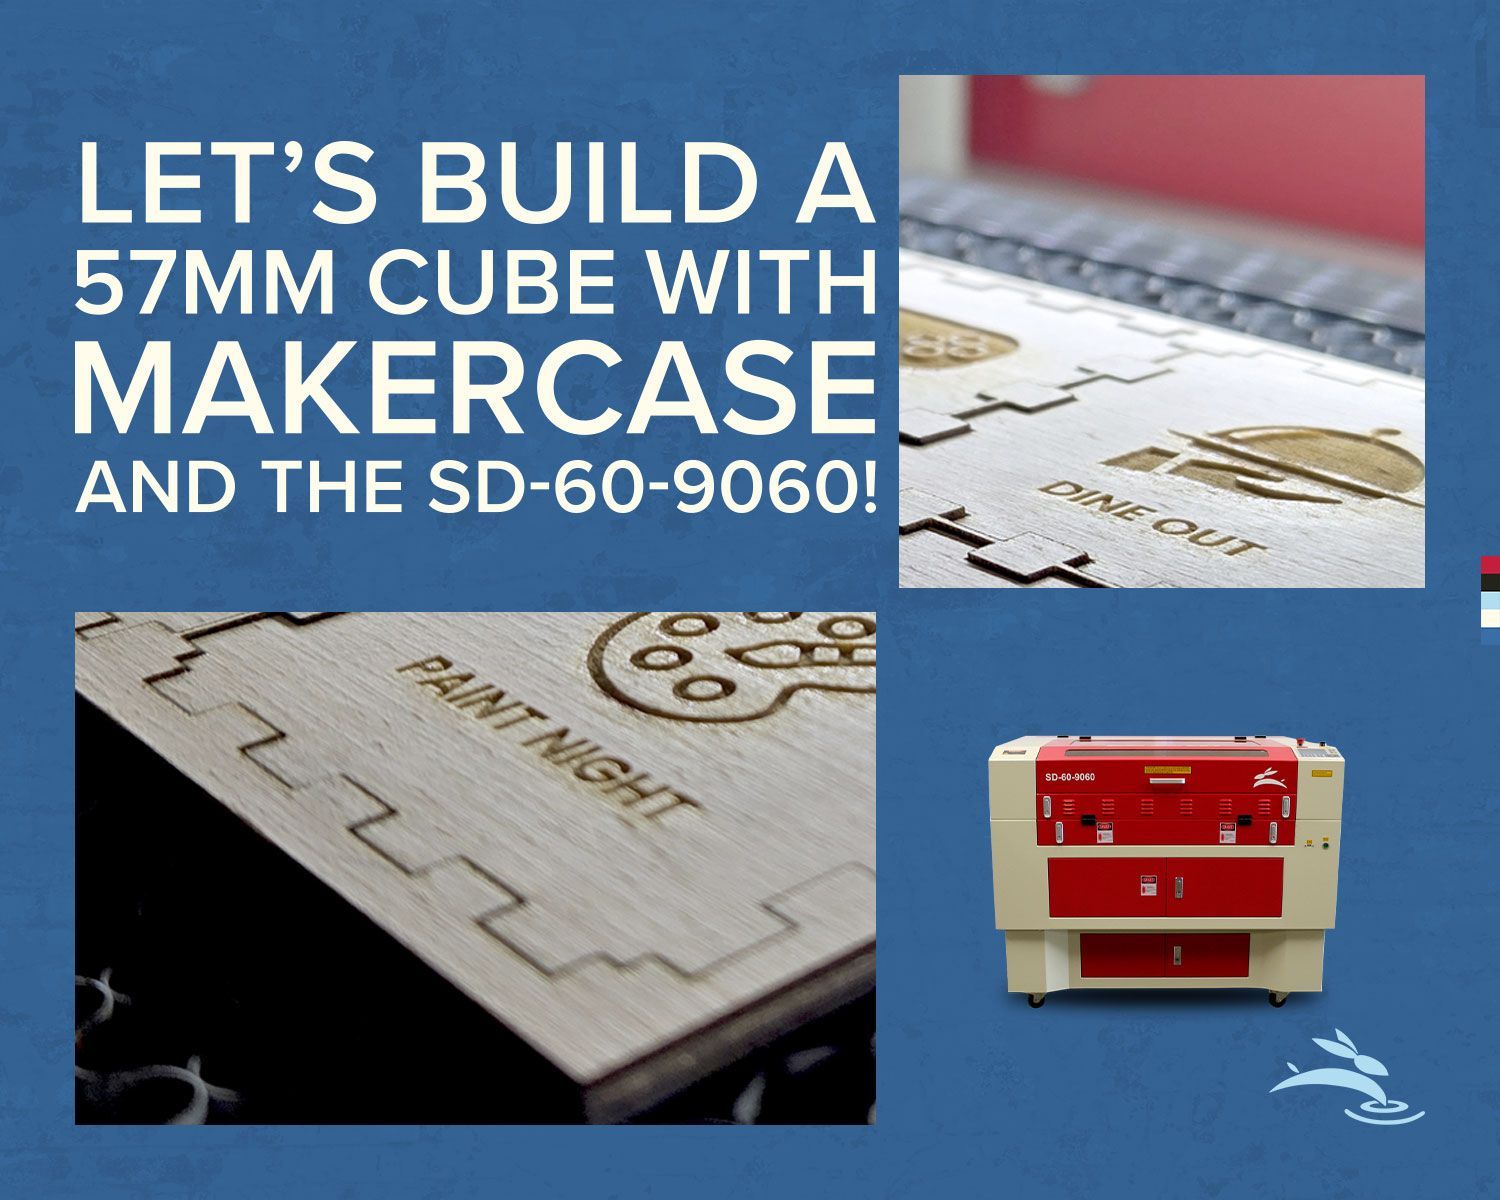
Let’s Build a 57mm Cube with MakerCase and the SD-60-9060!
Looking to bring precision and creativity to your projects? You’re in the right place! In this guide, we’ll create a simple but super-satisfying 57mm cube using the web-based design tool MakerCase and Rabbit Laser USA’s powerful SD-60-9060 CO2 laser cutter. Let’s make something awesome!
What’s MakerCase All About?
If you’ve never tried MakerCase before, get ready to fall in love with its simplicity. It’s an online tool that lets you design boxes and project cases in minutes. Just pop in your dimensions and material thickness, and it generates a 3D model for you.
Here’s why we like it:
- Easy to use: No steep learning curve here. It’s as simple as entering a few numbers.
- Versatile designs: Go for flat edges or interlocking finger joints—whatever your project needs.
- Laser-friendly files: Export your design as SVG or DXF, ready to cut.
- Precision tools: Adjust settings for kerf (the laser’s cutting width) to ensure a perfect fit.
What You’ll Need
Here’s what you’ll need to get started:
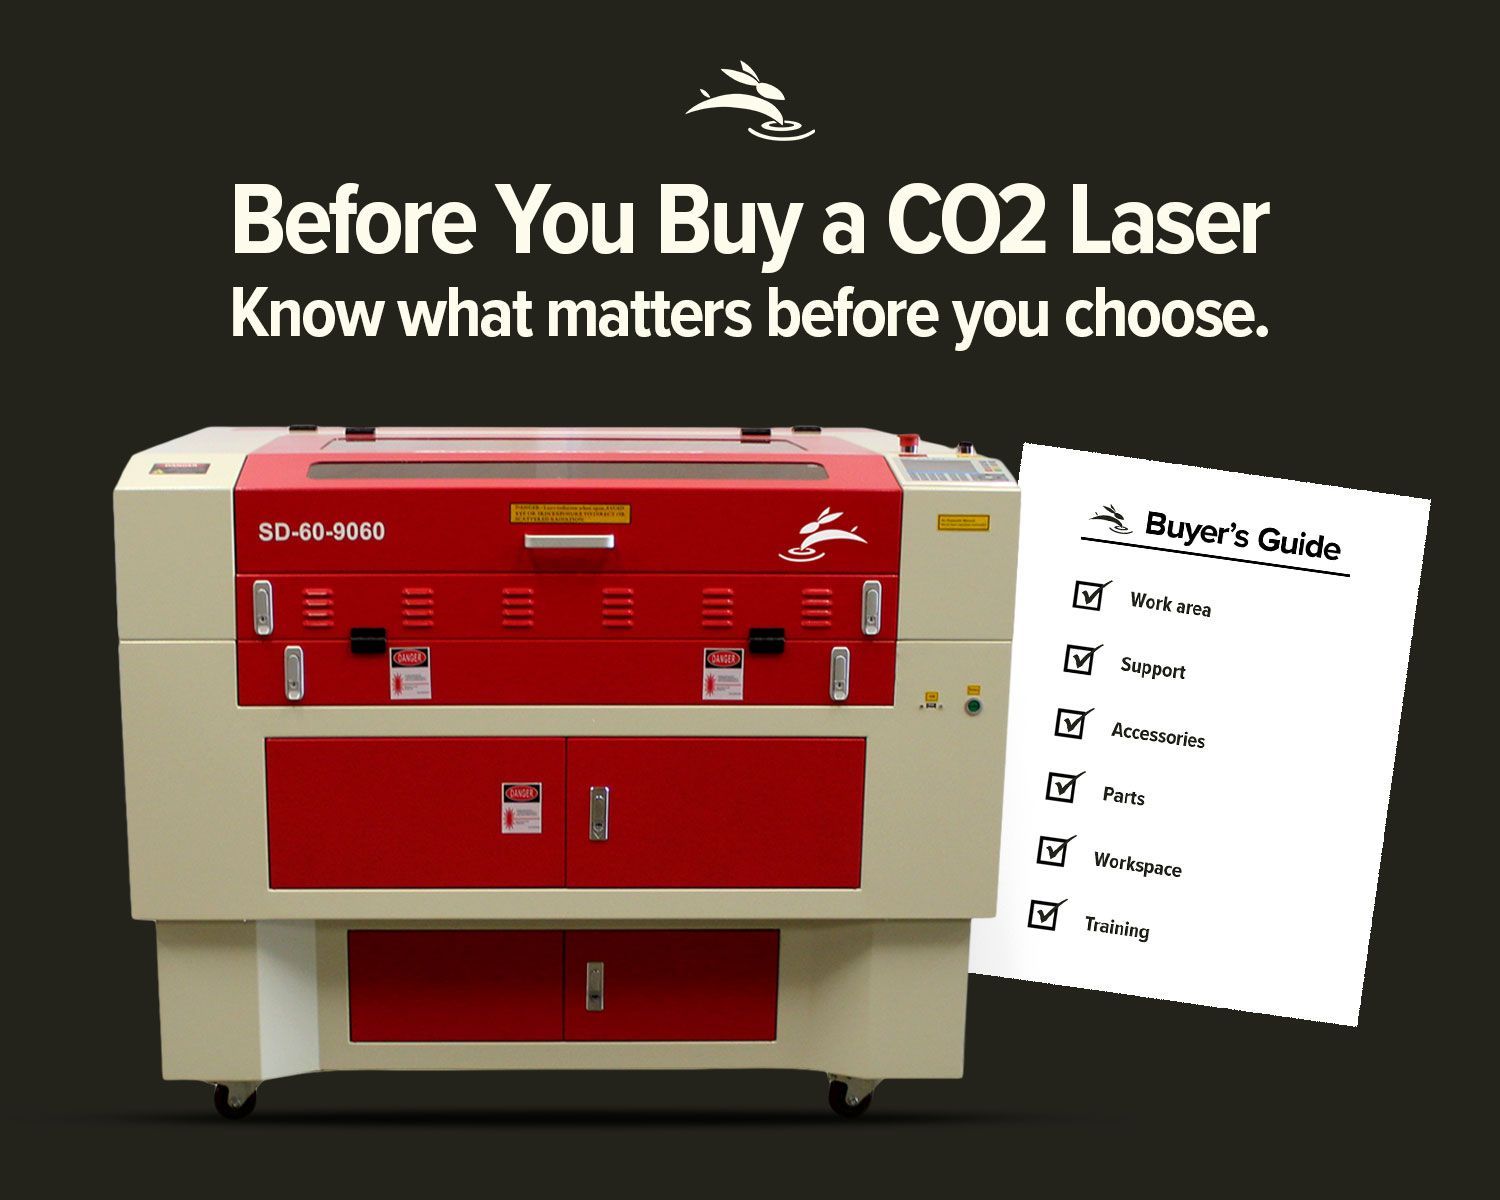
- SD-60-9060 CO2 laser cutter (90W, 600mm x 900mm work area)
- 3mm Baltic Birch plywood
- Access to the MakerCase website
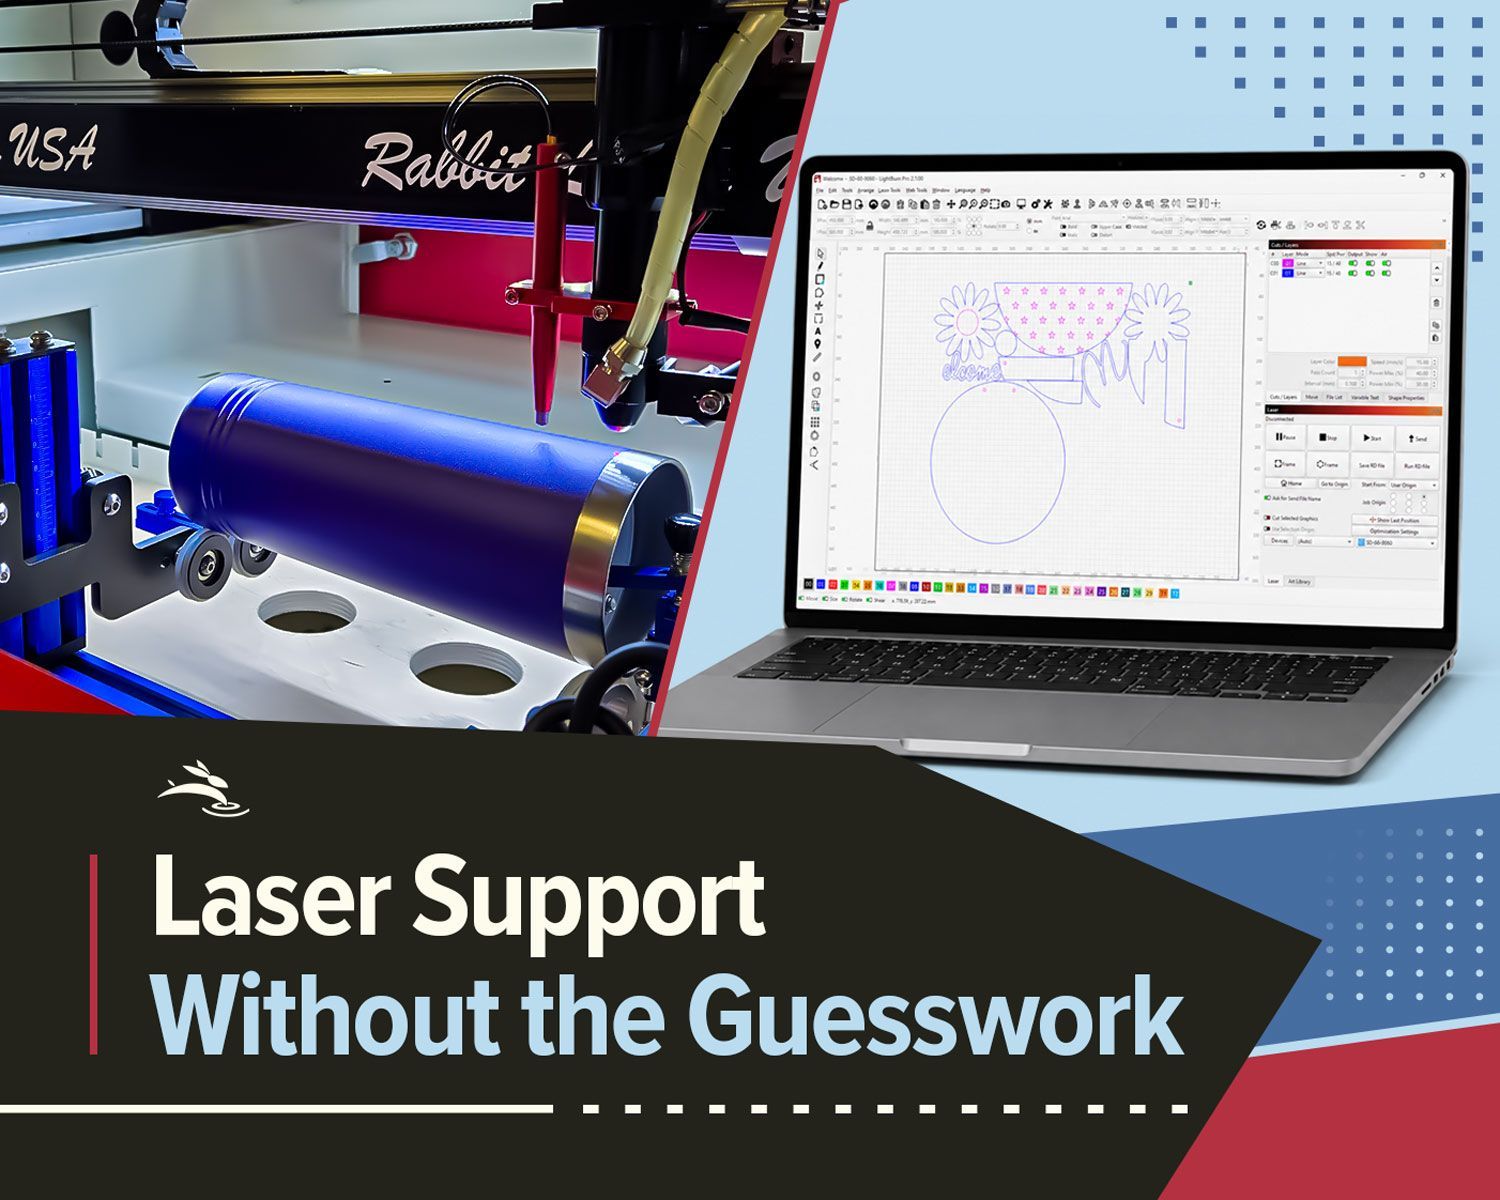
- LightBurn software to prep the file
- Sandpaper and rubber hammer for assembly
Step 1: Designing the Cube in MakerCase
Let’s jump into MakerCase and get your design ready. Follow these steps:
- Hop onto MakerCase: Head over to MakerCase.
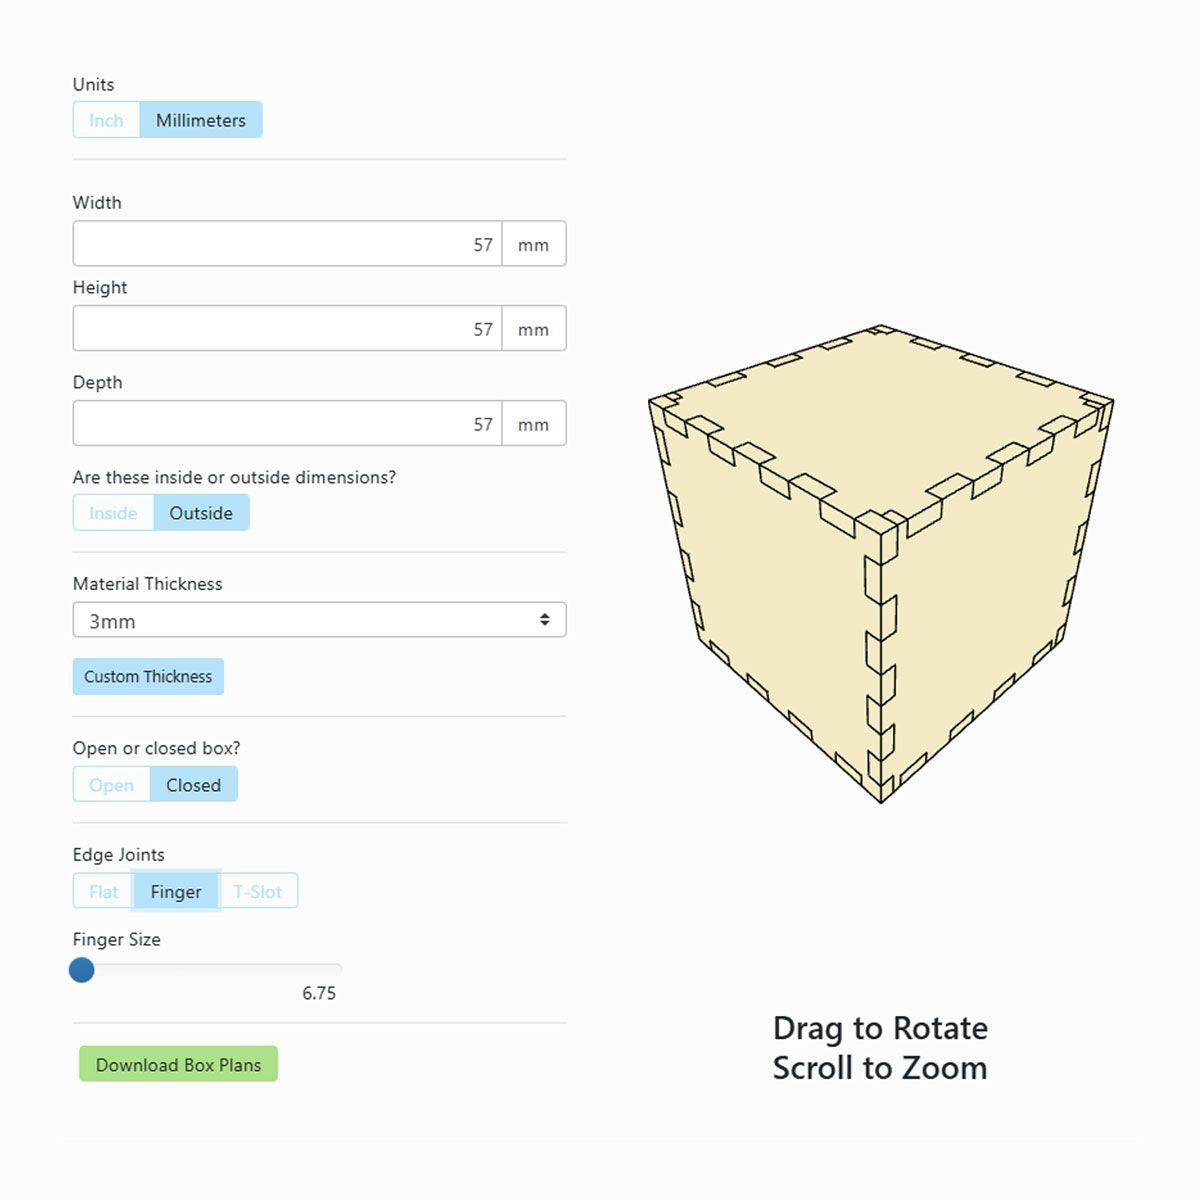
- Set Dimensions: Enter 57mm x 57mm x 57mm for the cube size.
- Choose Material Thickness: Select 3mm to match your Baltic Birch plywood.
- Pick Joint Type: Go for finger joints with a 6.75mm finger size to make a sturdy box that locks together.
- Select Box Style: Choose a closed box for this project.
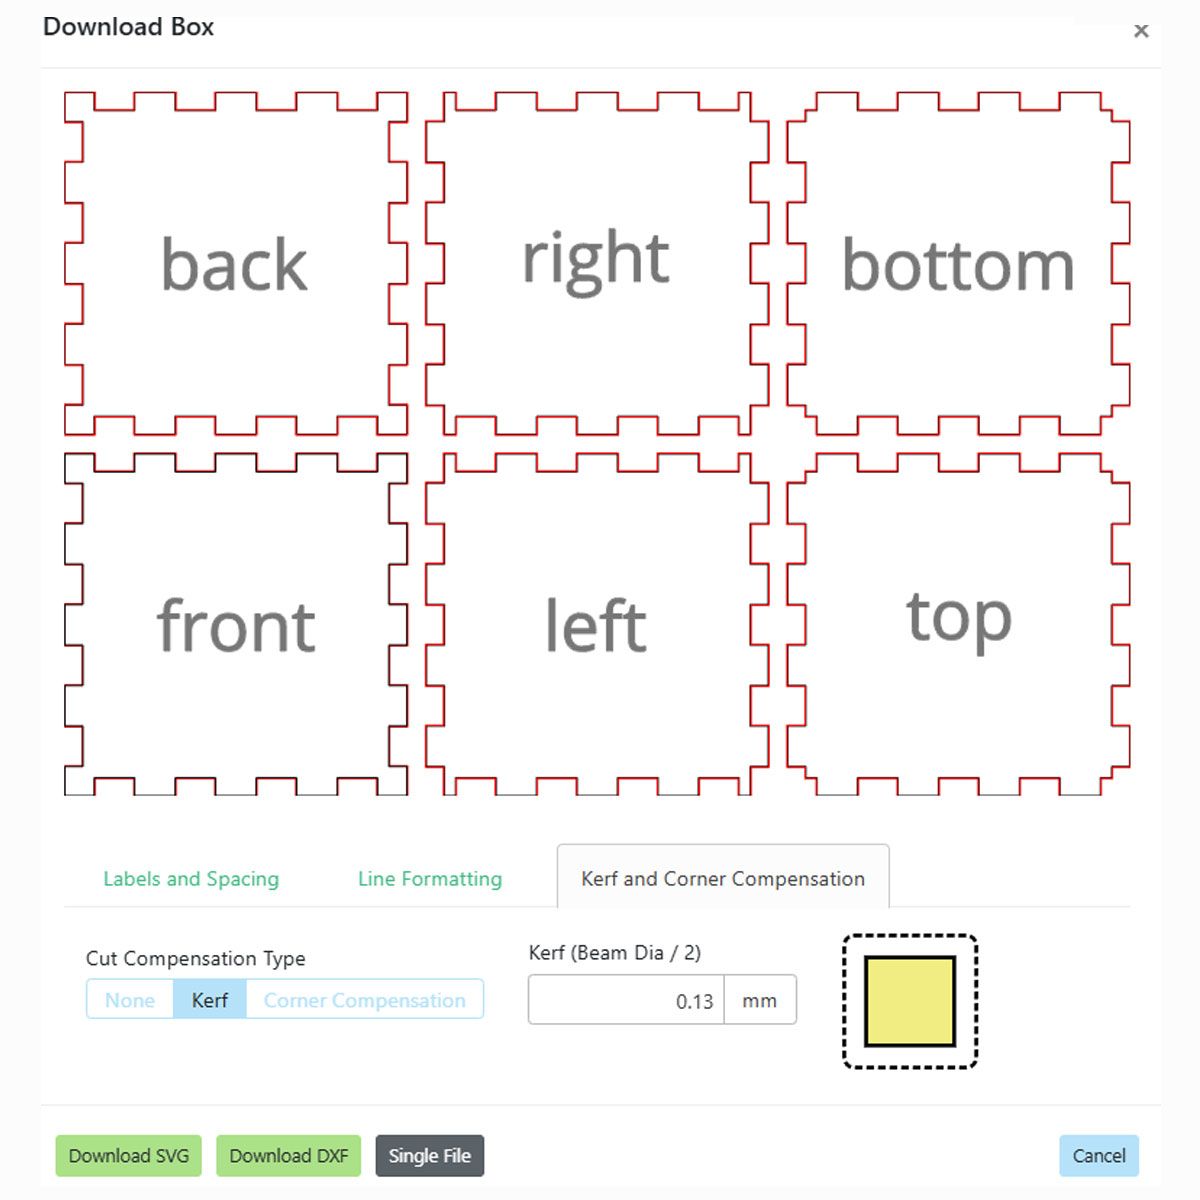
- Adjust Kerf: Set the kerf to 0.13 mm for spot-on precision with your SD-60-9060.
- Preview Your Design: Spin the 3D model around to make sure it looks just right.
- Download SVG: Flatten the design and click the "Download SVG" button to save the file for LightBurn.
Step 2: Prepping the File in LightBurn
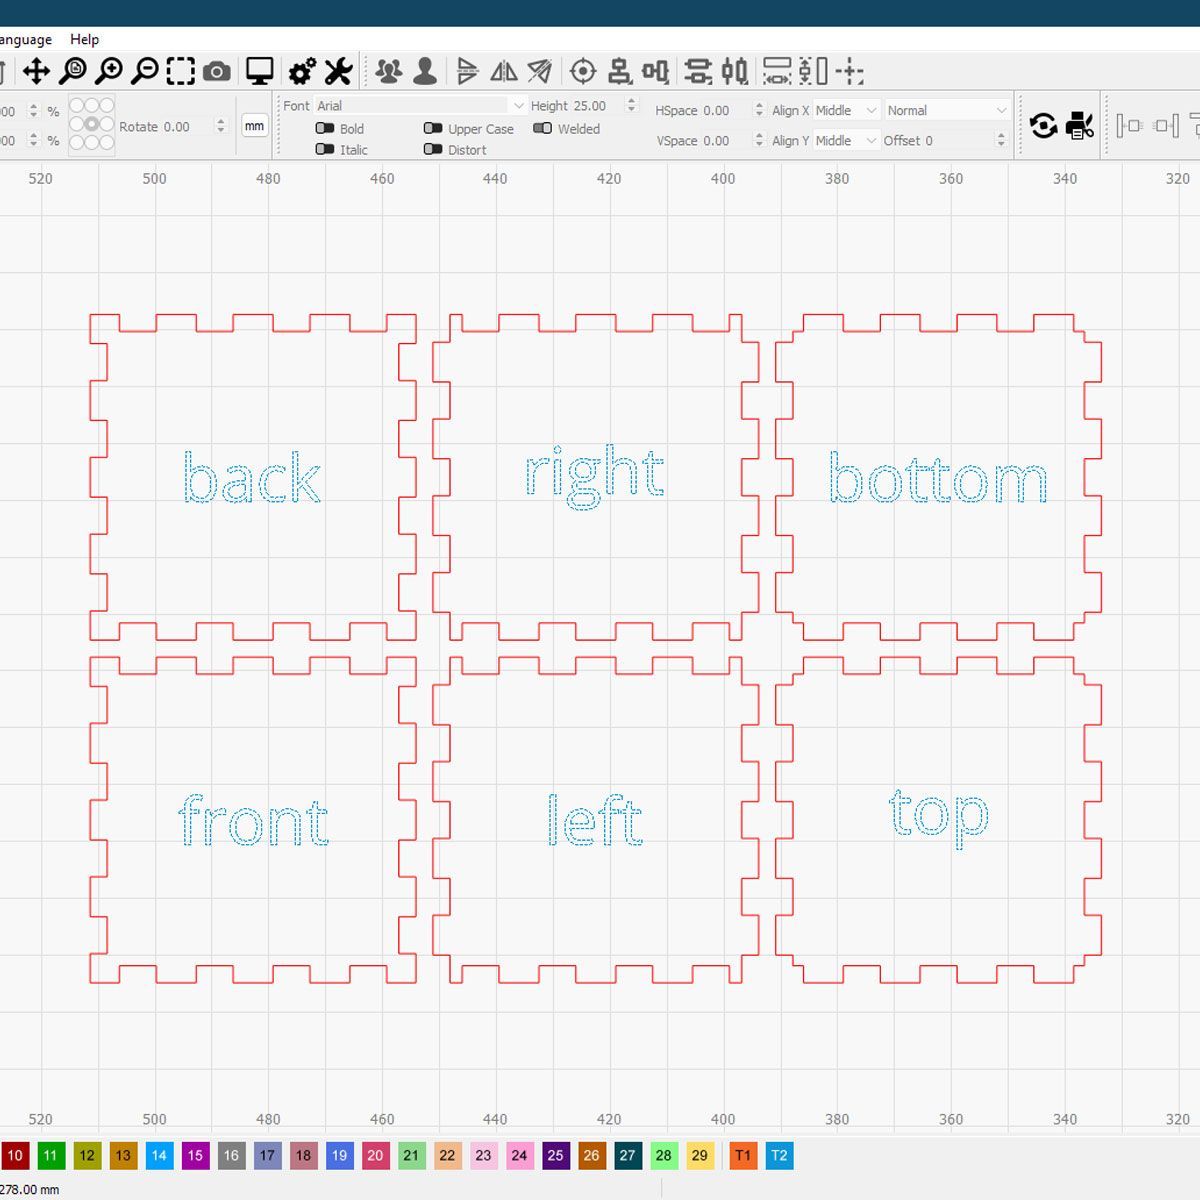
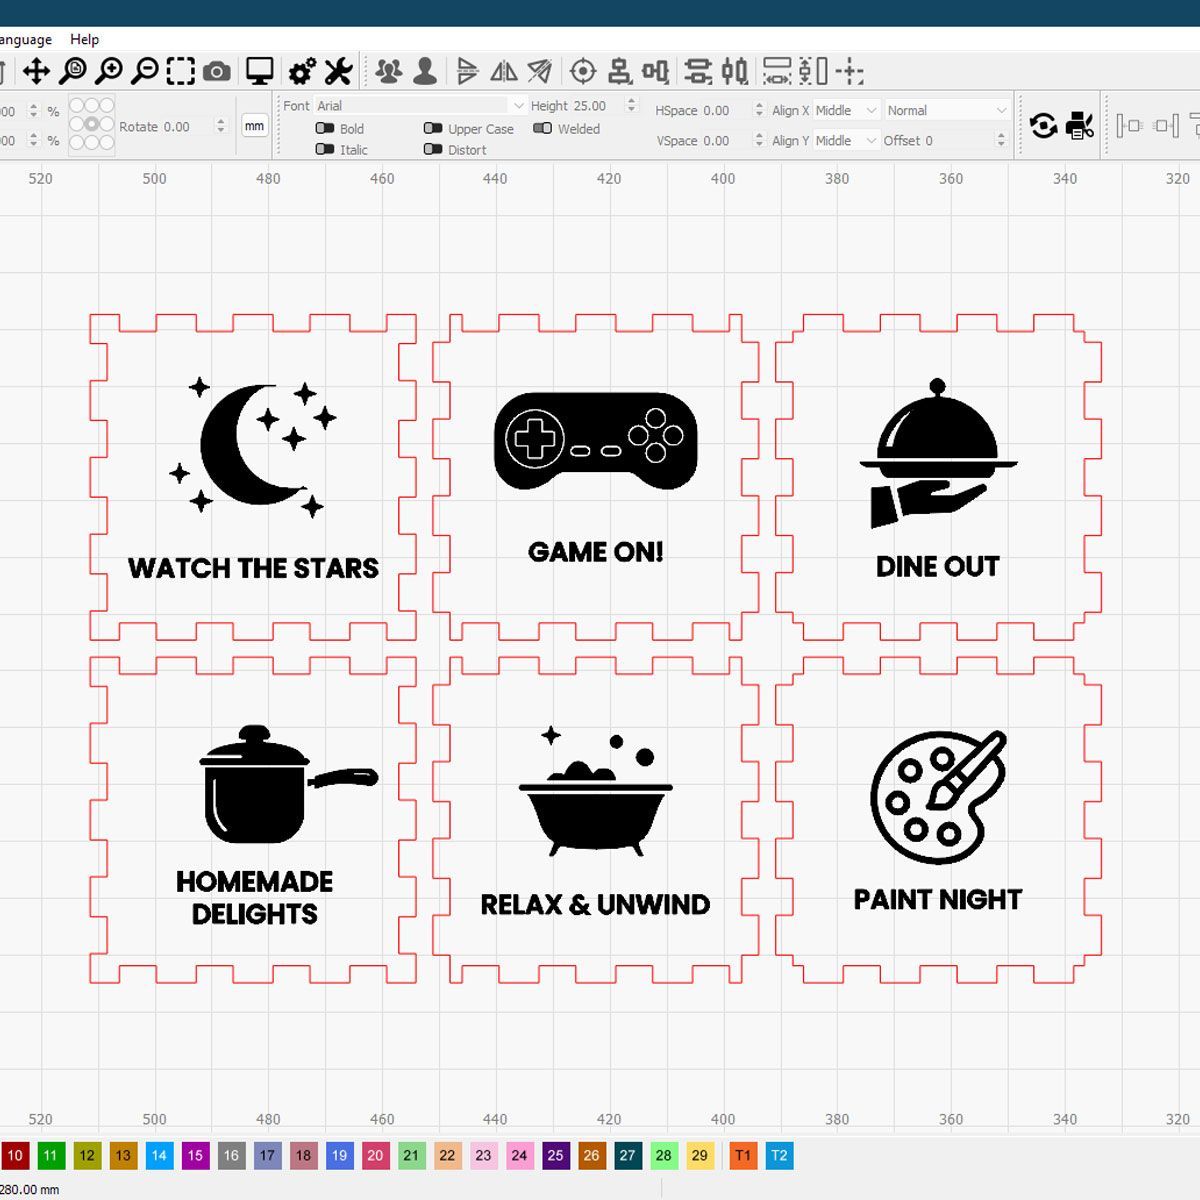
Next up, let’s prepare your file for cutting. For this project, we’re using graphics from our cube design "Decide Your Date."
- Load It Up: Import the SVG file into LightBurn.
- Organize Layers: If you’re adding engravings or markings, set those layers separately from the cut lines. Make sure the engraving layer is at the topmost position to ensure engravings happen first. This avoids displacement issues that can occur when engraving is done after cutting.
- Double-Check Settings: Confirm your kerf adjustments and make sure everything lines up with the material thickness.
Step 3: Cutting the Cube with the SD-60-9060
Here comes the fun part—cutting!
- Secure the Material: Place your 3mm Baltic Birch plywood firmly on the laser’s workbed.
- Align the File: Use LightBurn to position the design where you want it on the plywood.
- Set the Cutting Parameters: Speed: 15 mm/s Power: 35%
- Start Cutting: Fire up the SD-60-9060 and watch your cube come to life!
Step 4: Assembling Your Cube
Now that your pieces are cut, it’s time to put it all together:
- Assemble the Cube: Slot the finger joints together. The fit is snug, so you may need to gently tap the pieces into place using a rubber hammer.
- No Glue or Sanding Needed: The precision cut ensures a secure fit without the need for sanding or glue.
Bonus Tip: Personalize It!
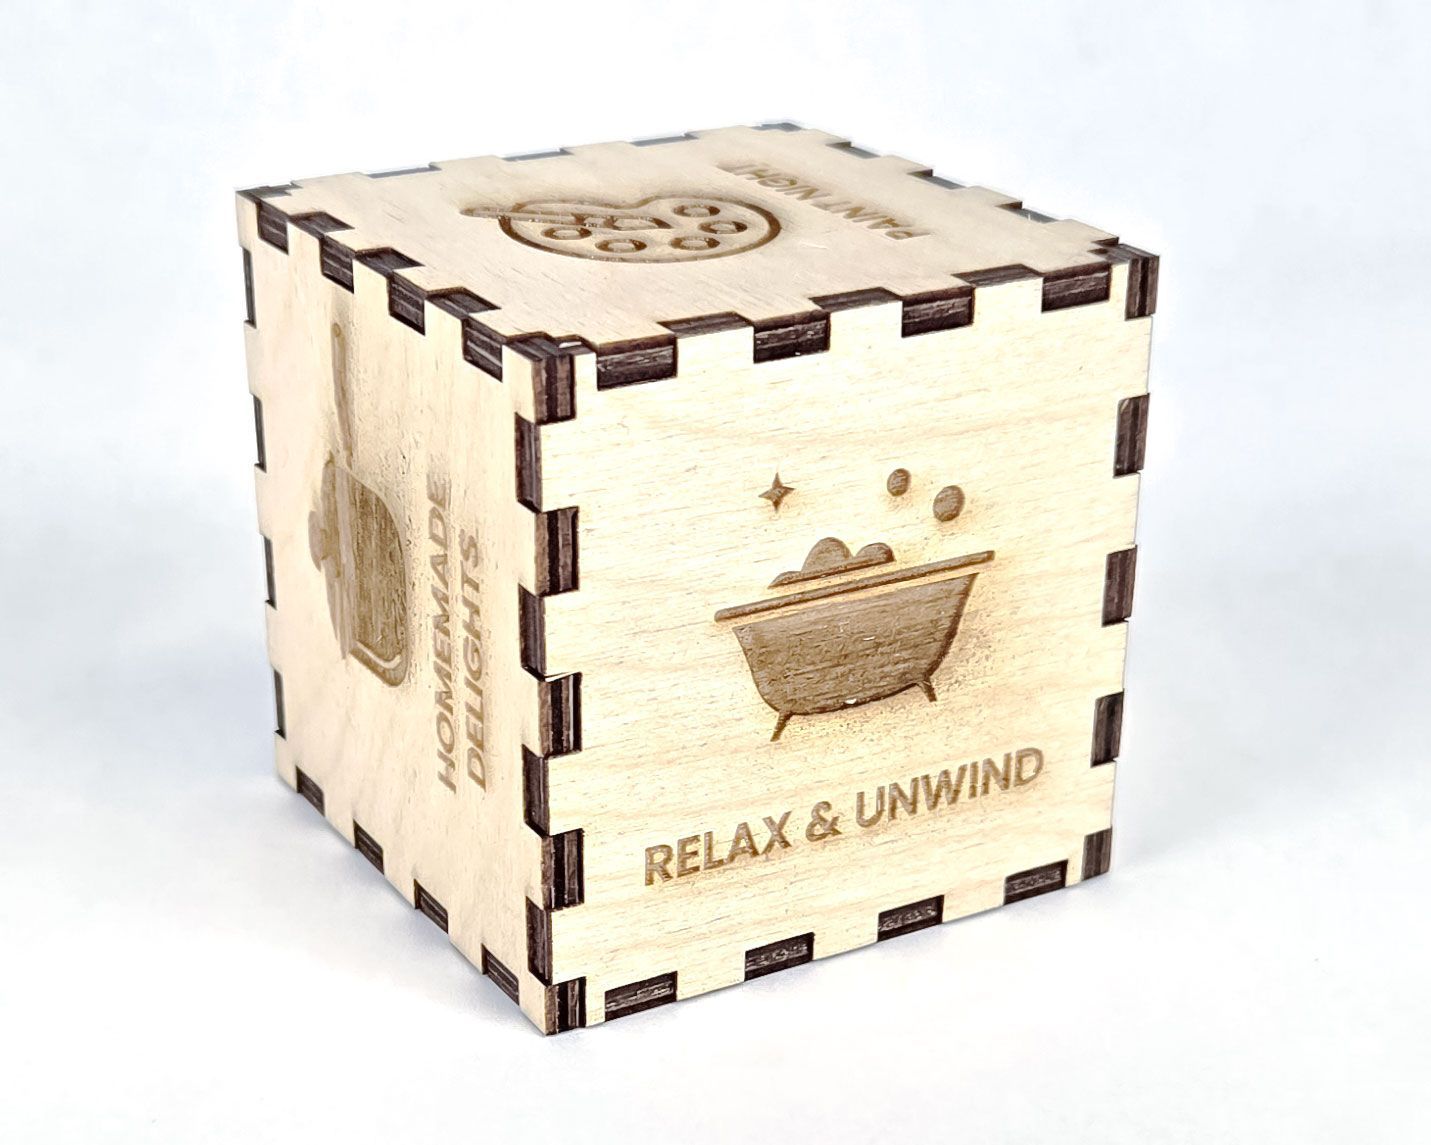
Before assembling, why not add engravings to make your cube truly unique? You can also paint or stain the finished piece for a polished look.
What Can You Do with Your Cube?
This little cube is more than just a box. Here are a few ideas:
- Use it as a mini storage box for small items.
- Add it to your desk as a fun decorative piece.
- Use it for educational projects in classrooms or makerspaces.
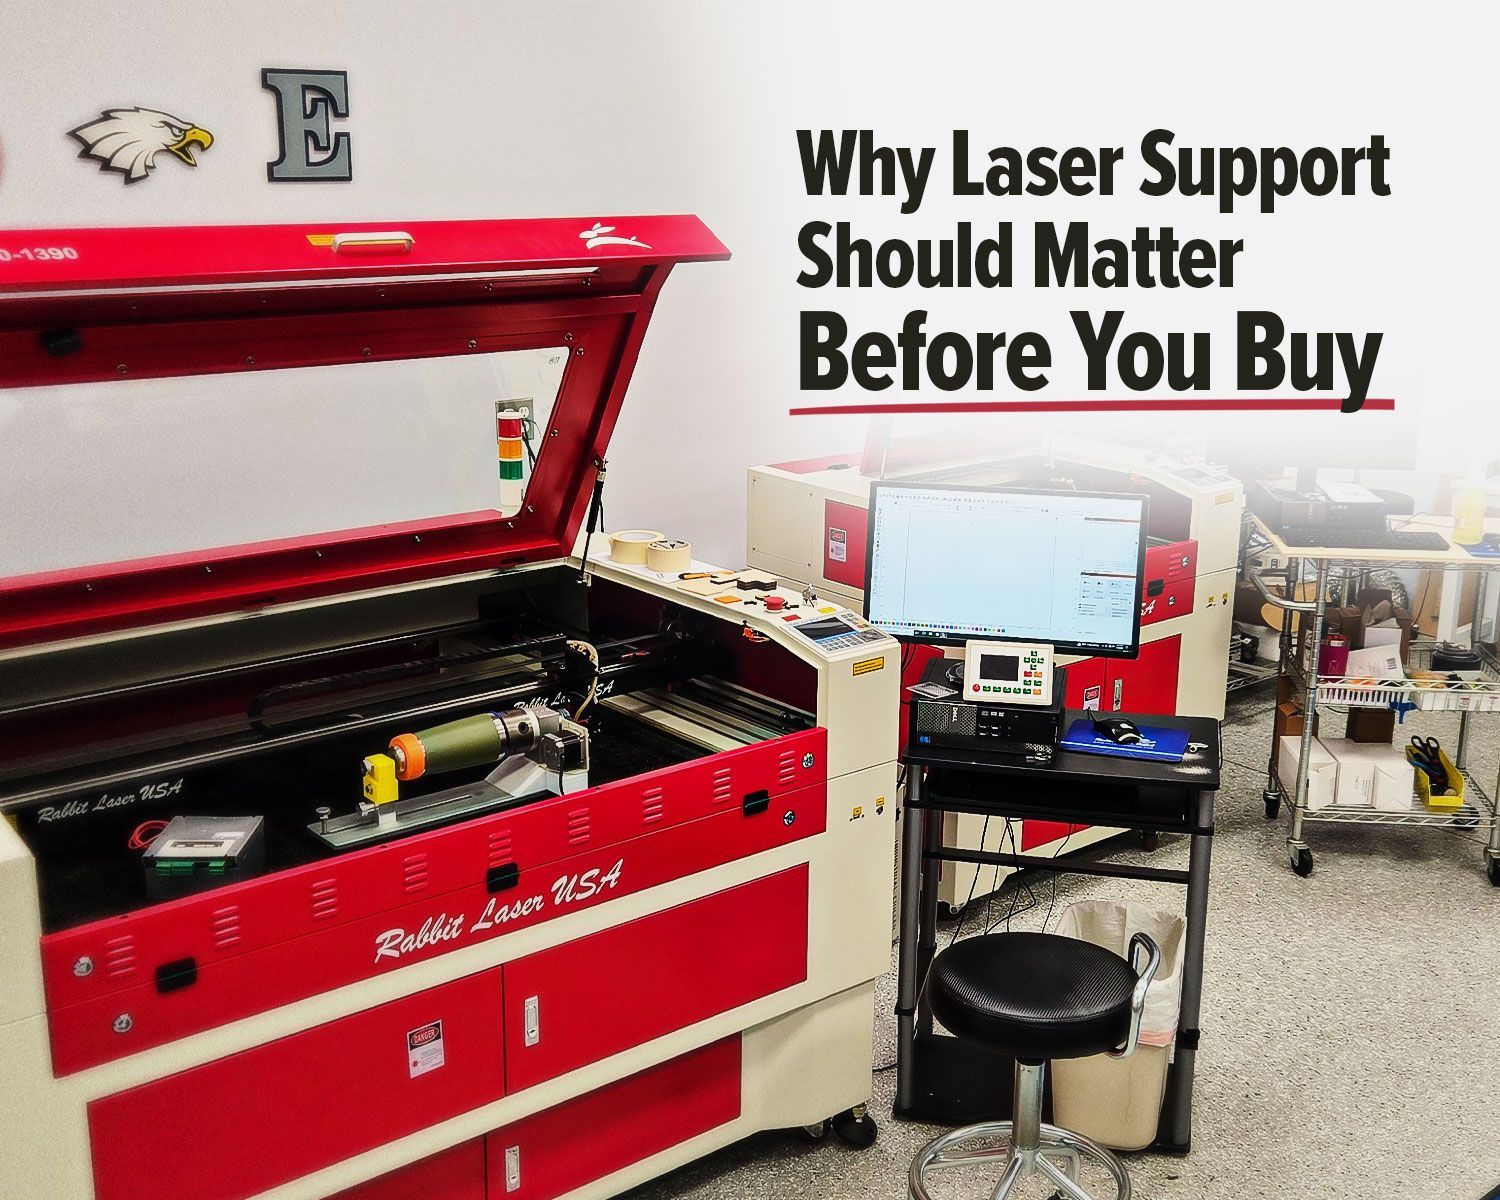
Why We Love the SD-60-9060
Rabbit Laser USA’s SD-60-9060 is the perfect machine for projects like this. Here’s why:
- Unmatched Precision: Get clean, accurate cuts every time.
- Built to Last: This machine is made with premium components for durability.
- Consistent Performance: You’ll get repeatable results, no matter the project.
- Amazing Support: Rabbit Laser USA is here to help you every step of the way.
Show Off Your Work!
We’d love to see your finished cube (or any other project)! Share it with us on social media:
- Instagram: @RabbitLaserUSA
- Facebook: Rabbit Laser USA
Tag us, and you might just be featured in our next showcase!
Ready to Create?
Now that you know how to design and cut your own 57mm cube, it’s time to get started! Head over to MakerCase, grab your SD-60-9060, and let’s make something amazing. Need more tips or inspiration? Check out Rabbit Laser USA. 🐰