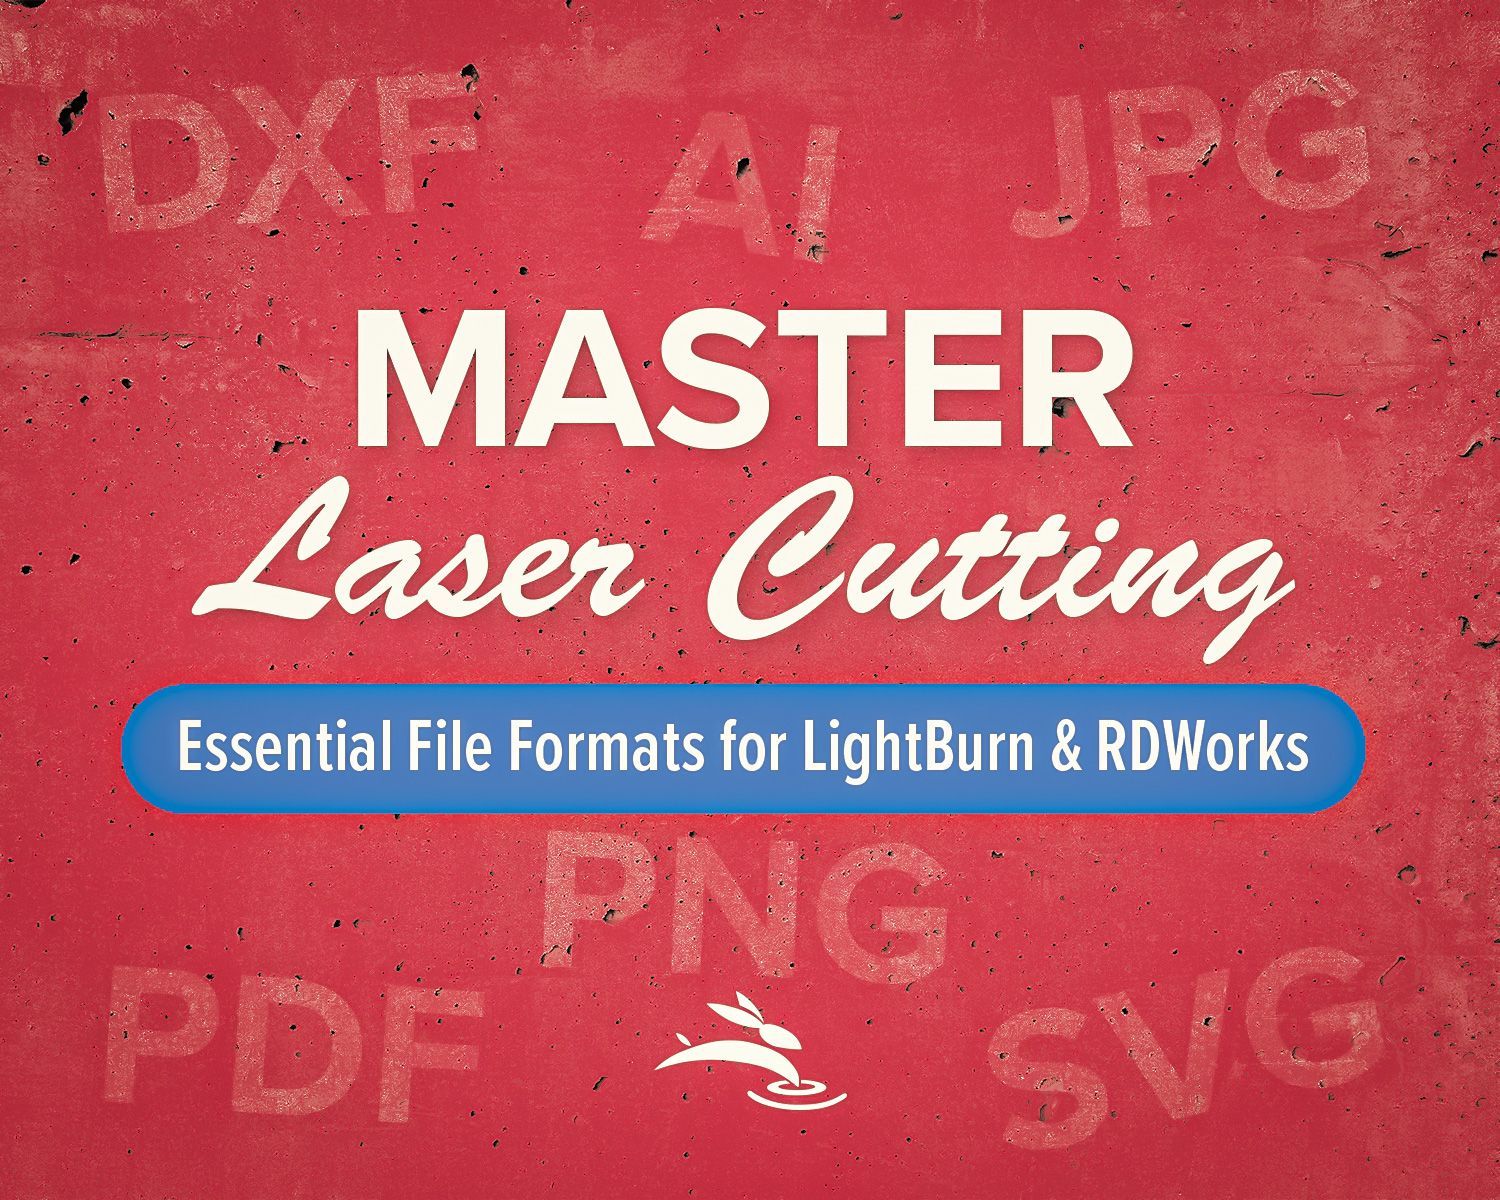
Master Laser Cutting: Essential File Formats for LightBurn & RDWorks
If you've ever tried to cut or engrave a design and it came out... weird, the file format might be the reason. Not all files are created equal when it comes to laser machines. Whether you're using LightBurn or RDWorks, knowing the difference between SVG, DXF, PNG, and other file types can save you a lot of time—and wasted materials.
Let’s break it down so you know exactly what to use (and what to avoid).
Vector vs Raster: What’s the Difference?
Before we jump into file types, let’s clear this up:
- Vector files (like SVG, AI, DXF): Made of lines and curves. These are your go-to for cutting and precise engraving. The machine follows the path.
- Raster files (like JPG, PNG, BMP): Made of tiny dots (pixels). Great for image engraving, not for cutting.
Most Common Laser-Friendly File Formats
| File Format | Works In | Best For | Notes |
|---|---|---|---|
| SVG | LightBurn | Engraving & cutting | Our top pick—clean, scalable, easy to edit |
| AI | LightBurn | Vector design | Must be saved as version 8 or lower |
| DXF | RDWorks & LightBurn | CAD-style vector cutting | Can be messy—watch for extra nodes or broken lines |
| LightBurn | Vector + raster mix | Useful but not always predictable | |
| PNG | LightBurn & RDWorks | Raster engraving only | Transparent background = good. No cutting paths. |
| JPG | LightBurn & RDWorks | Engraving photos/logos | Avoid for cutting. Low detail at small sizes. |
Converting a JPG to Vector?
Try This LightBurn Trick
If you're working with a photo, logo, or image that doesn’t trace well right away, you’re not alone. Sometimes LightBurn's built-in image trace can struggle—especially with complex shading or busy edges.
But there's a helpful trick using Adjust Image > Threshold before tracing.
🎥 Watch this quick video tutorial:
Here’s the basic process:
- Import your image (JPG or PNG).
- Select the image and click Adjust Image.
- Enable Threshold to turn it black and white—no shades of gray.
- Click OK, then right-click and export it as a BMP.
- Re-import that BMP into LightBurn.
- Use Tools → Trace Image to convert the new clean version into vector paths.
This process gives you better edges and fewer cleanup steps—especially for logos or bold designs.
📌 Pro Tip: You can adjust the threshold slider to find the sweet spot between too much detail and too little.
Why It Works:
Converting the image to a black-and-white bitmap simplifies the data for LightBurn’s tracing tool. The cleaner your input, the smoother your vector result.
File Formats to Avoid (or Use Carefully)
- JPGs for Cutting – They don’t have vector paths. Your machine can't follow the image outline.
- High-version AI files – Won’t open in LightBurn unless saved in AI v8 format.
- Complex PDFs – Can include hidden layers or mixed content that confuses the software.
Quick Tips for Smooth Results
- Save AI files in version 8 format
- Simplify DXF files before importing (fewer nodes = faster cuts)
- Keep images high-resolution for better engraving
- Stick to SVGs whenever possible—they’re reliable and easy
Still Stuck? We’ve Got You.
If you’re fighting with file errors, missing lines, or engraving that just won’t come out right, reach out. We help Rabbit Laser USA customers with this kind of stuff all the time. No pressure, just support that actually supports you. 🐰
